Good news: you don’t need any of that.
This is your Canva phone case mockup tutorial—aka the stress-free, beginner-friendly way to make your product listings look pro without needing a design degree.
Whether you’re an Etsy seller, a digital artist, or someone who just discovered Canva last week (welcome!), you’ll learn exactly how to add your phone case design to a mockup in just a few clicks. No fancy tools. No overwhelm. Just beautiful product photos ready to wow your customers.
Try 3 Free Phone Case Mockups from BoostMockups
Let’s dive in and give your designs the glow-up they deserve!
Before we begin, make sure you have:
A Canva account (free is fine) – Sign up here
Step 1: Upload or Open a Blank Canva Project
Log in to Canva
Click “Create a design” and choose Custom Size
Click Create new design
💡 Skip to Step 2: if you want to upload a phone case mockup
Step 2: Upload Your Phone Case Mockup
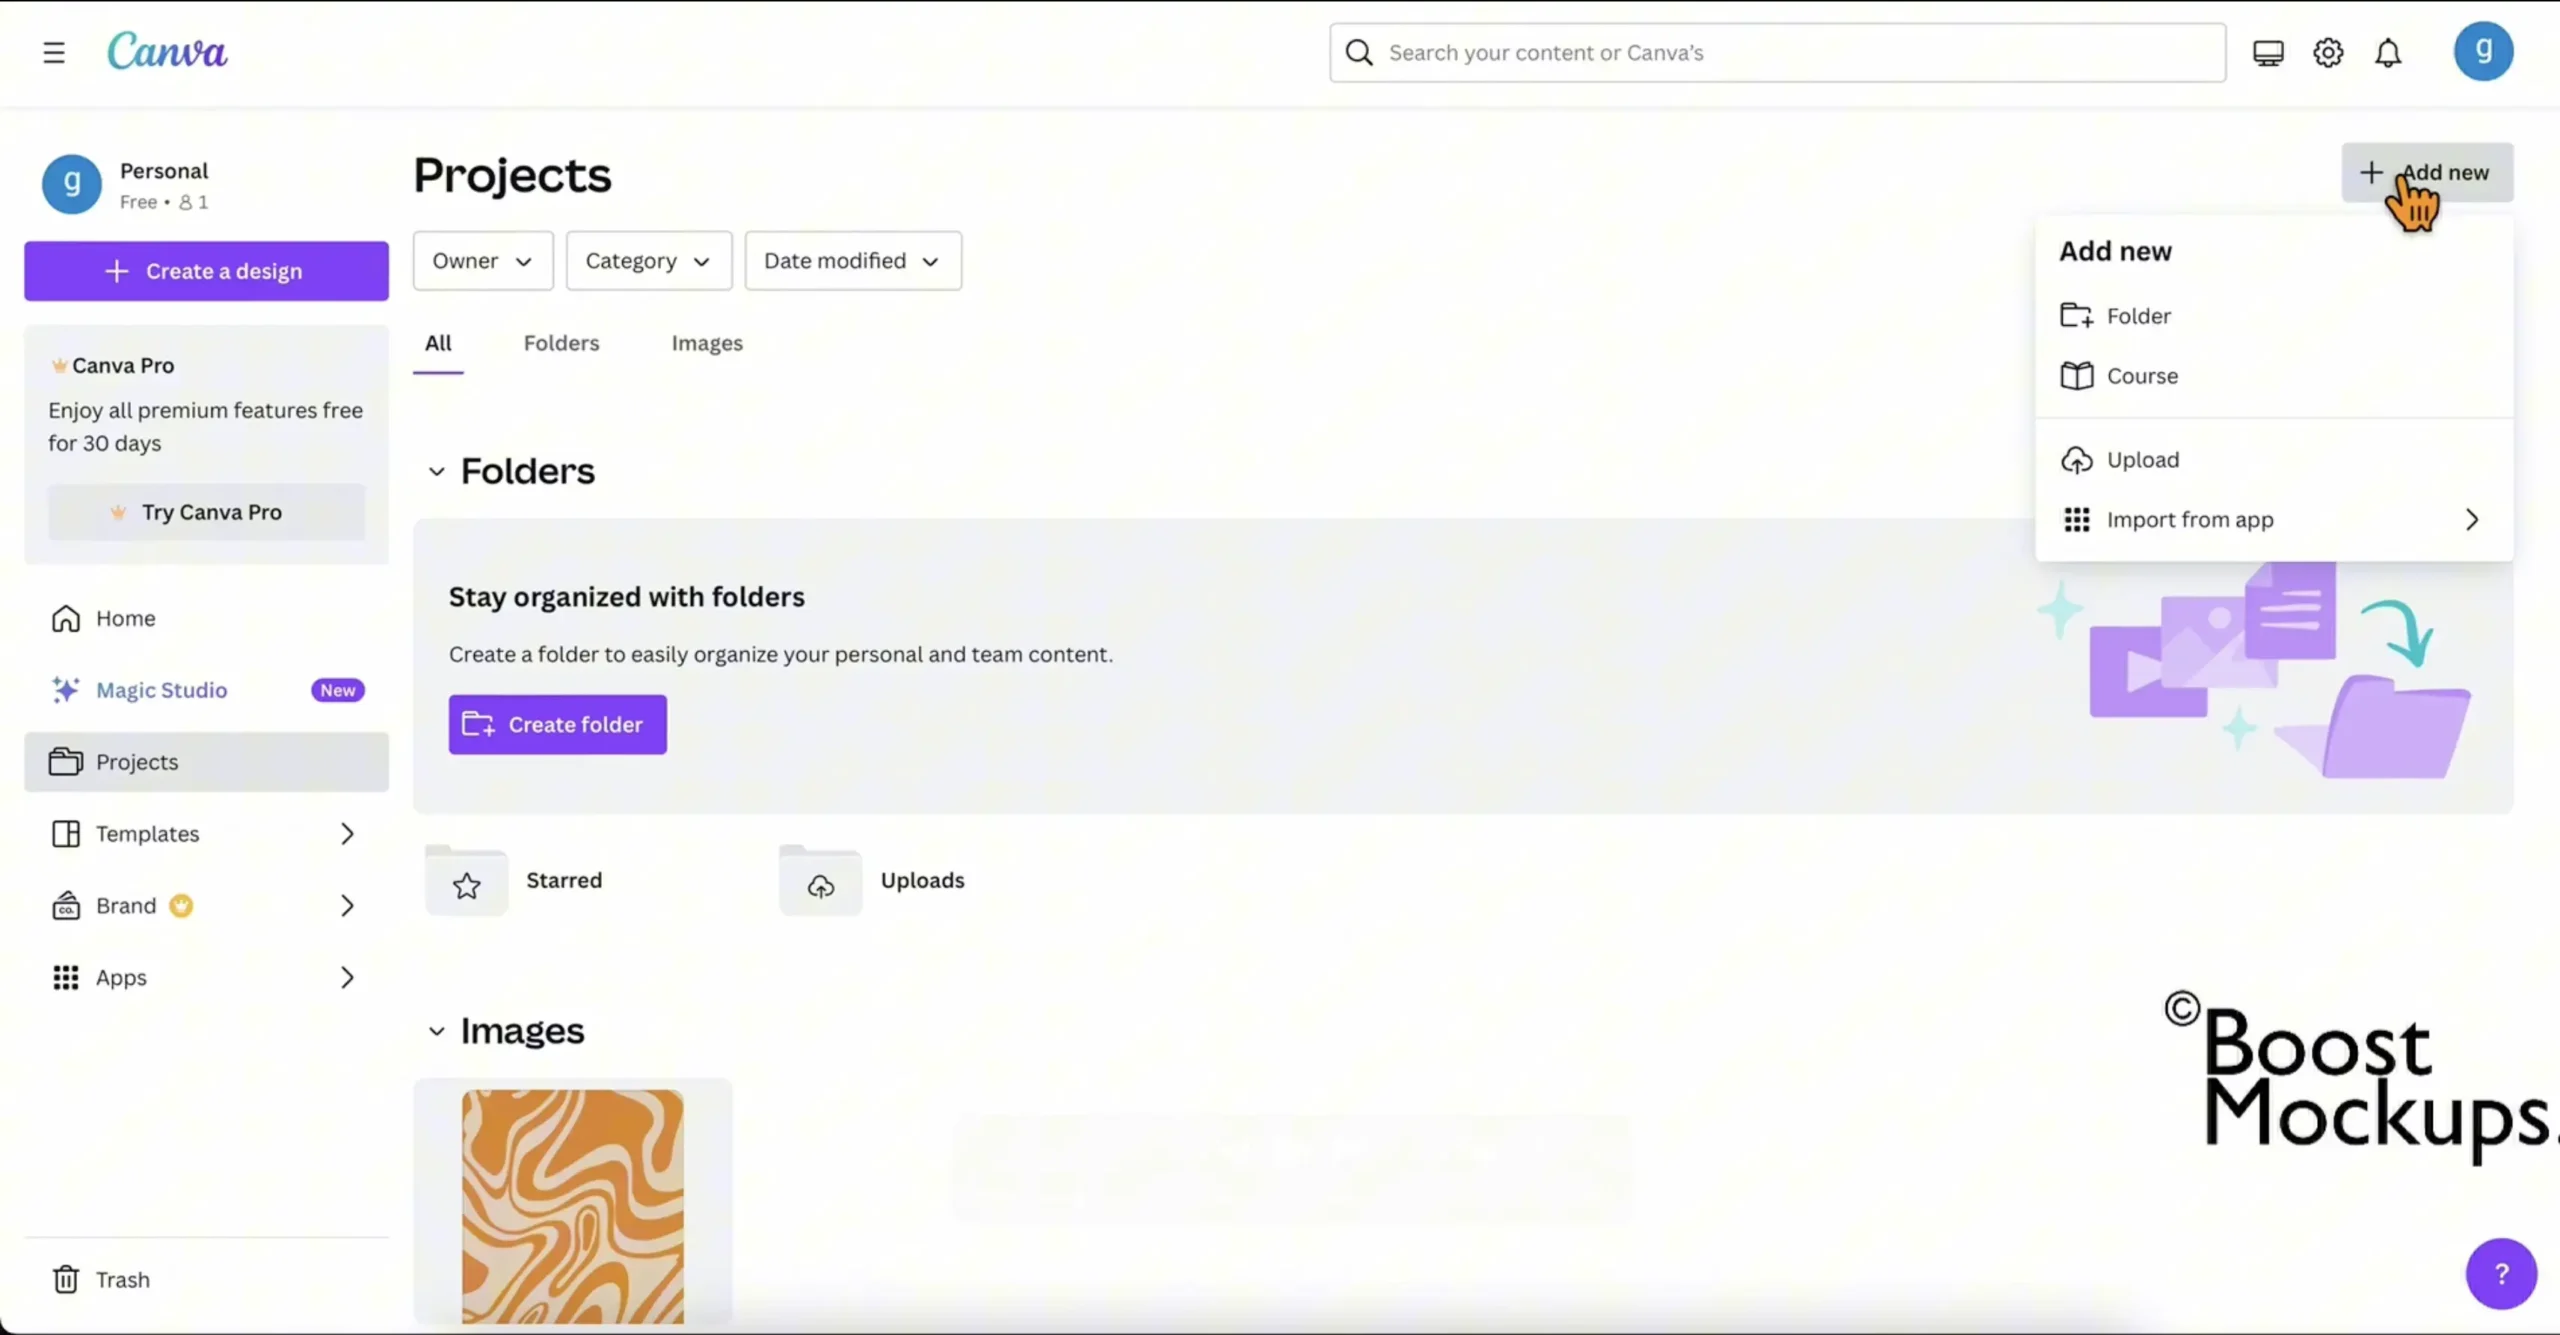
In Canva, go to the Projects tab on the left menu
Upload your mockup image from BoostMockups
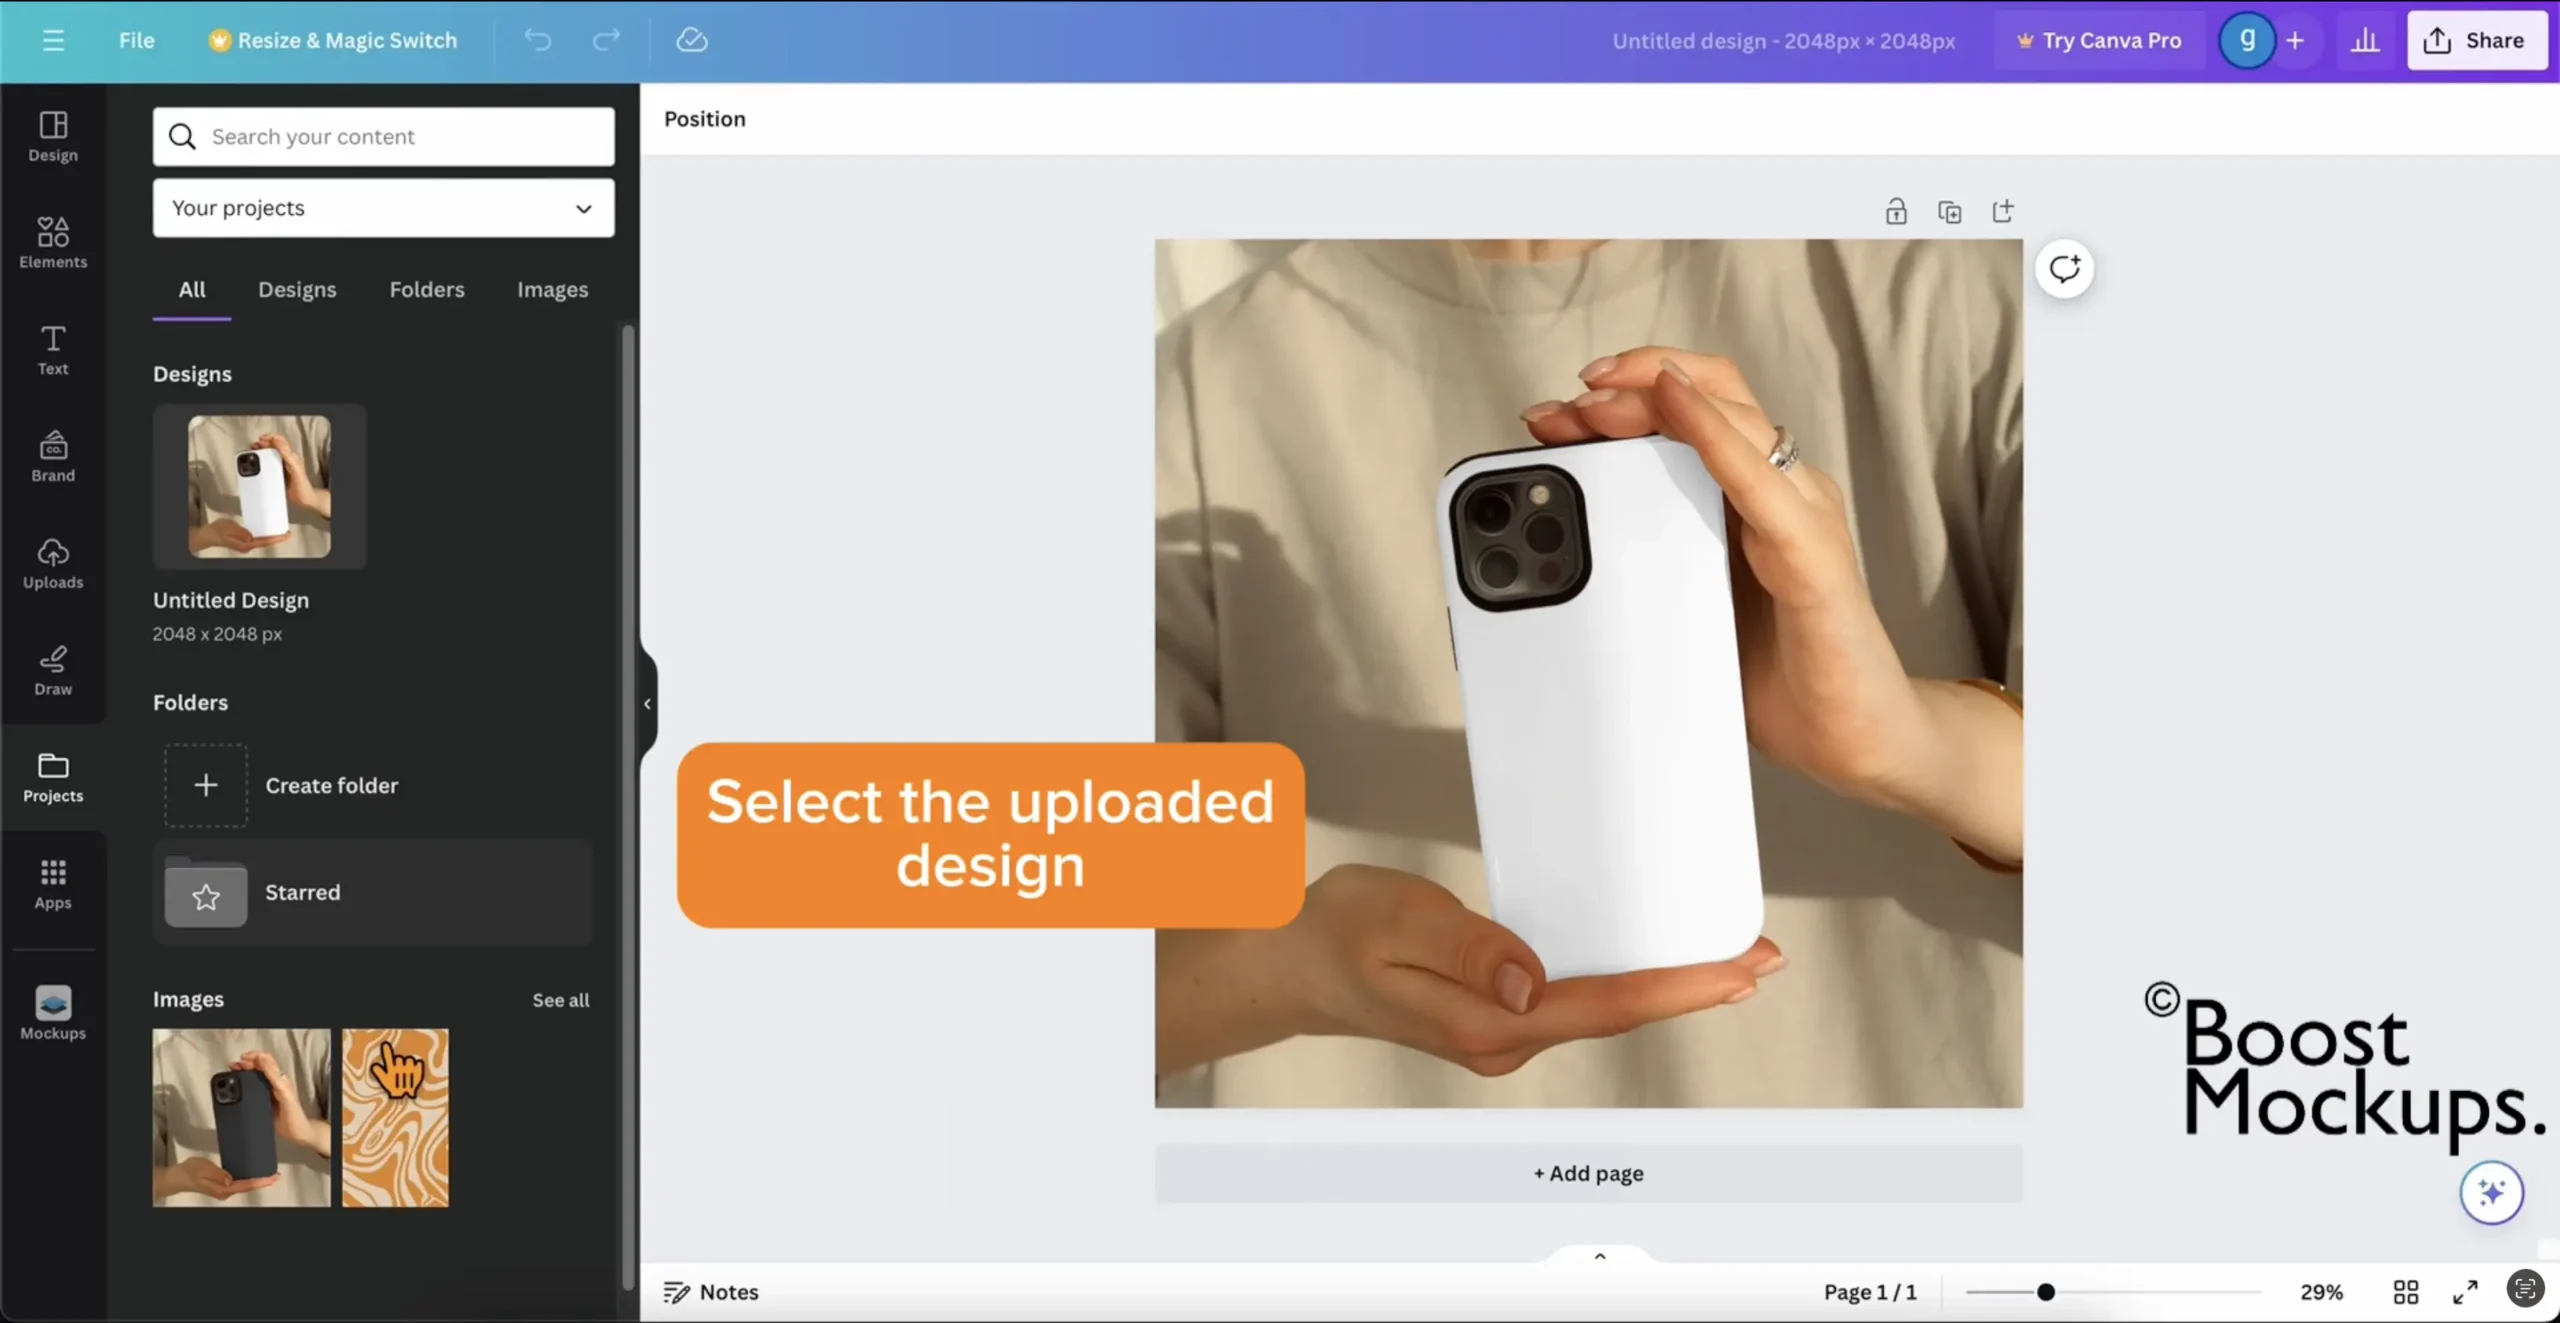
Drag and drop the mockup onto your blank canvas and resize it to fit
💡 Tip: Use high-resolution mockups for a clean, professional look
Step 3: Upload Your Phone Case Design
Upload your design file (preferably a PNG with a transparent background)
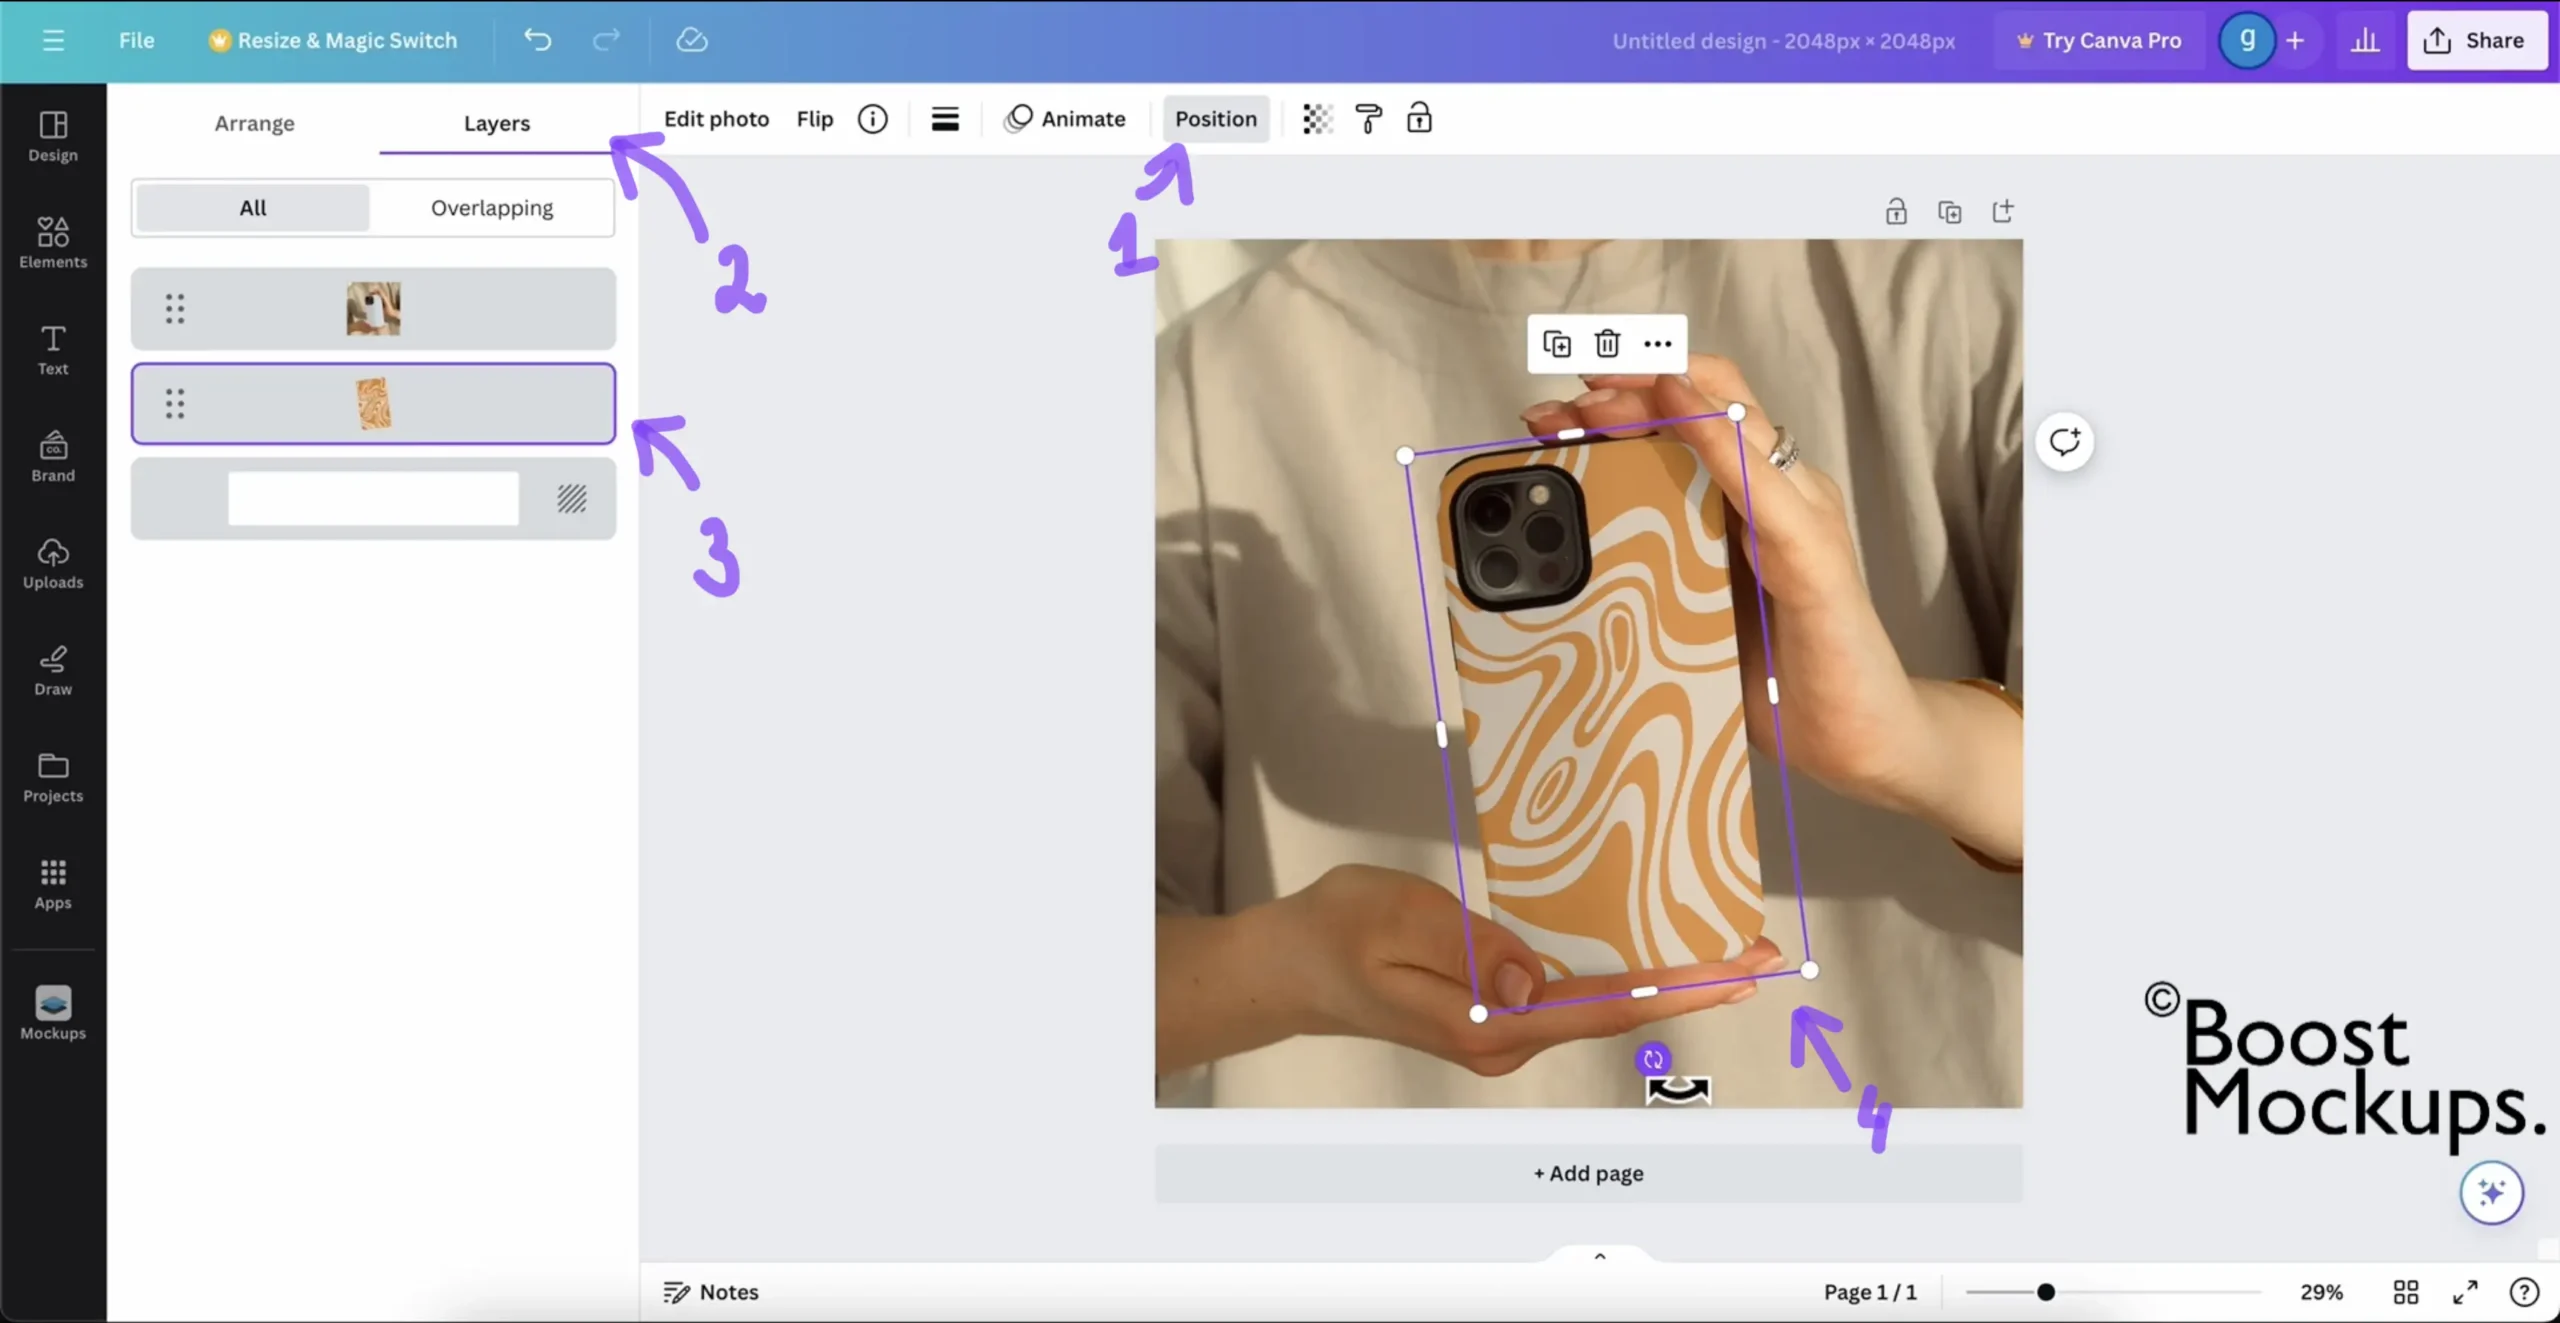
Drag it onto the canvas and position it over the phone case area
Resize and rotate as needed to align it perfectly with the mockup
🎯 Pro Tip: Hold Shift while resizing to maintain proportions
Step 4: Adjust the Layering (Optional)
To make the design look realistic:
Step 5: Download Your Final Product Photo
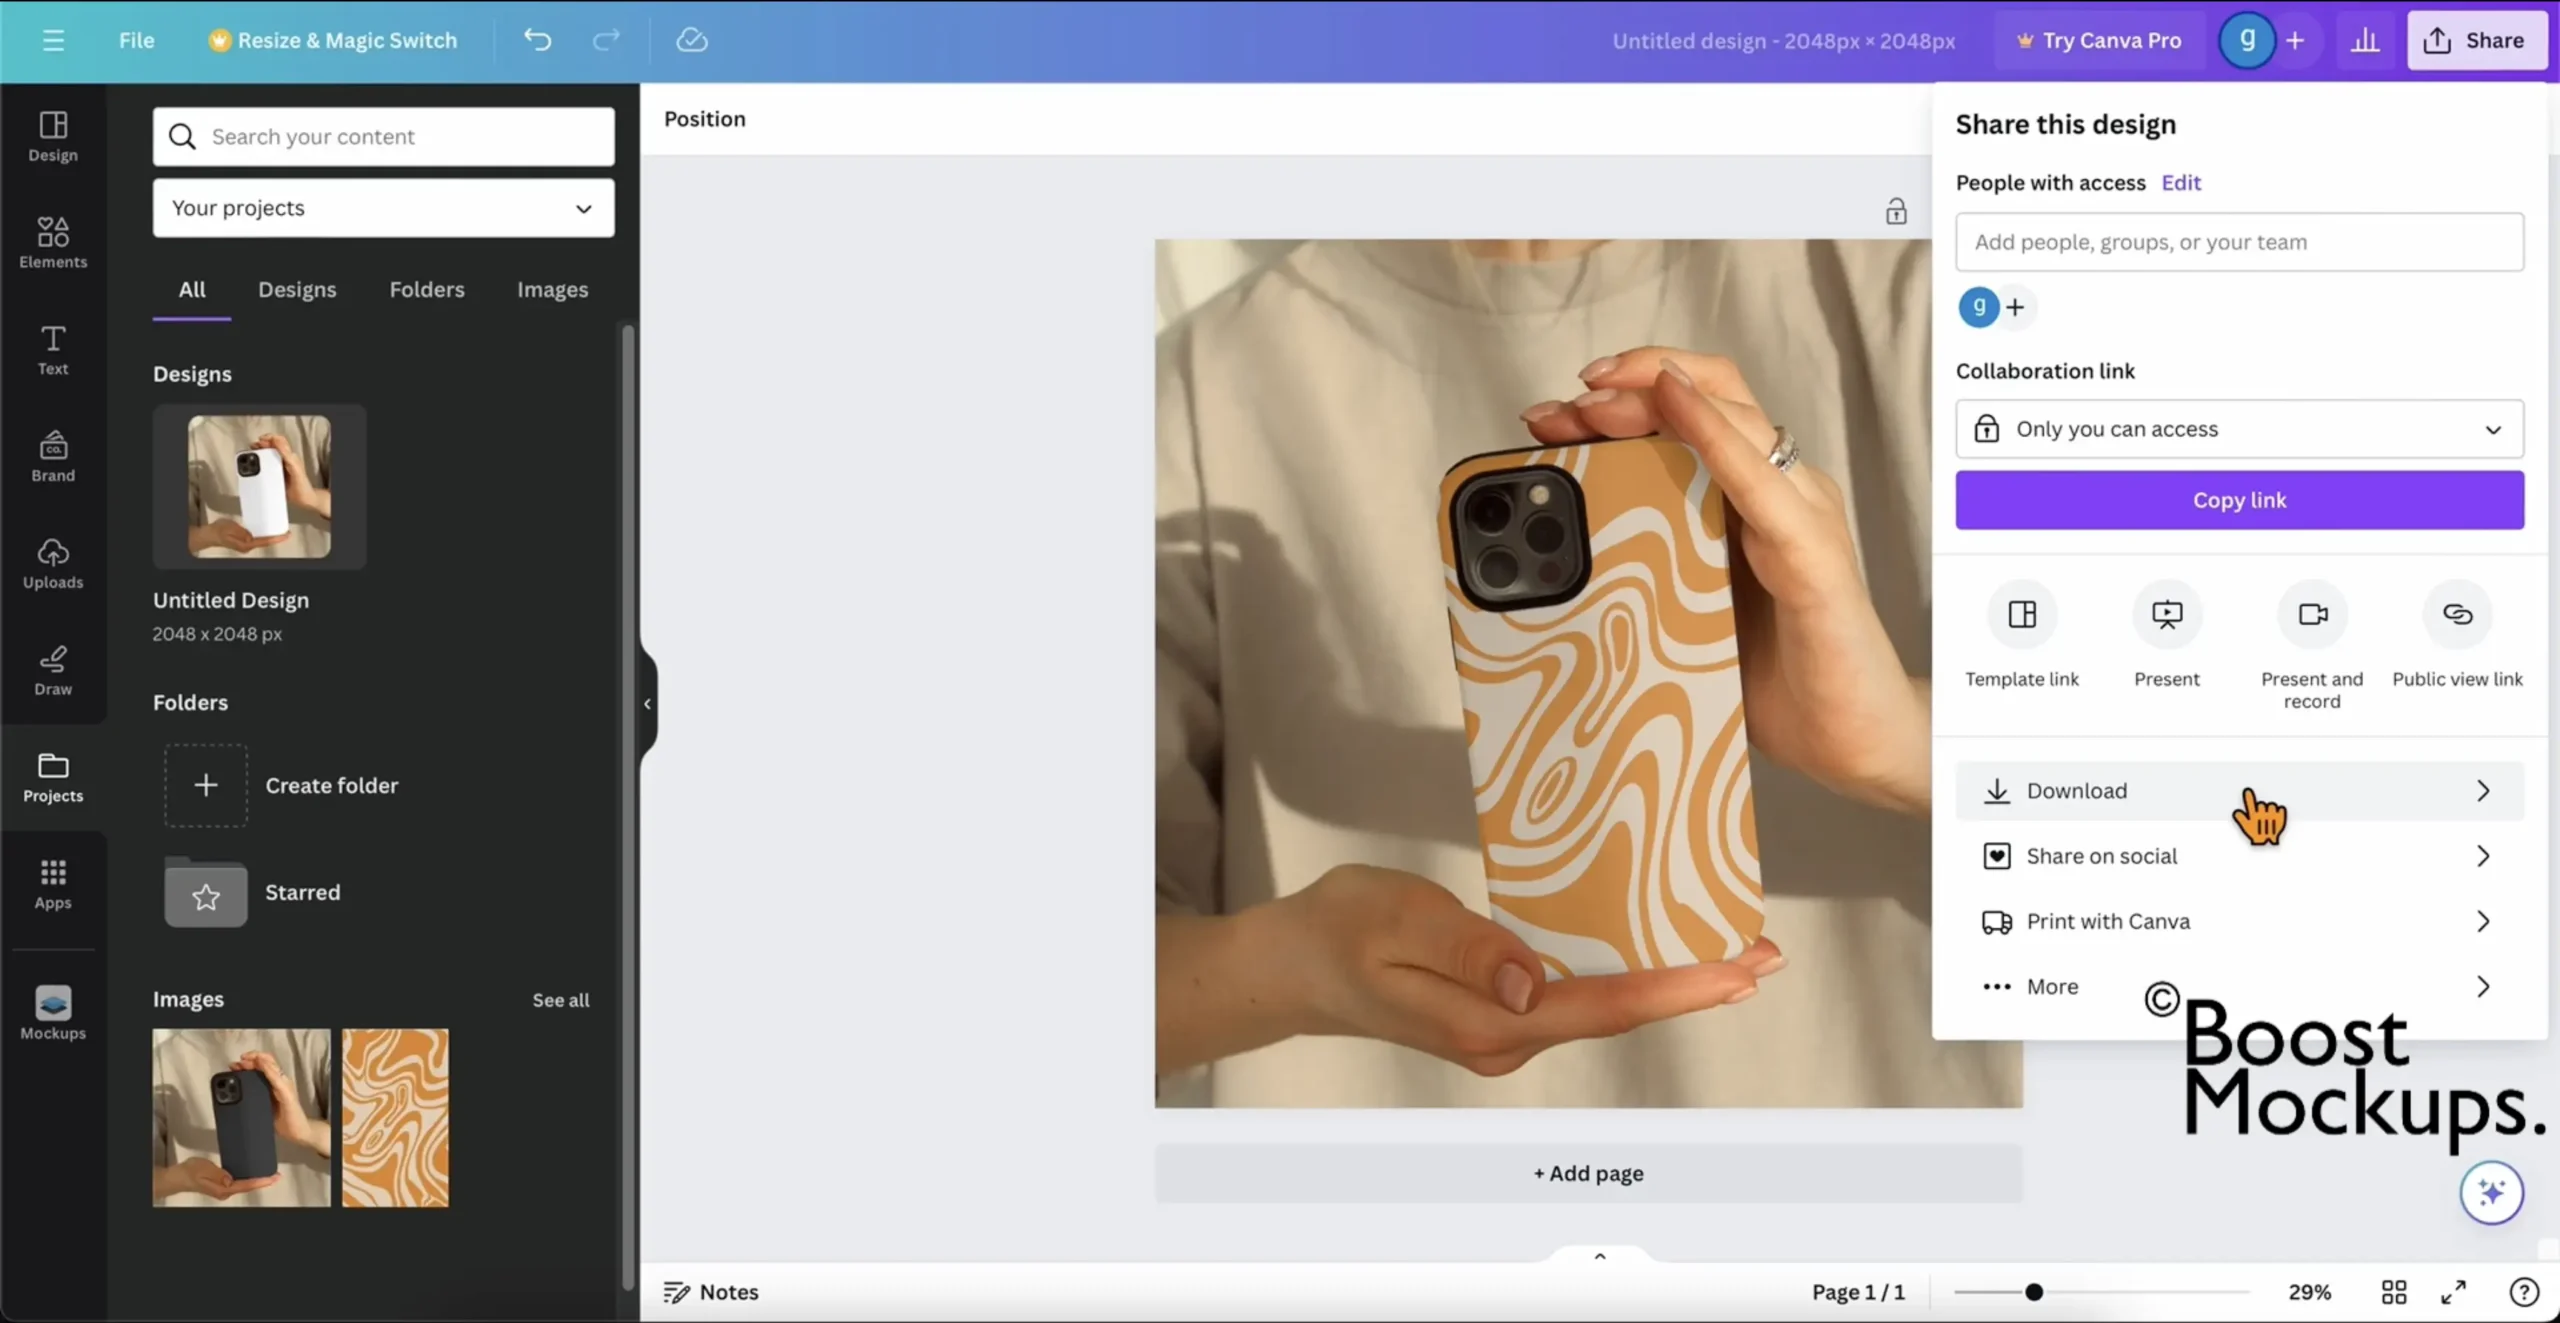
Once everything looks good, click Share → Download
Choose PNG or JPG for best quality
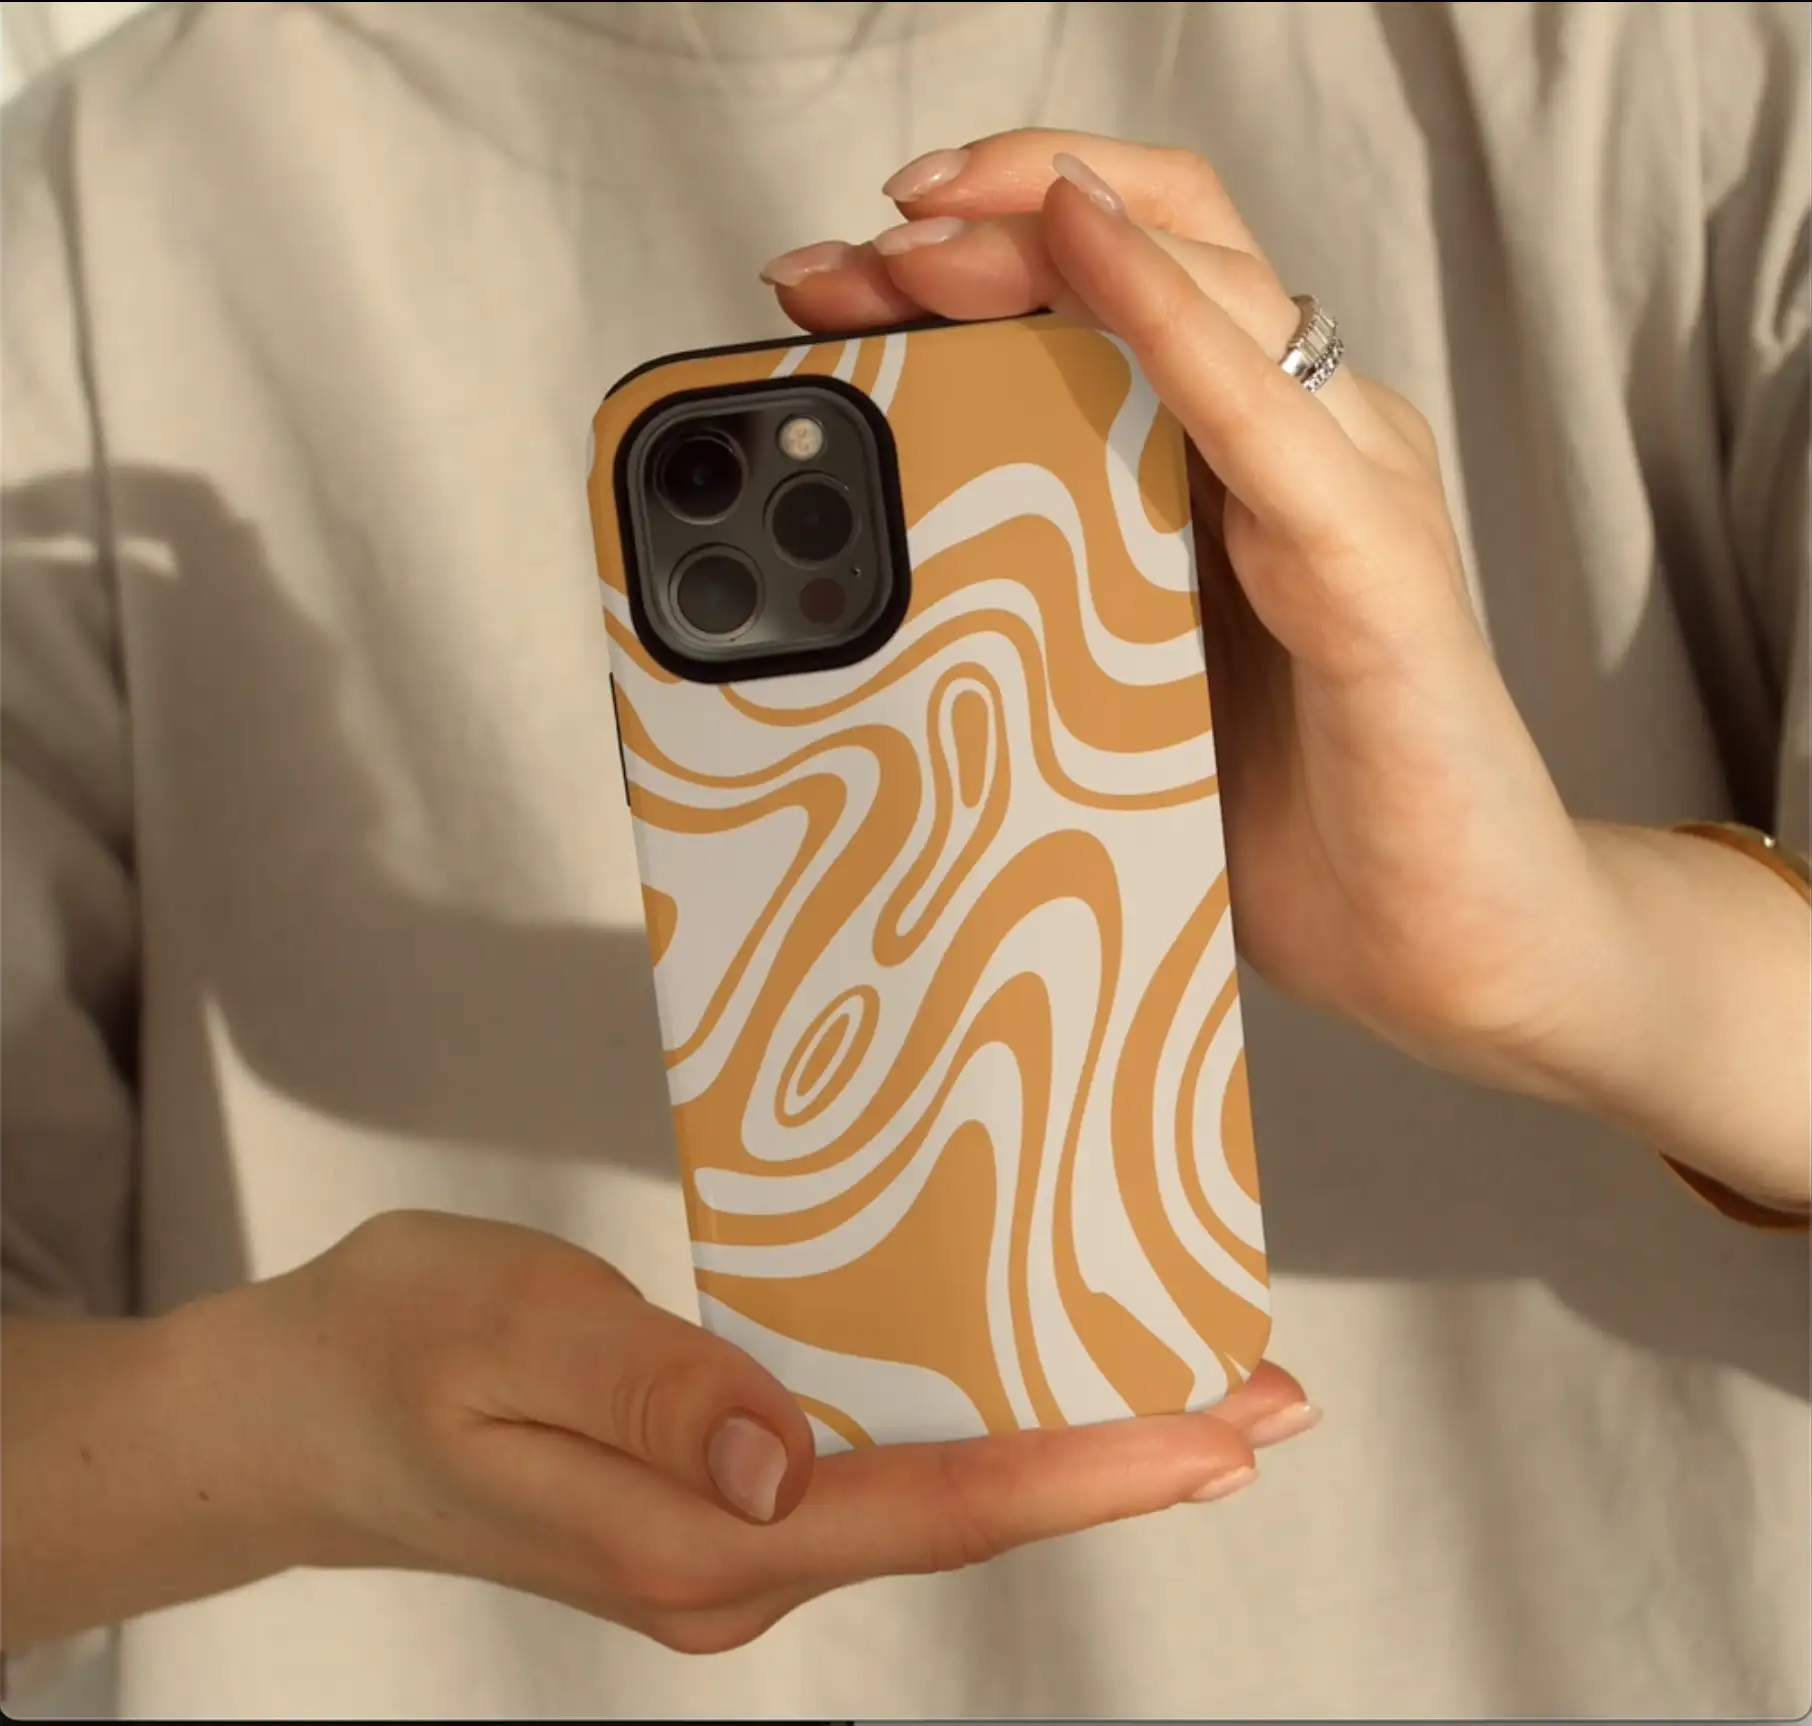
Use this new mockup image on your Etsy listing, website, or social media
Cha-ching! Your case just got Boosted.⚡️
Try It with Free Mockups from BoostMockups
Reading feels like homework? No stress — video tutorial’s got your back.
Save your brain cells and watch our step-by-step video instead. It’s like a mockup makeover show, but shorter and sassier. Click for the magic
🛍️ Ready to make your listings stand out?