Blog
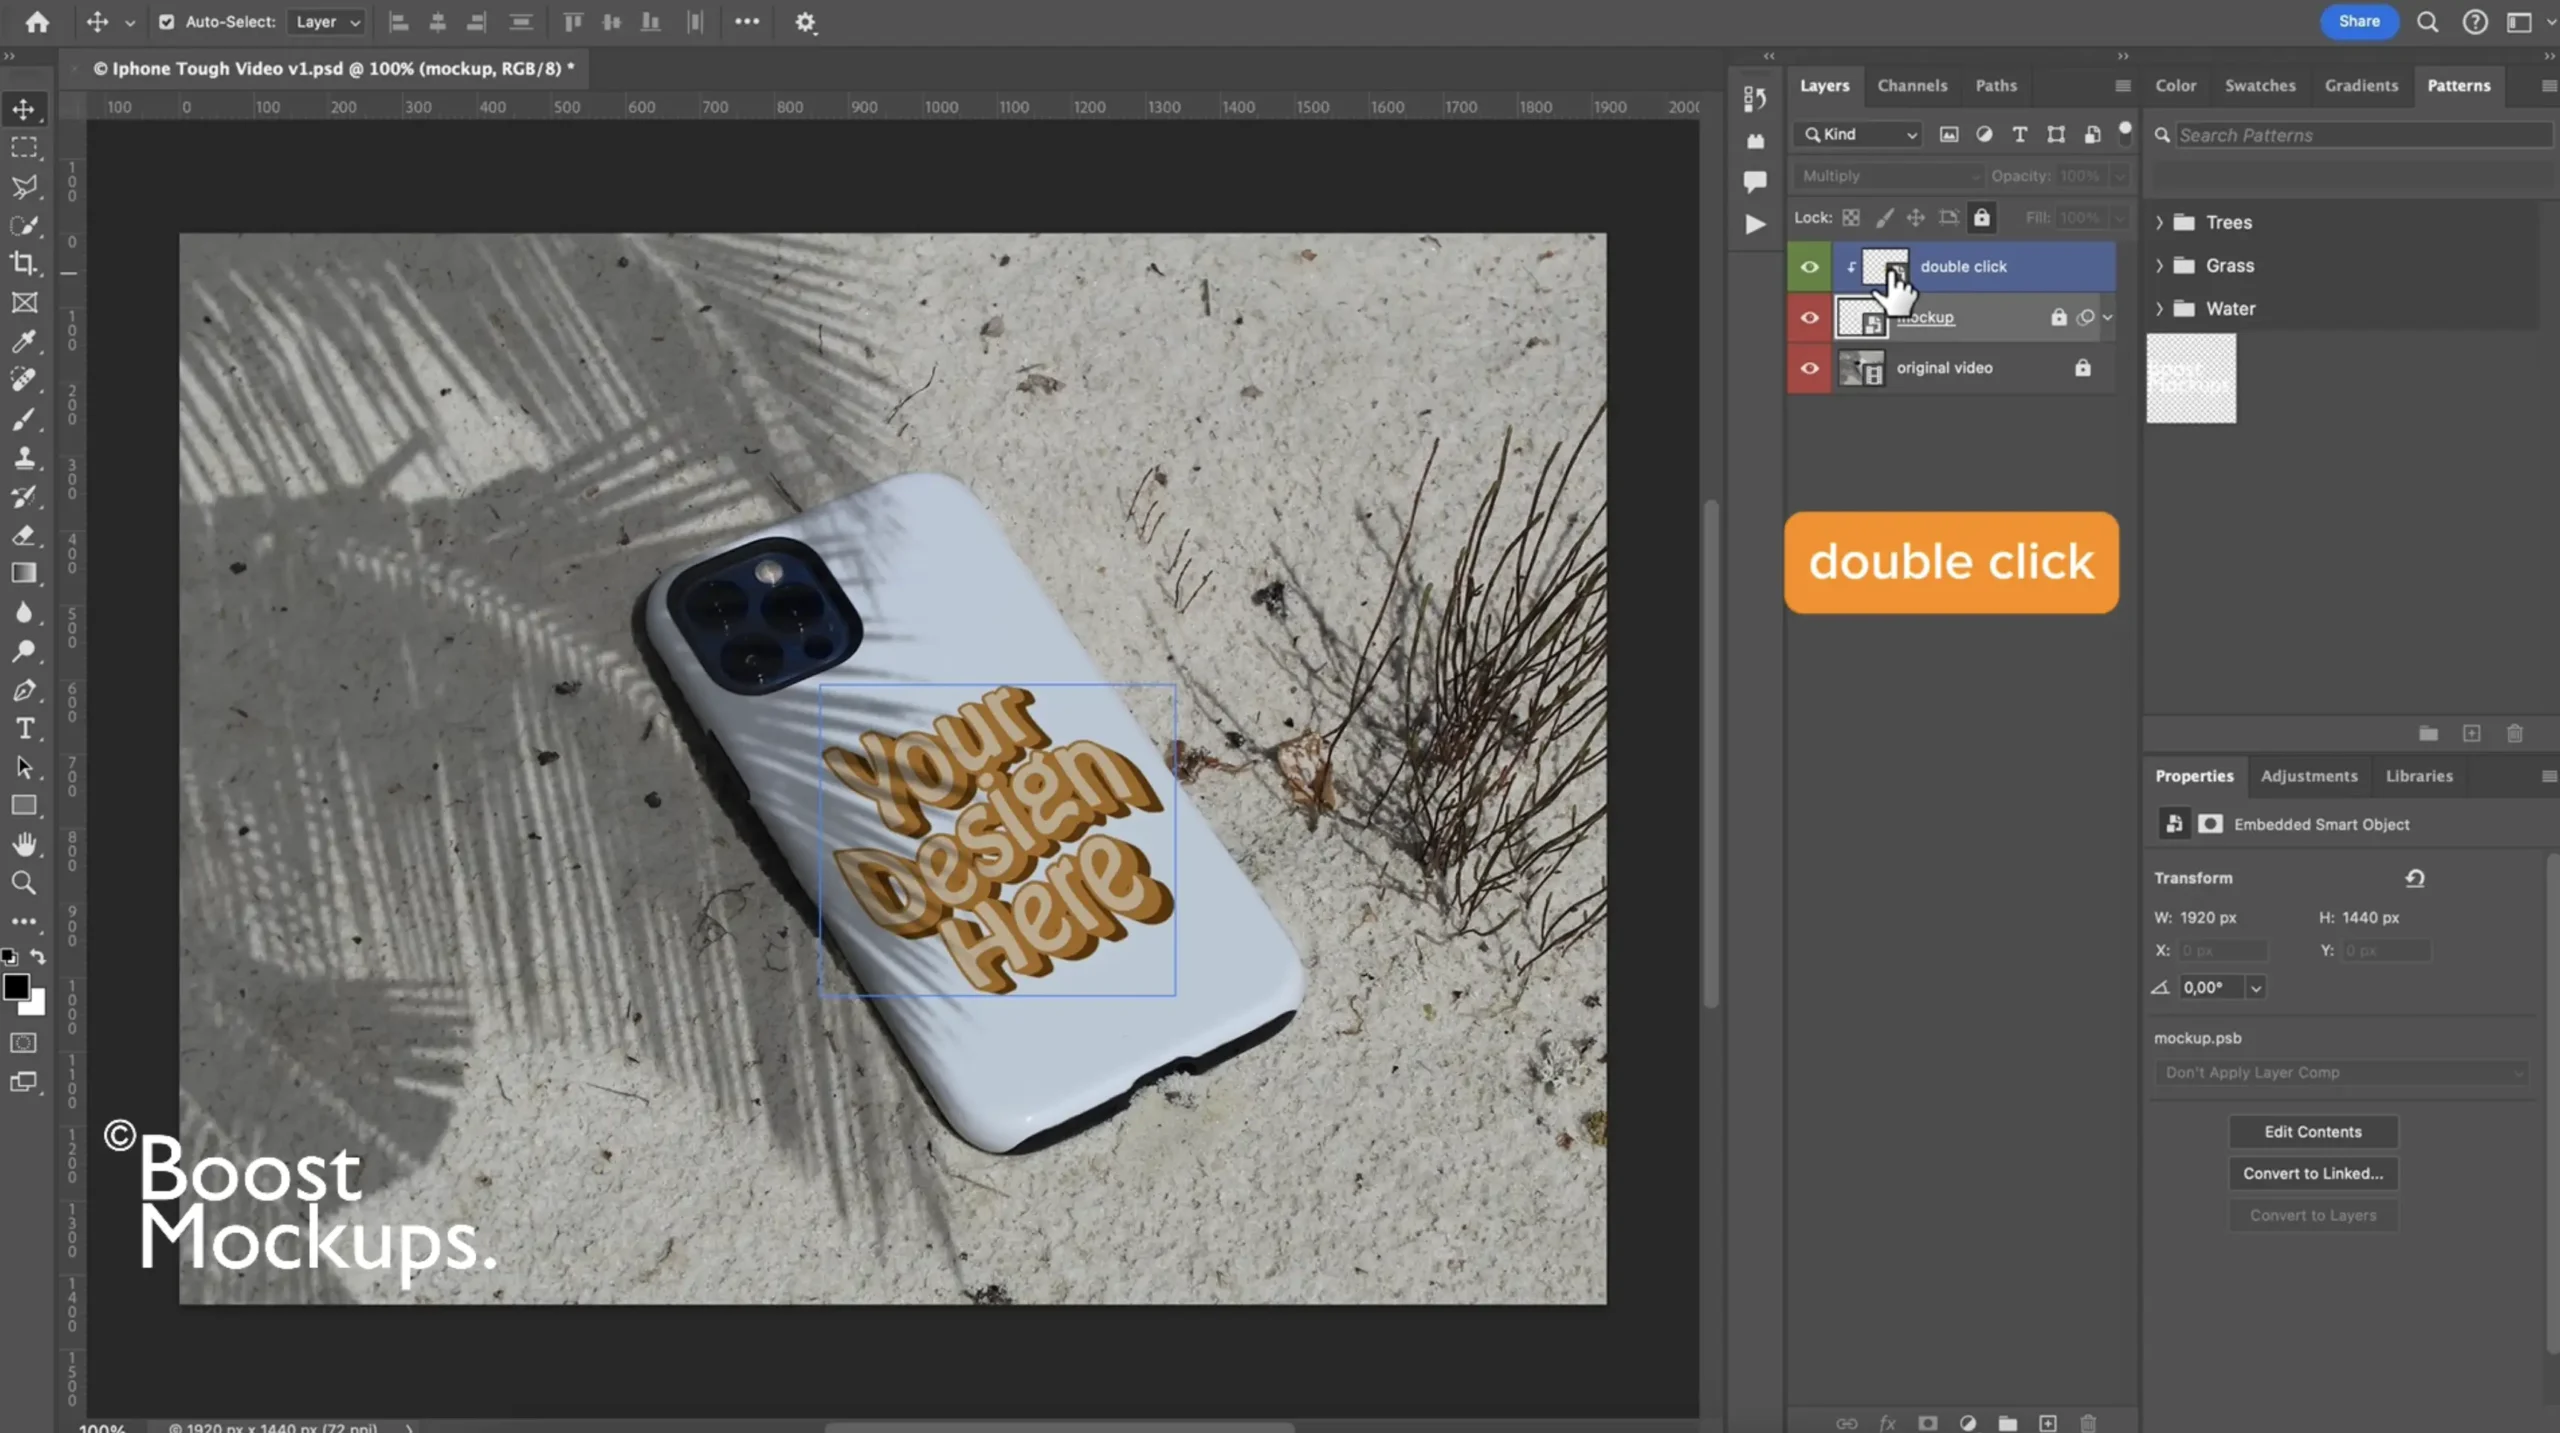
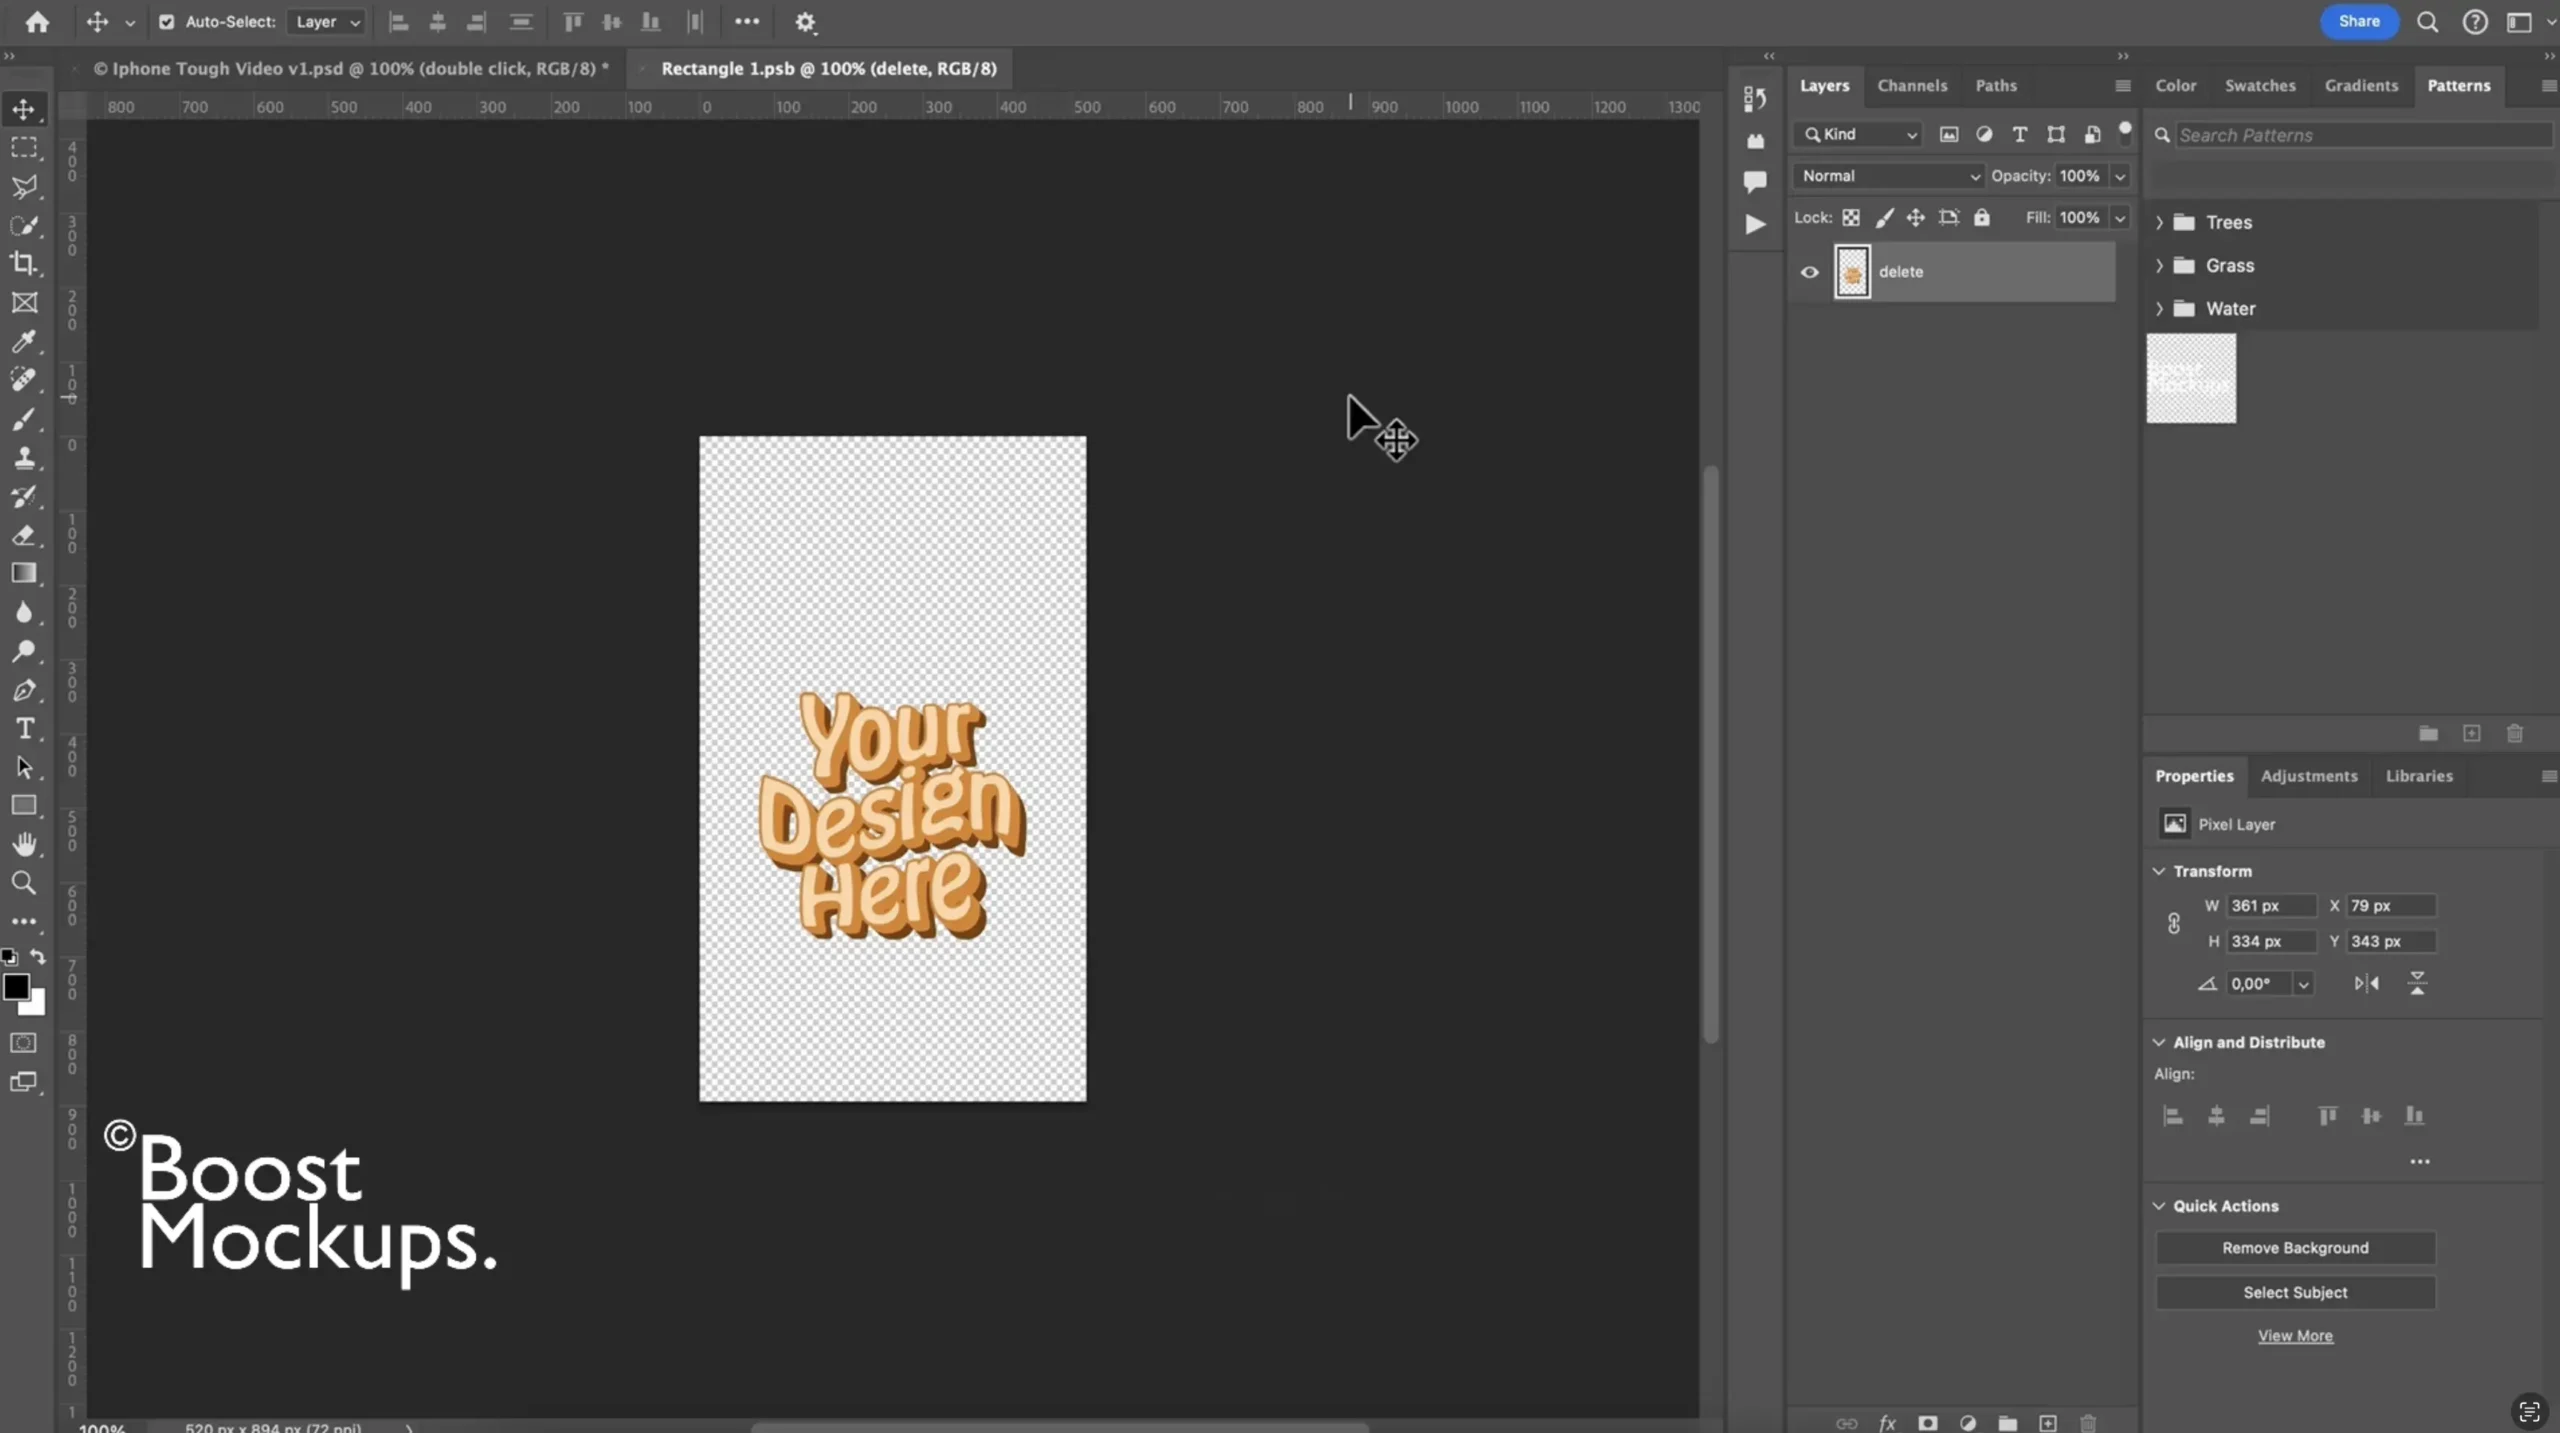
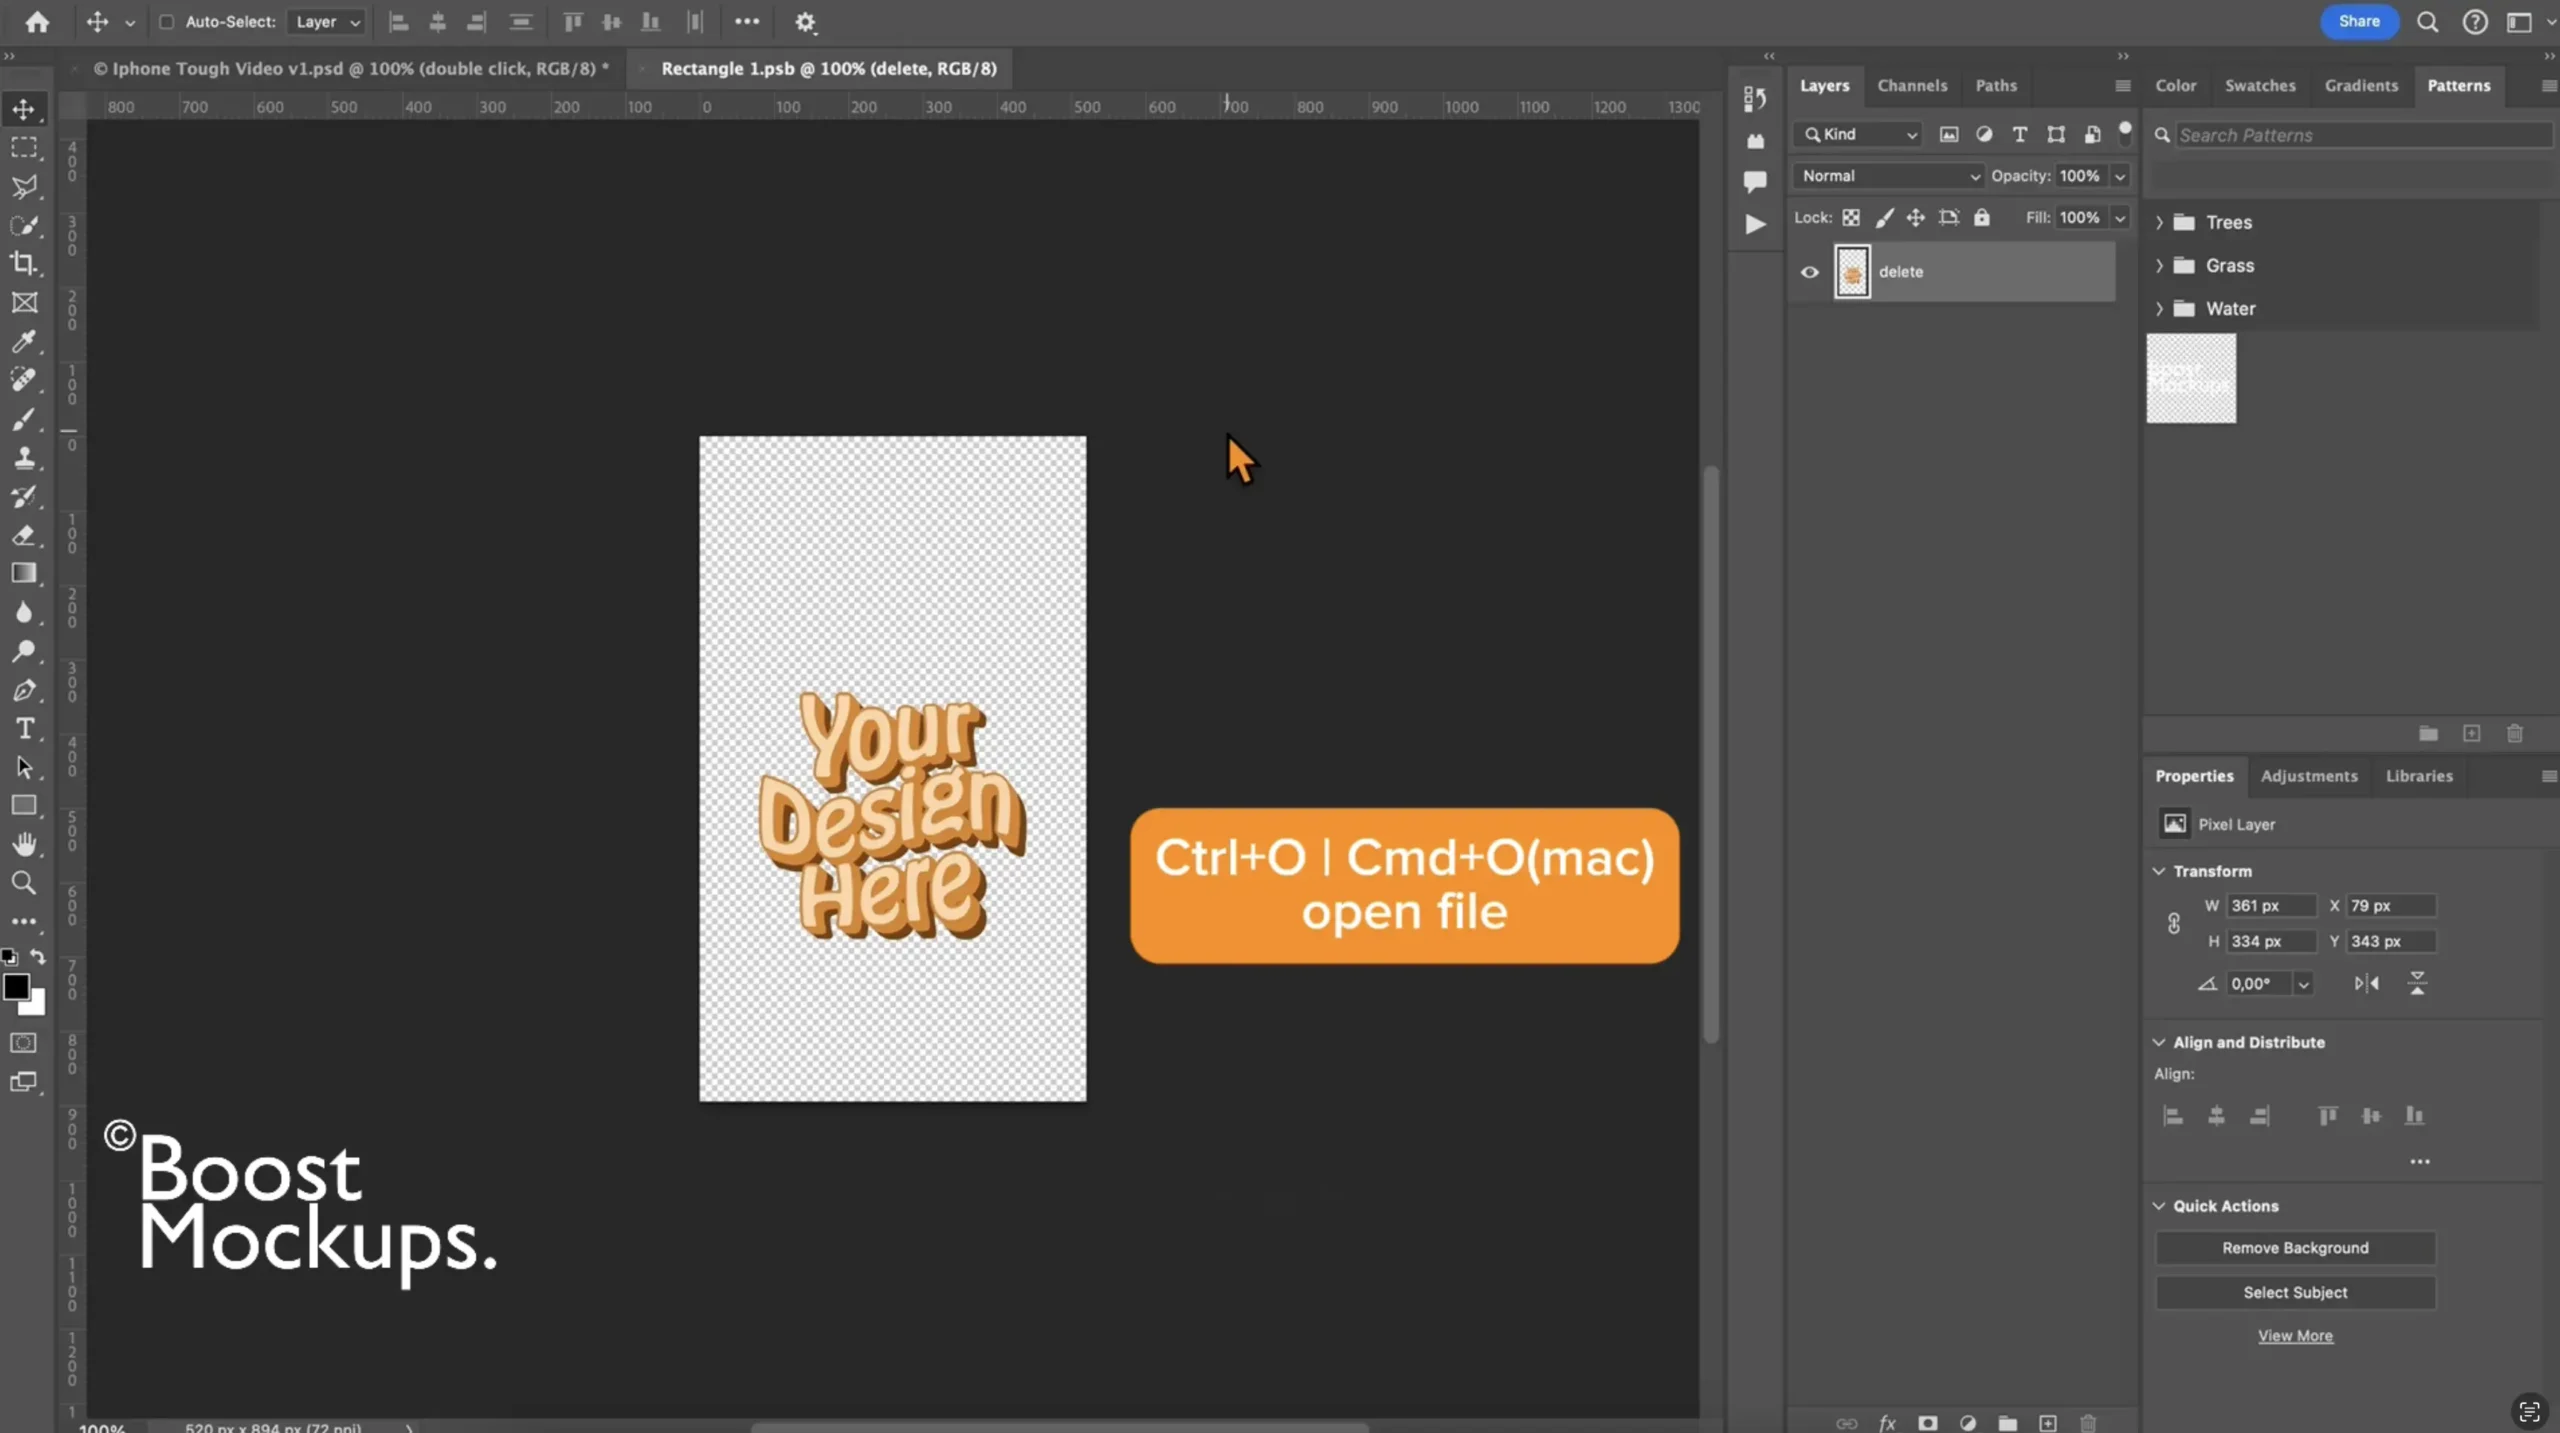
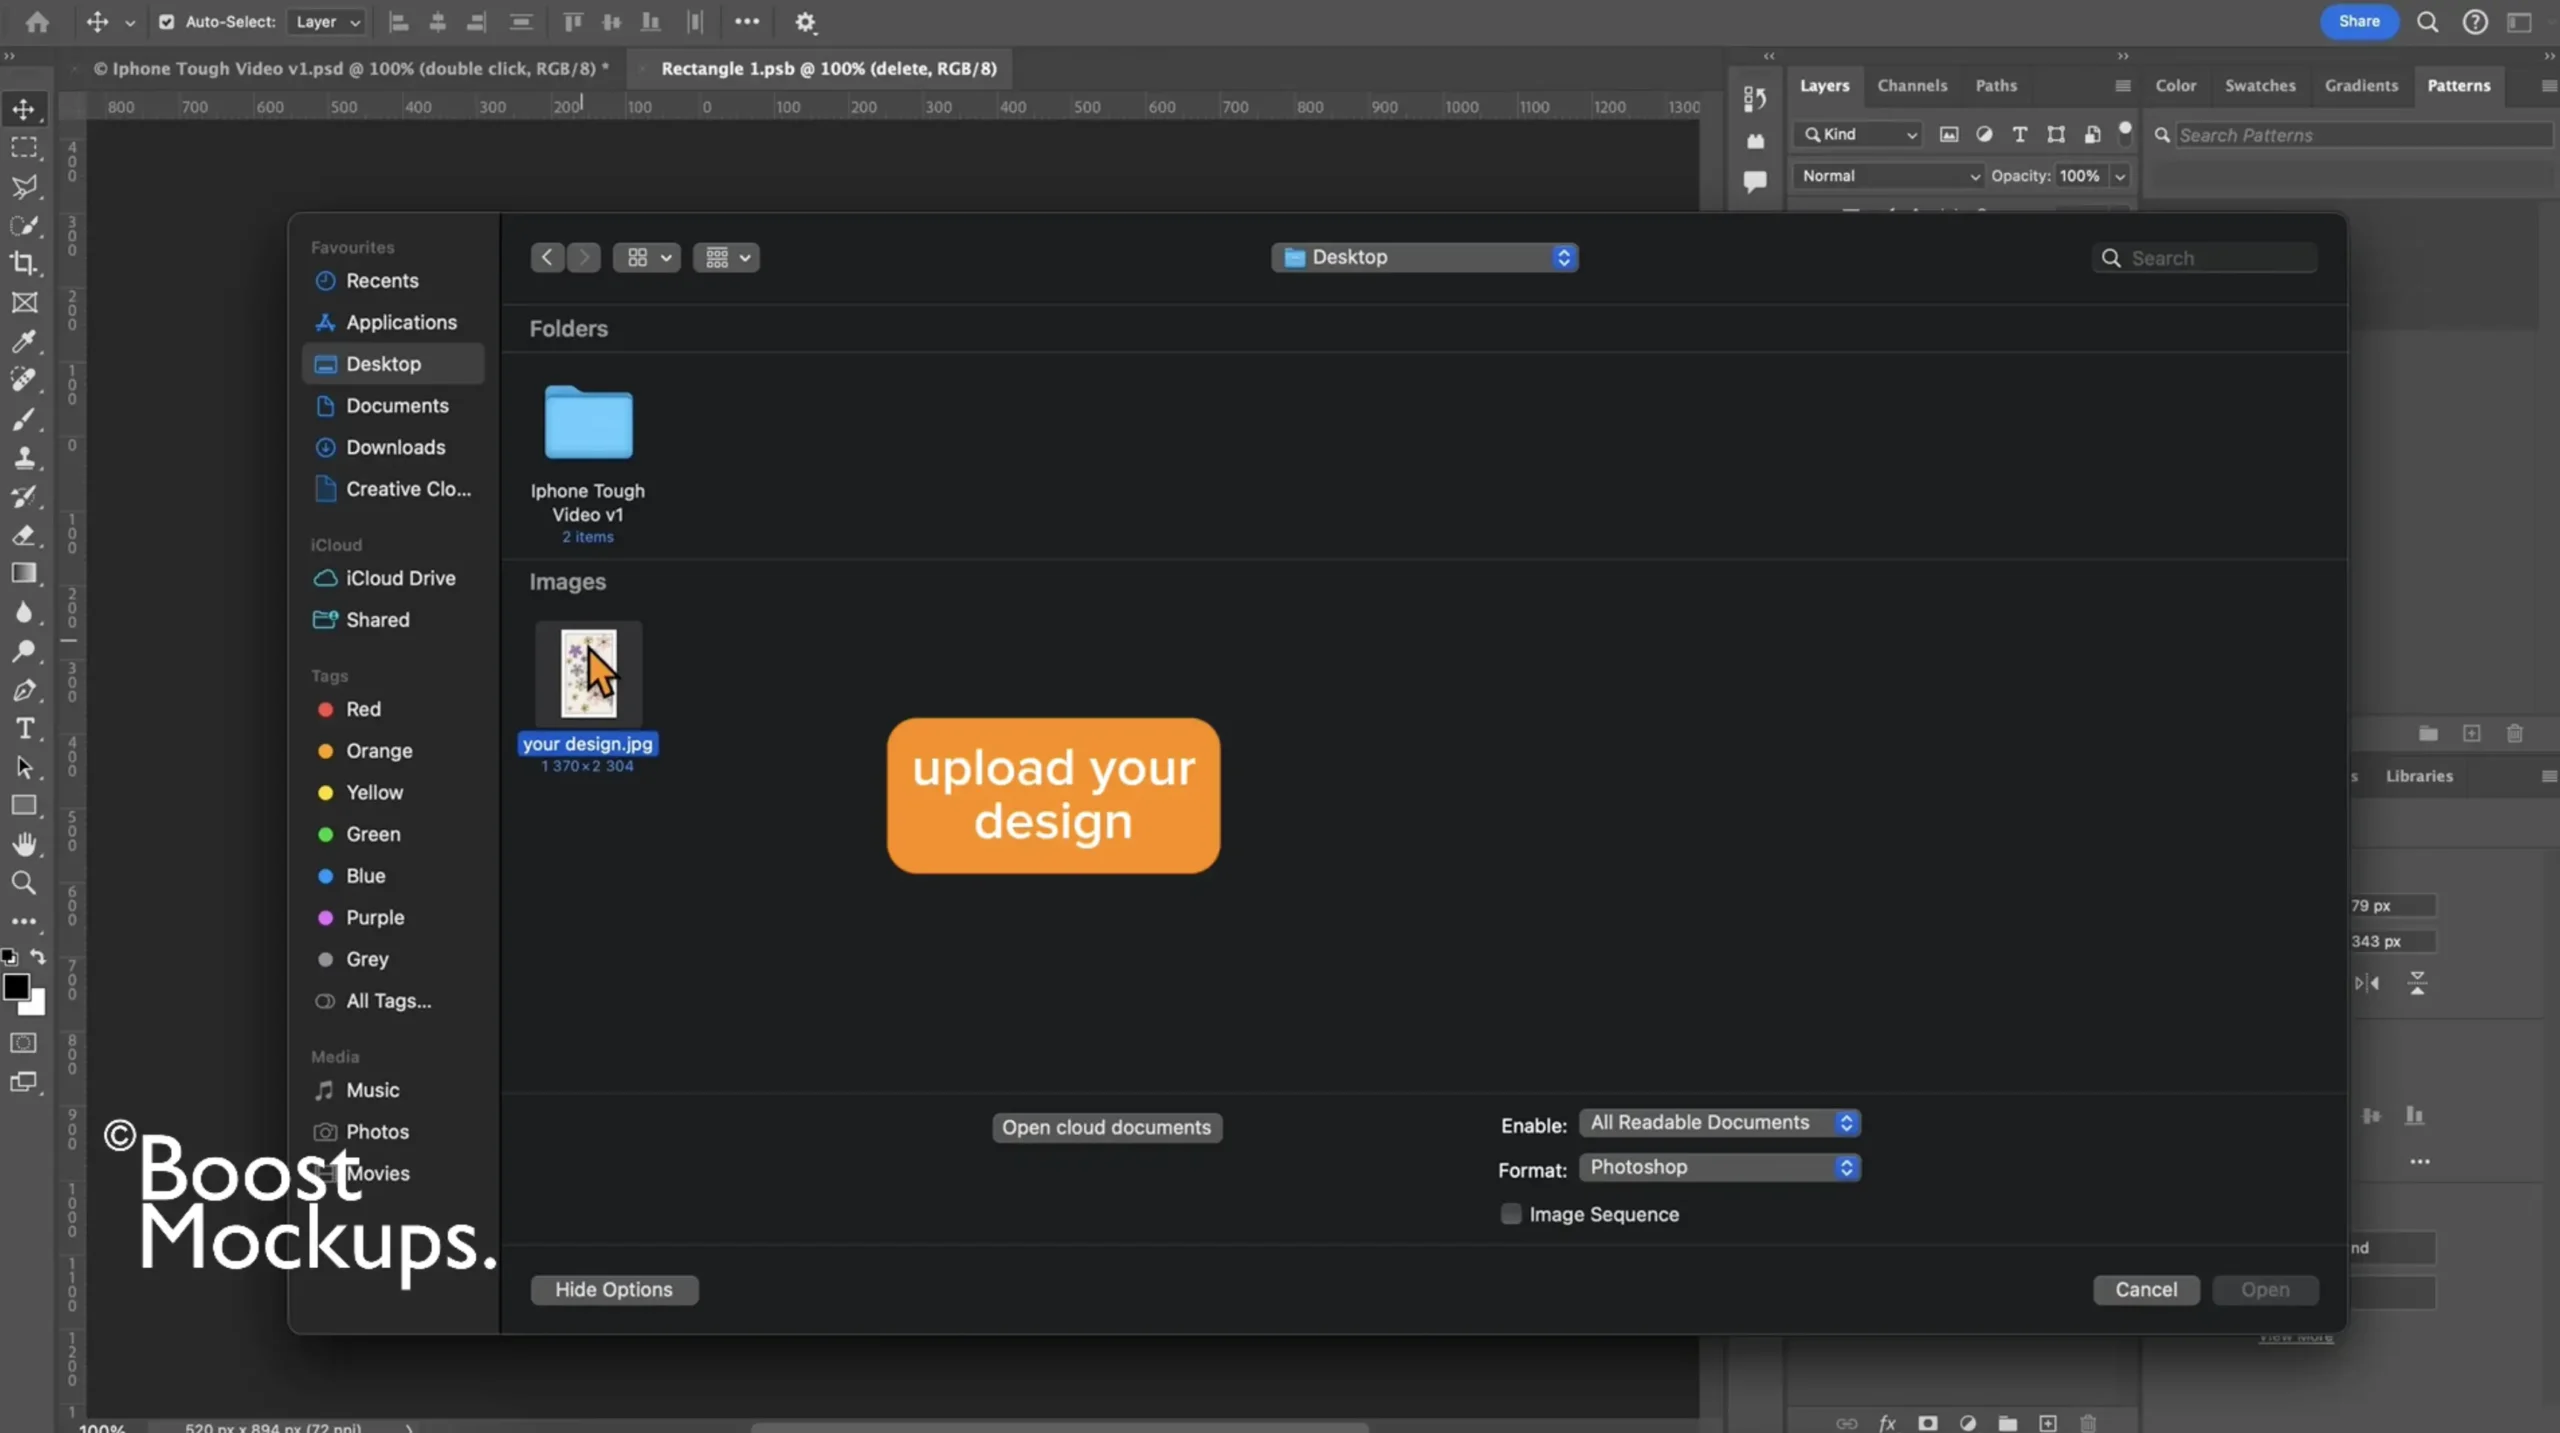
How to Add Your Design to a Phone Case Video Mockup in Photoshop

Static mockups are cool. But video mockups? That’s next-level.
If you’re ready to make your phone case designs move — literally — then you’re in the right place. This Photoshop video phone case mockup tutorial will show you exactly how to add your design to a moving mockup and create scroll-stopping product videos that look like they came out of a fancy ad studio (but actually came from your laptop and a cup of coffee).
Whether you’re an Etsy seller looking to upgrade your listings or a digital designer wanting to impress on social media, video mockups are your secret weapon. They give your product that high-quality, pro-brand vibe — without you ever needing to shoot a real video.
And yes — you can do this all in Photoshop. No After Effects. No paid editors. Just layers, smart objects, and a few clicks.
Try Free Video Phone Case Mockup from BoostMockups
👉 Want to follow along? Try a free video phone case mockup here on BoostMockups — because we like our tutorials useful and our mockups free.
Let’s hit play on your product presentation glow-up!

✅ What You’ll Need
Before we begin, gather your mockup tools:
Adobe Photoshop (preferably a version with Timeline support — CC is best)
A video phone case mockup in PSD format
→ Try a free video mockup from BoostMockupsYour design file (PNG recommended)
Step 1: Open the Video Mockup in Photoshop
Open Photoshop
Go to File > Open

Choose your PSD video mockup file

When you open your PSD video mockup, you might see a message like “Cannot locate linked assets.” Don’t panic — it’s totally normal.
Just click “Relink”, then navigate to the “link” folder included with your mockup. Select the video file inside, press ‘OK’, and Photoshop will do the rest — it’ll automatically reattach the video to your PSD file so everything works as it should.

Step 2: Locate the Smart Object Layer
In the Layers panel, find the layer labeled “double click”
Double-click the white thumbnail (NOT the layer name!)

A new window will open — this is your Smart Object workspace

Step 3: Add Your Design
In the Smart Object window, drag and drop your PNG or JPEG design or Ctrl+O / Cmd+O (Mac) shortcut open file


Use Ctrl+T / Cmd+T (Mac) to resize and center it on the phone case area
Hit Enter when it’s positioned perfectly

Step 4: Save the Smart Object
Press Ctrl+S / Cmd+S (Mac) to save the Smart Object
Close that tab — your main video mockup will automatically update with your design on every frame of the animation!


Step 5: Export the Video Mockup
Go to File > Export > Render Video

Choose your desired settings (H.264 for Instagram or Etsy works great)
Name your file and hit Render
And boom — you’ve got yourself a high-quality, branded product video!

Cha-ching! Your case just got Boosted.⚡️
Try a Free Video Phone Case Mockup
Want to try it without spending a dime?
👉 Download a free video phone case mockup from BoostMockups and follow along with this tutorial.
Video mockups are the easiest way to stand out in crowded markets like Etsy, especially when your competitors are still stuck on flat JPEGs. With Photoshop and the right mockup, your product can finally shine in full motion.
Reading not your thing? No problem — the step-by-step video tutorial has your back.
Watch your design come to life in real time, no stress (and way more satisfying than binge-watching). Click for the magic
