If you really want your phone case designs to look polished, high-quality, and totally shop-ready — Photoshop is where the magic happens.
Yes, it can feel a little intimidating at first, but trust us: using Photoshop gives your product mockups that clean, professional look that makes customers stop scrolling and start buying.
Don’t worry — this Photoshop phone case mockup tutorial is your no-drama guide to getting that pro-level product photo without any meltdowns (or Googling “what is a smart object” for the 6th time).
Whether you’re an Etsy seller, a small business boss, or just someone who wants your designs to look as good as they are, this step-by-step tutorial will show you exactly how to drop your artwork into a PSD mockup — and make it look like it was photographed in a studio.
Try 3 Free Phone Case Mockups from BoostMockups
Let’s dive in and turn your designs into scroll-stopping product photos!
✅ What You’ll Need
Before we begin, gather your mockup tools:
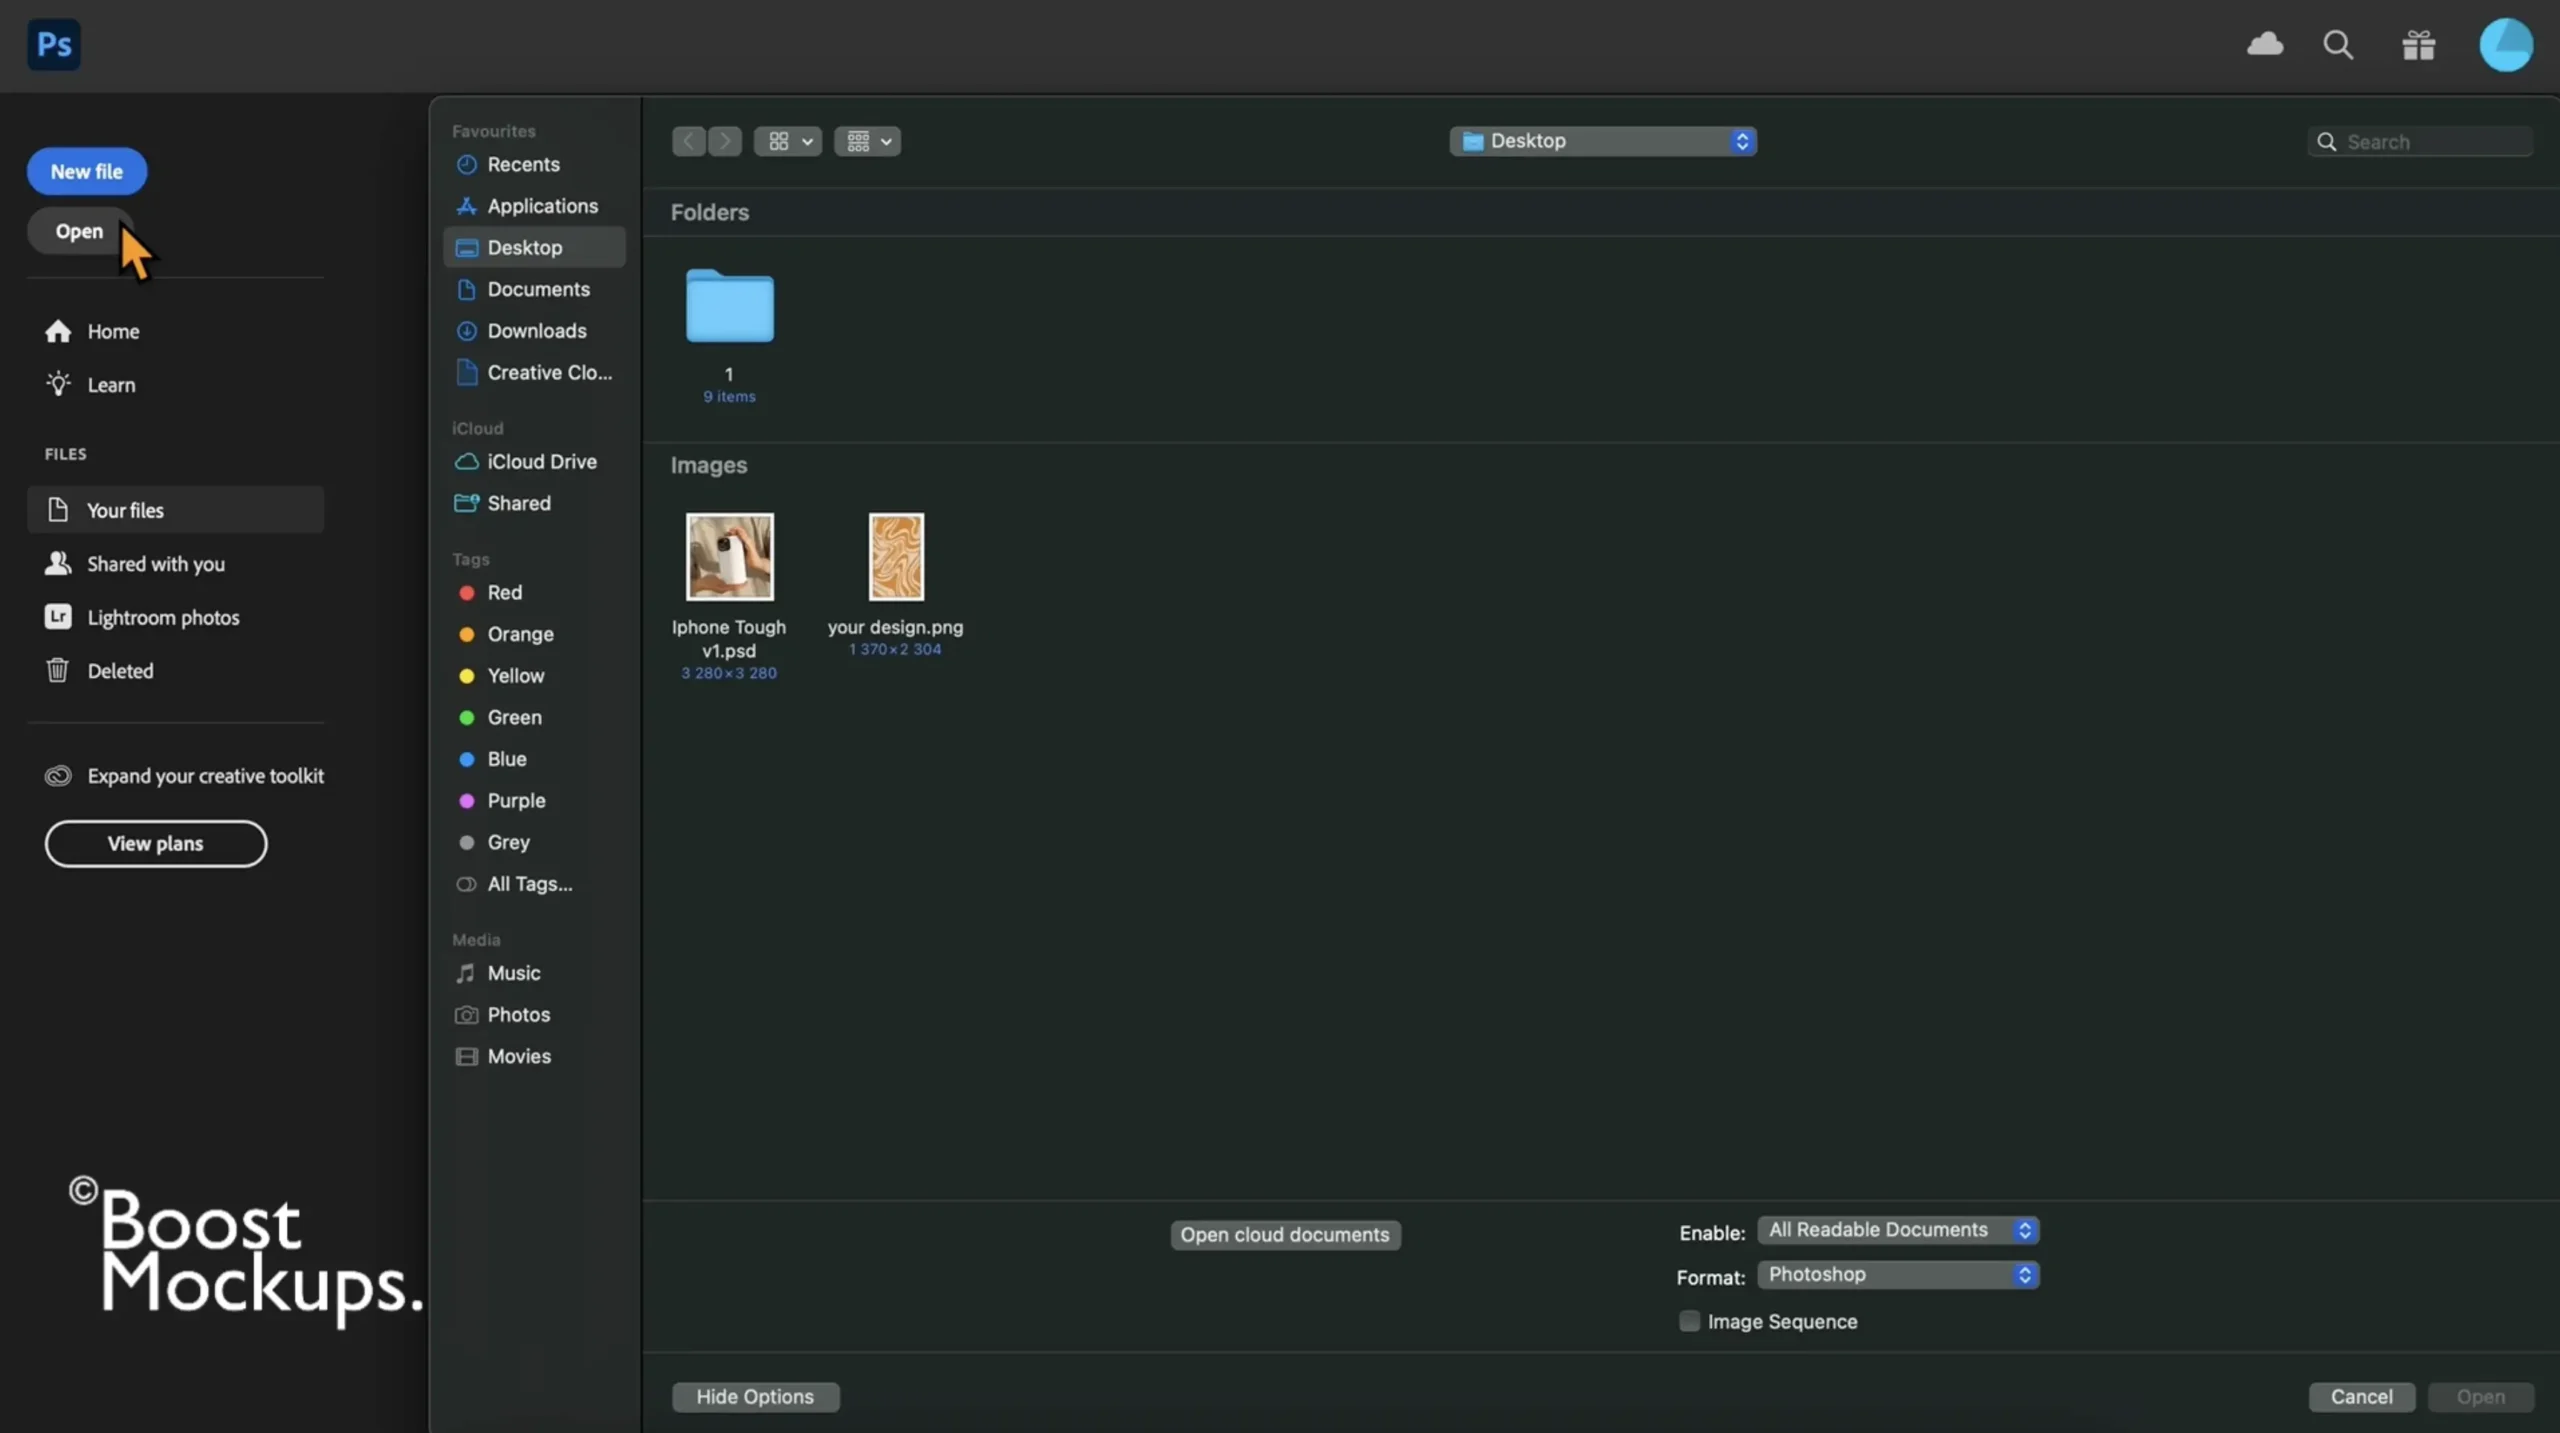
Step 1: Open Your PSD Mockup in Photoshop
Launch Photoshop
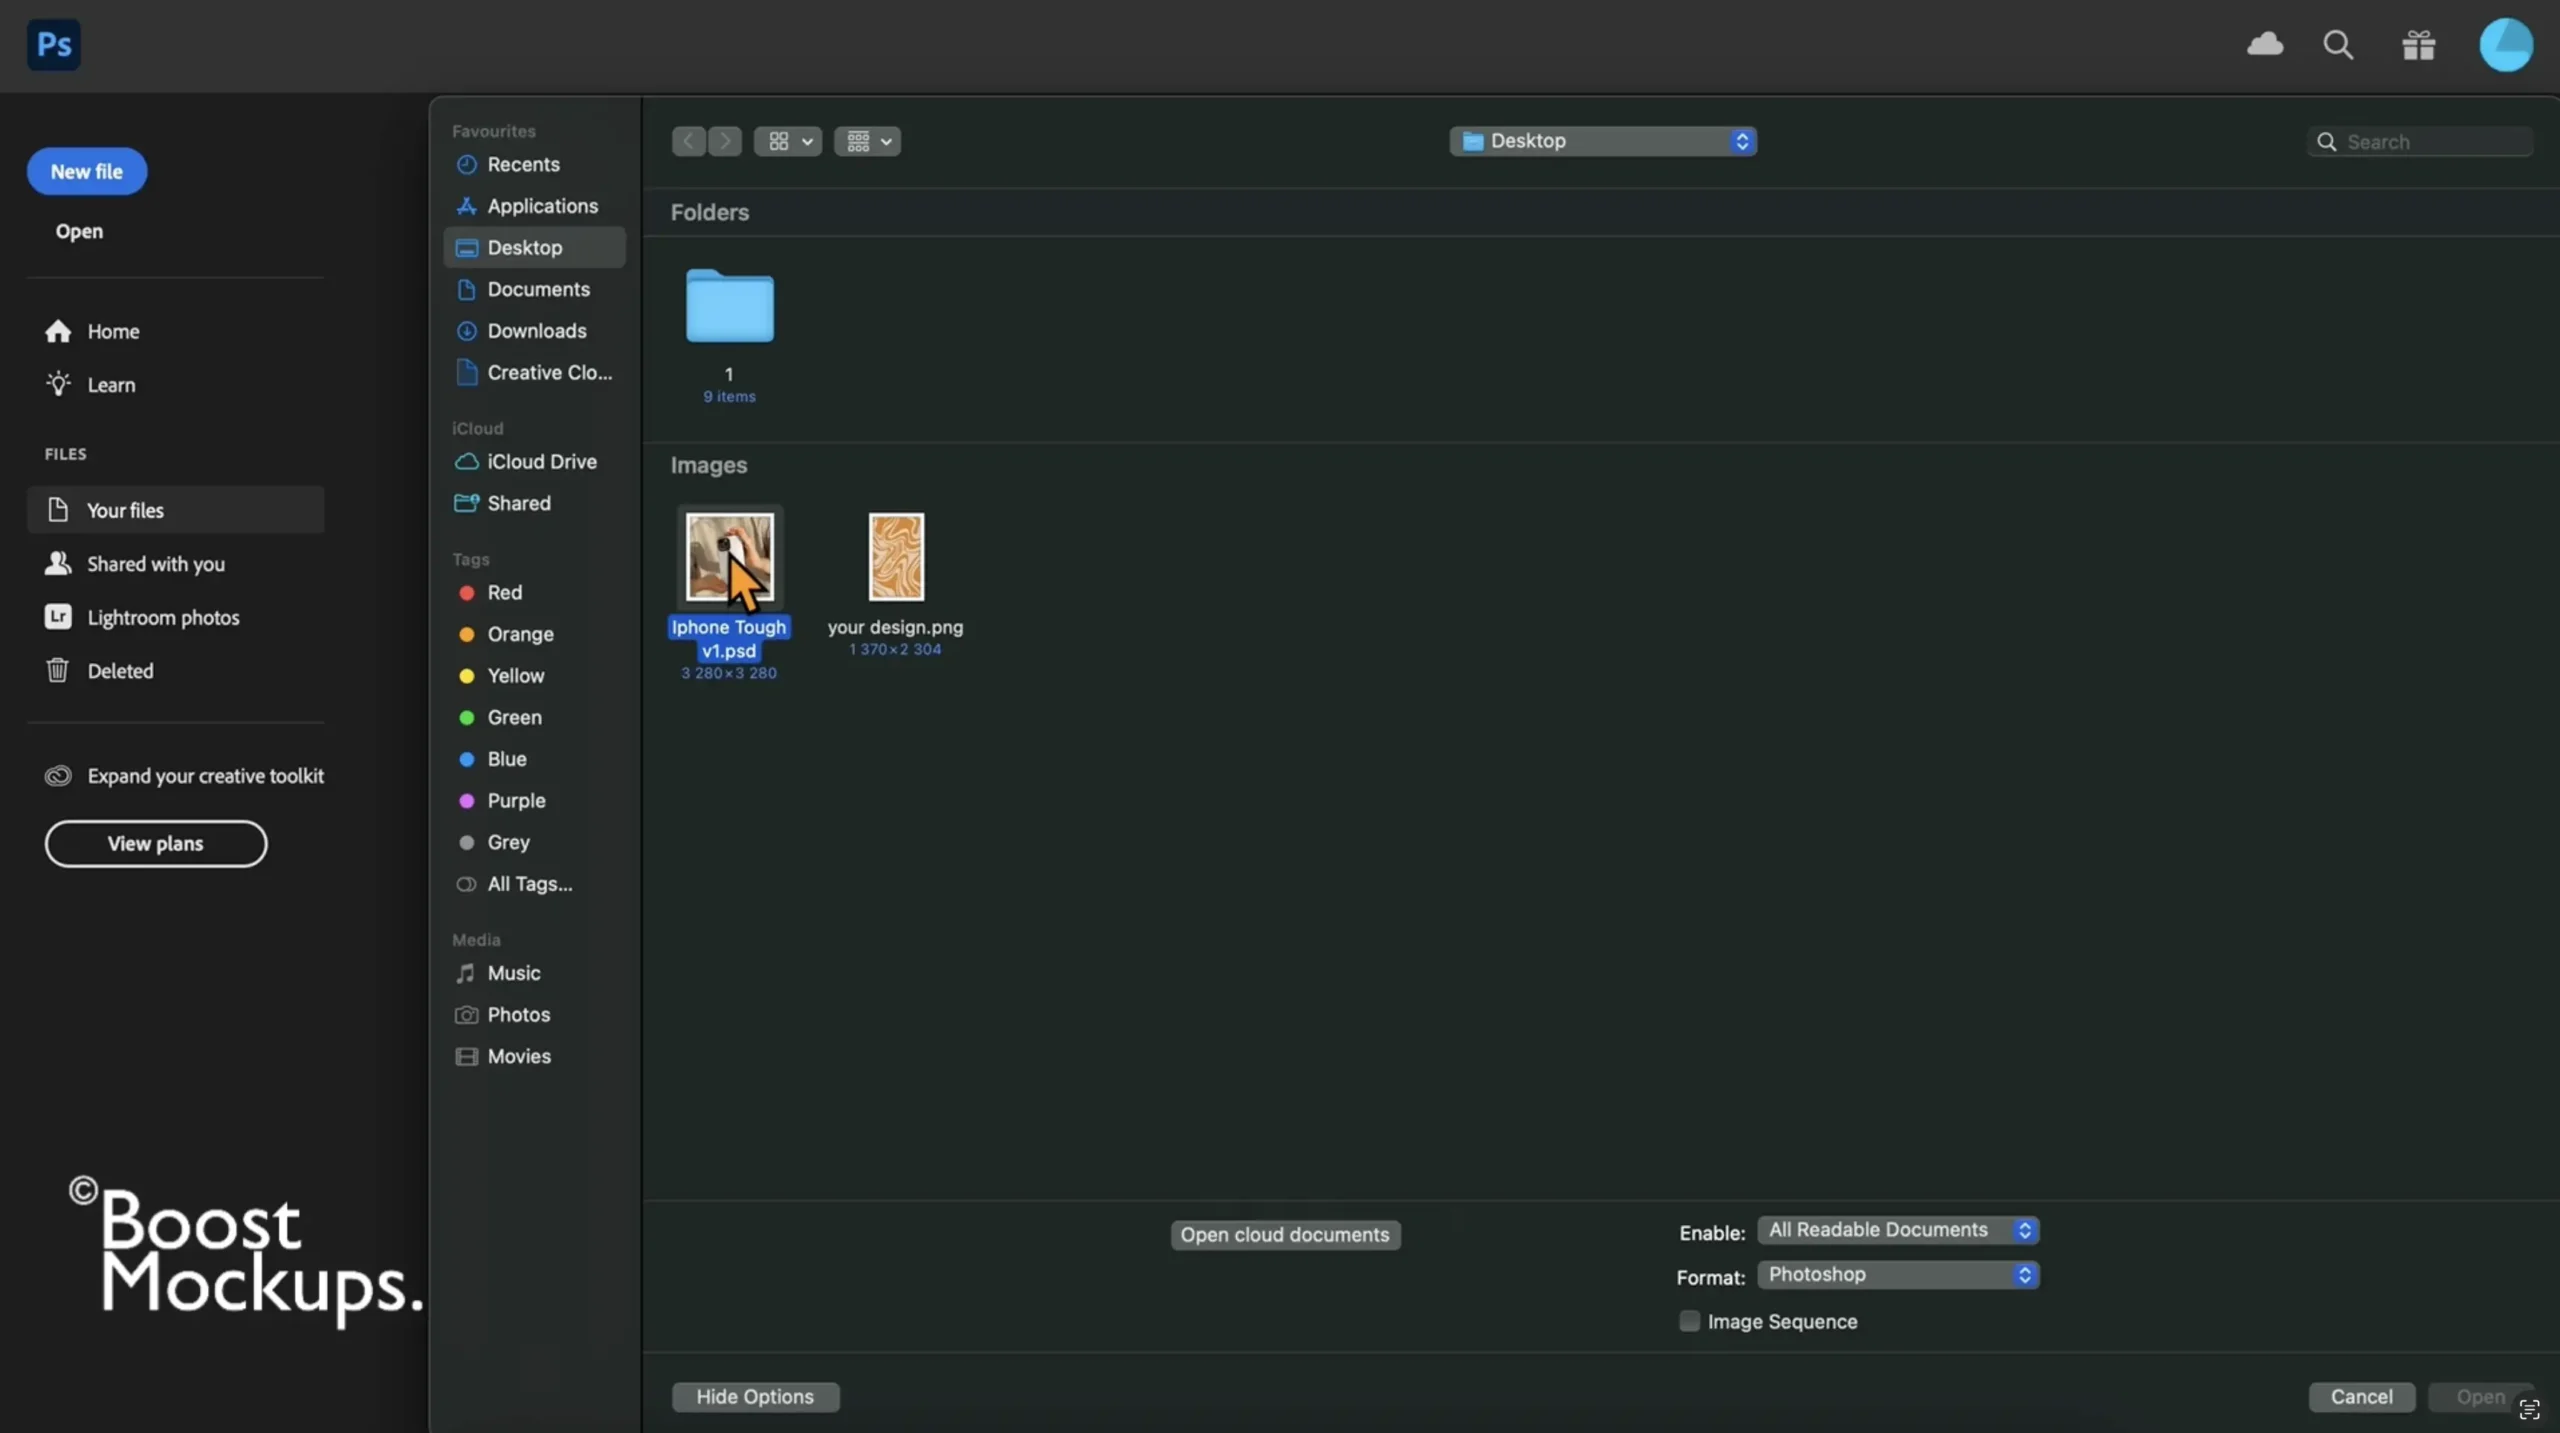
Click File > Open
Choose your phone case mockup file (PSD) — this will open a layered file with everything set up for editing
💡 Pro Tip: Our BoostMockups mockups are organized with Smart Objects, so editing them is fast and painless.
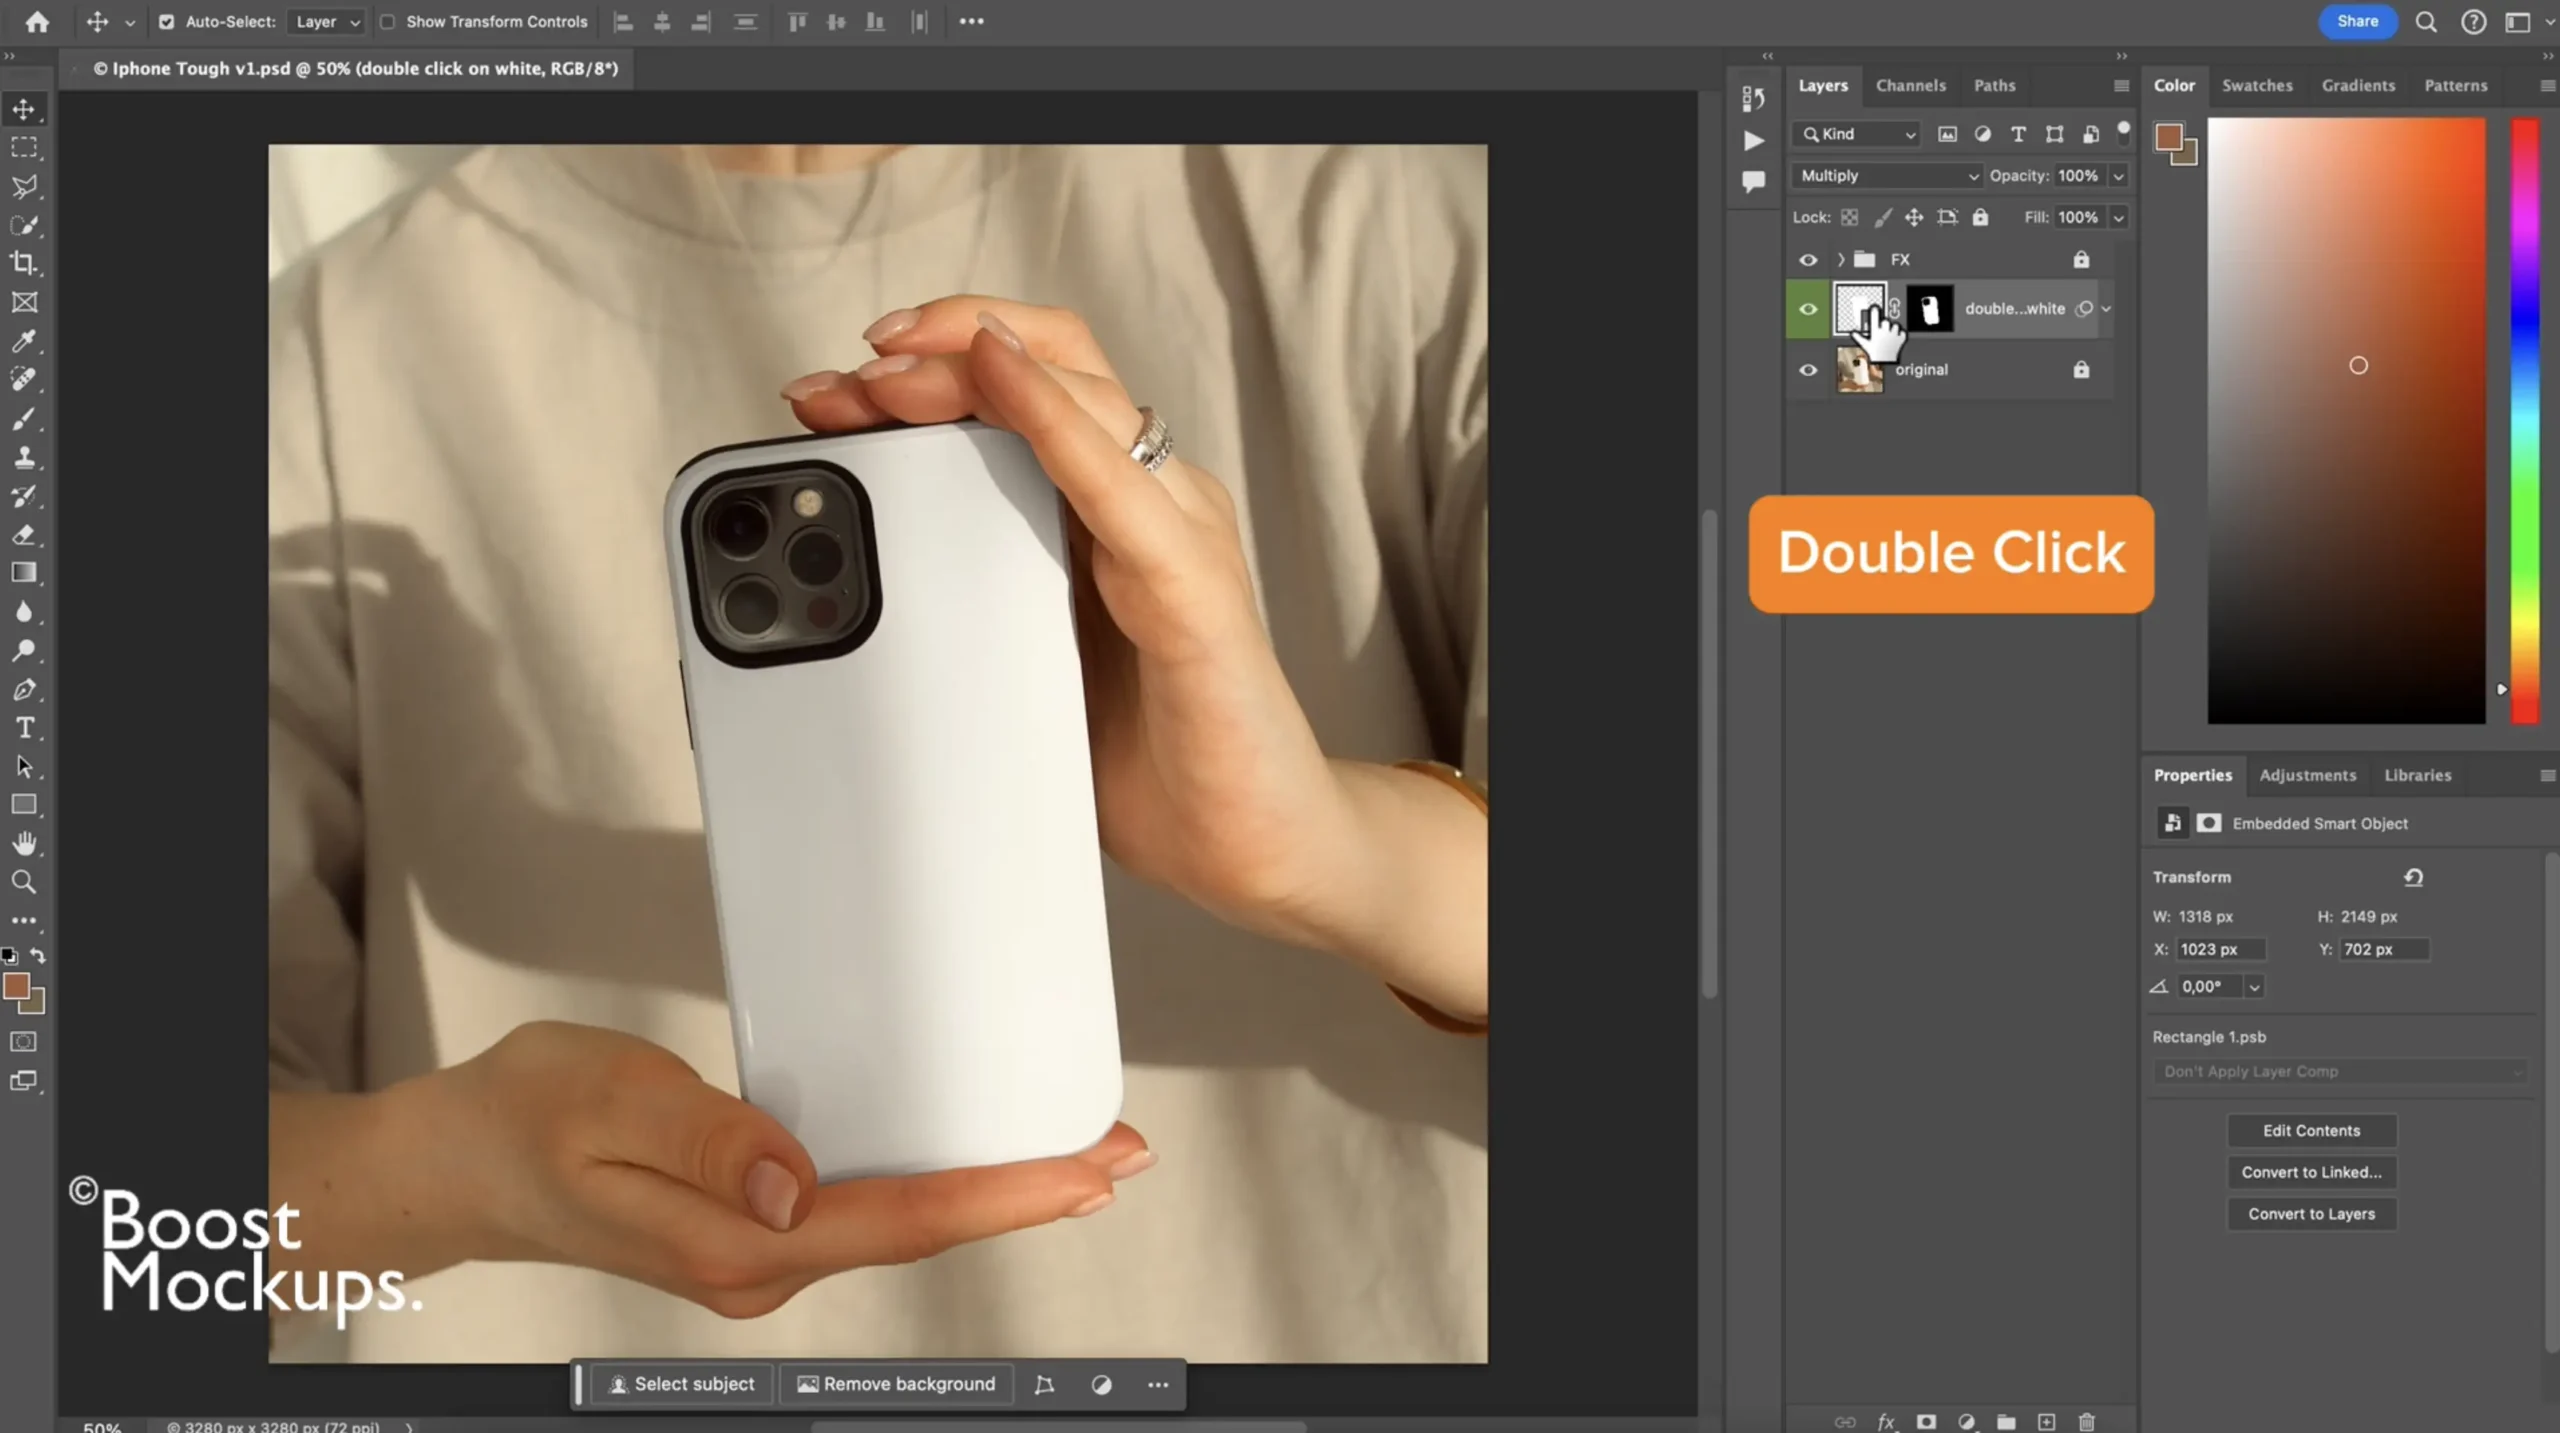
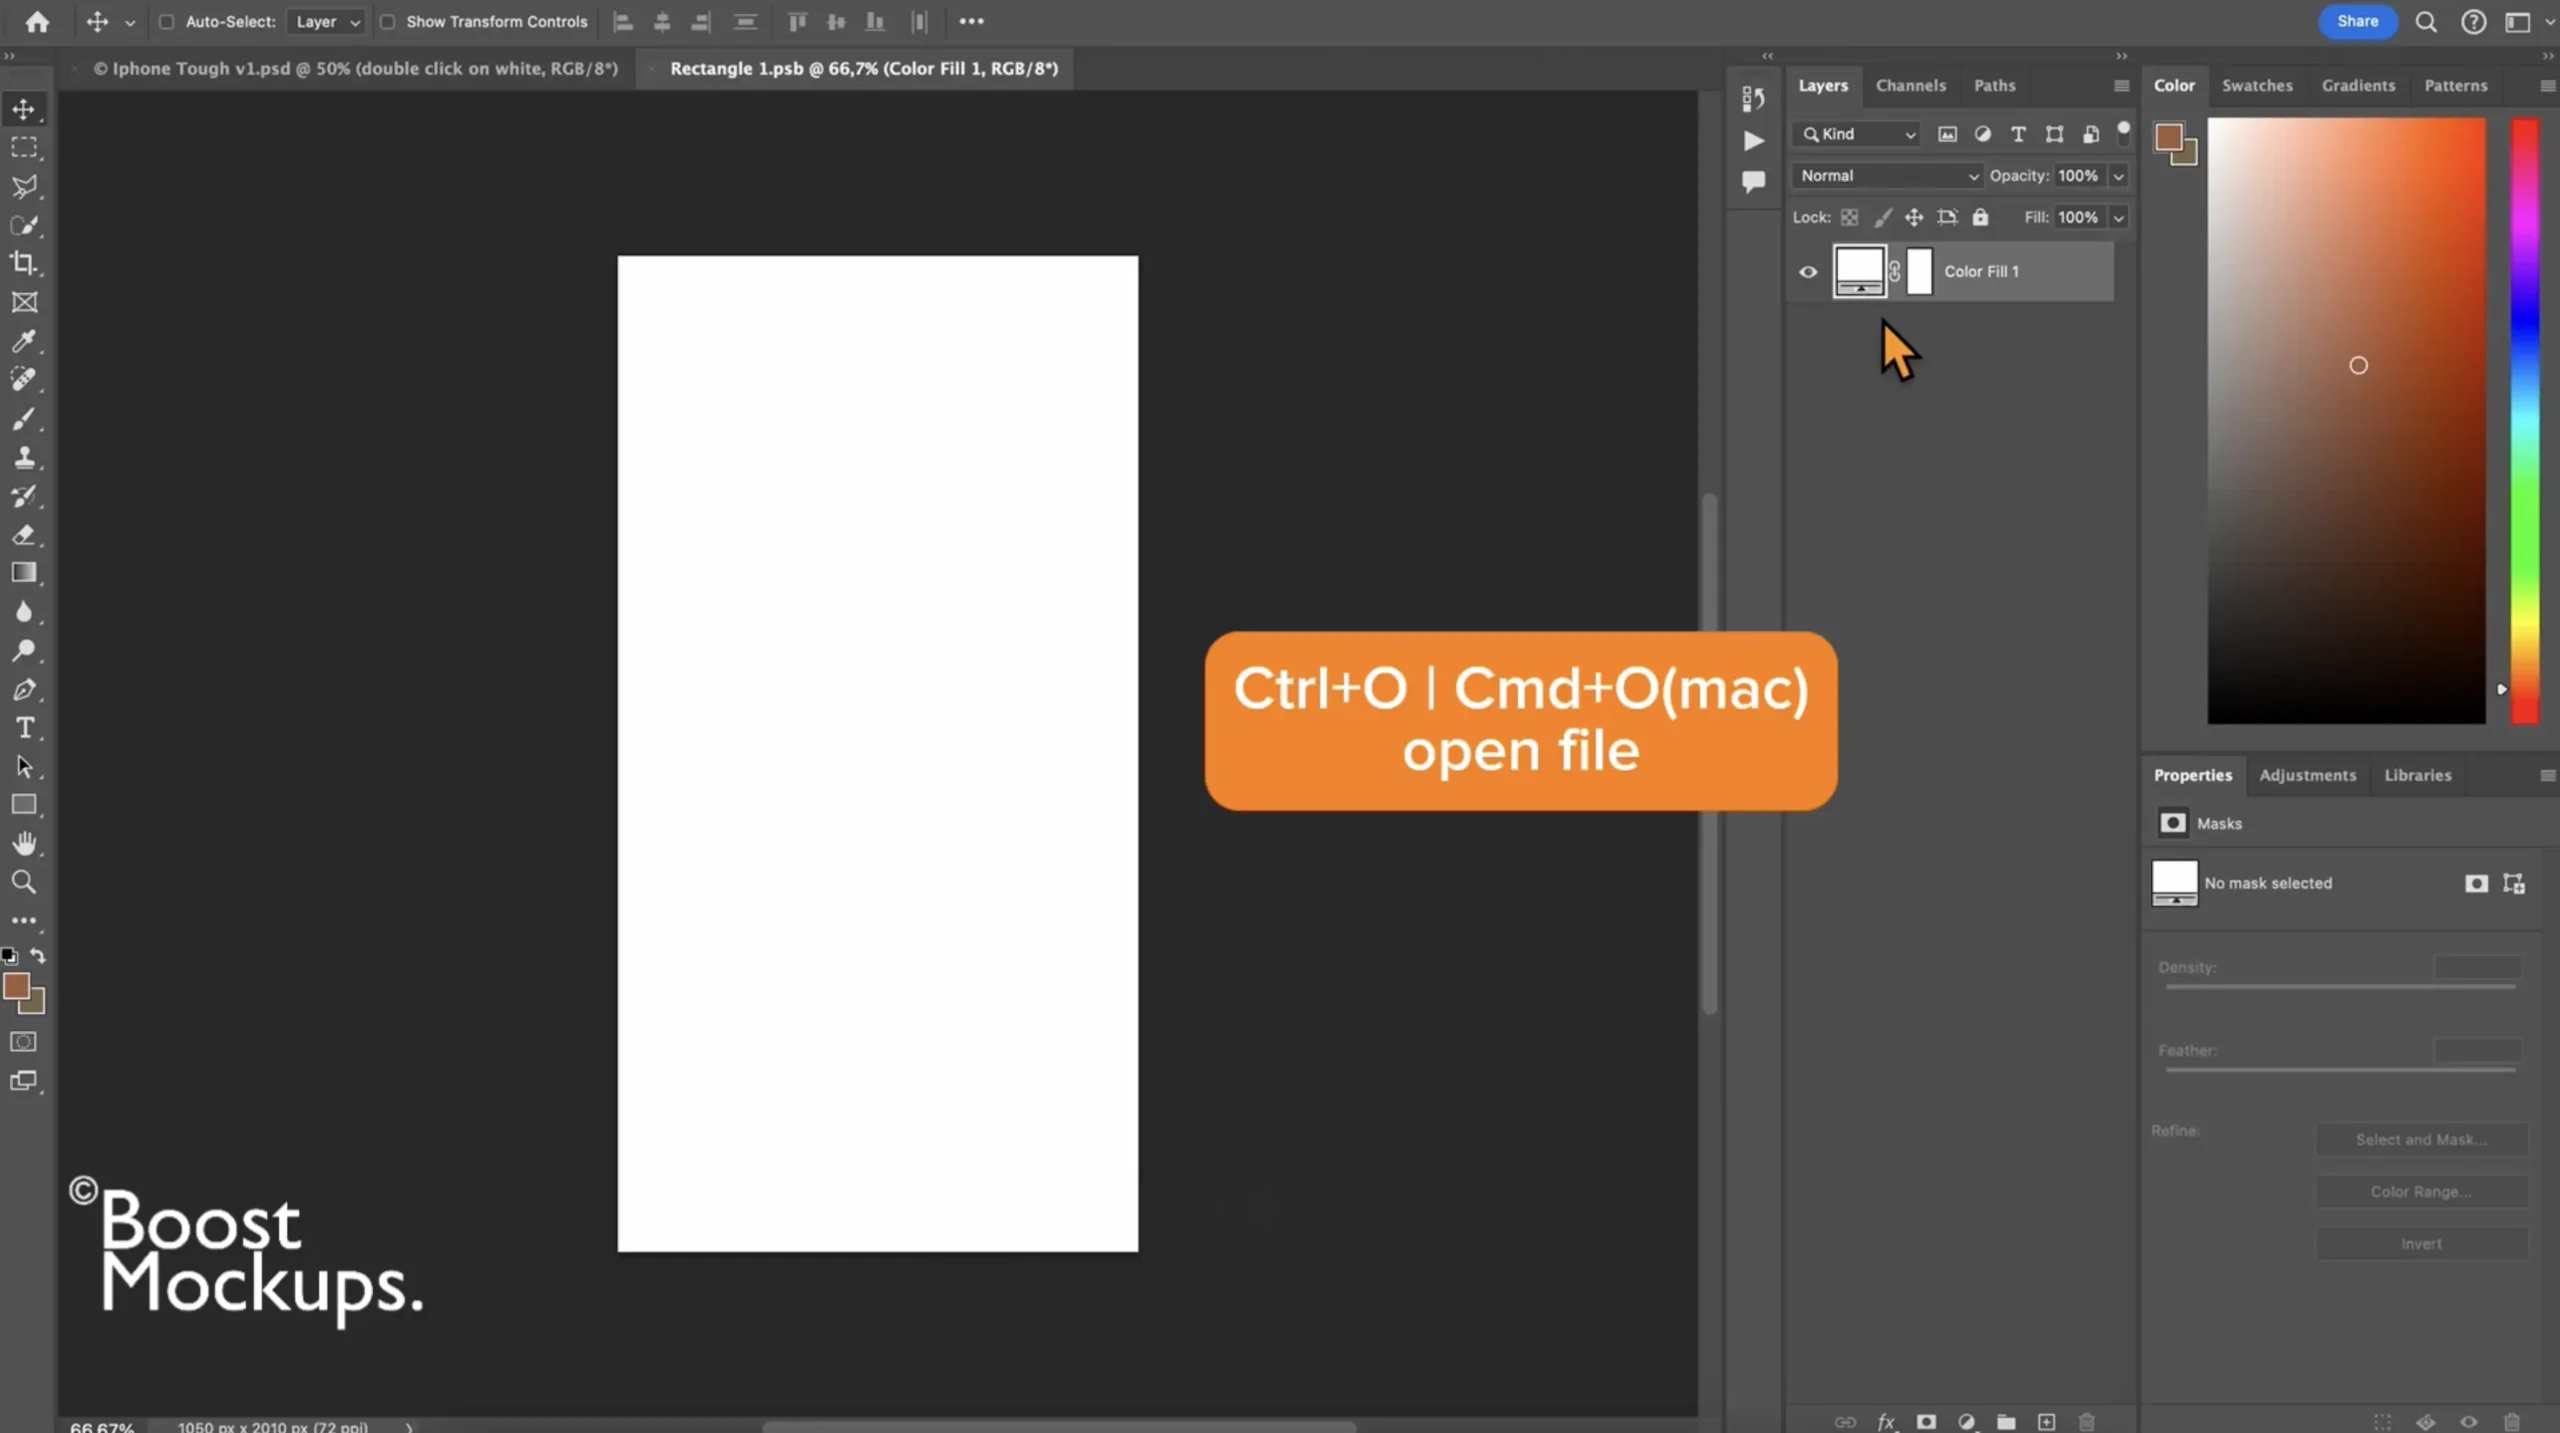
Step 2: Find and Open the Smart Object
In the Layers panel (on the right side):
Look for a layer named ‘double click‘
Double-click the white thumbnail icon (not the name!) — this opens a new tab with the editable area
Now you’re inside the Smart Object, where the real magic happens.
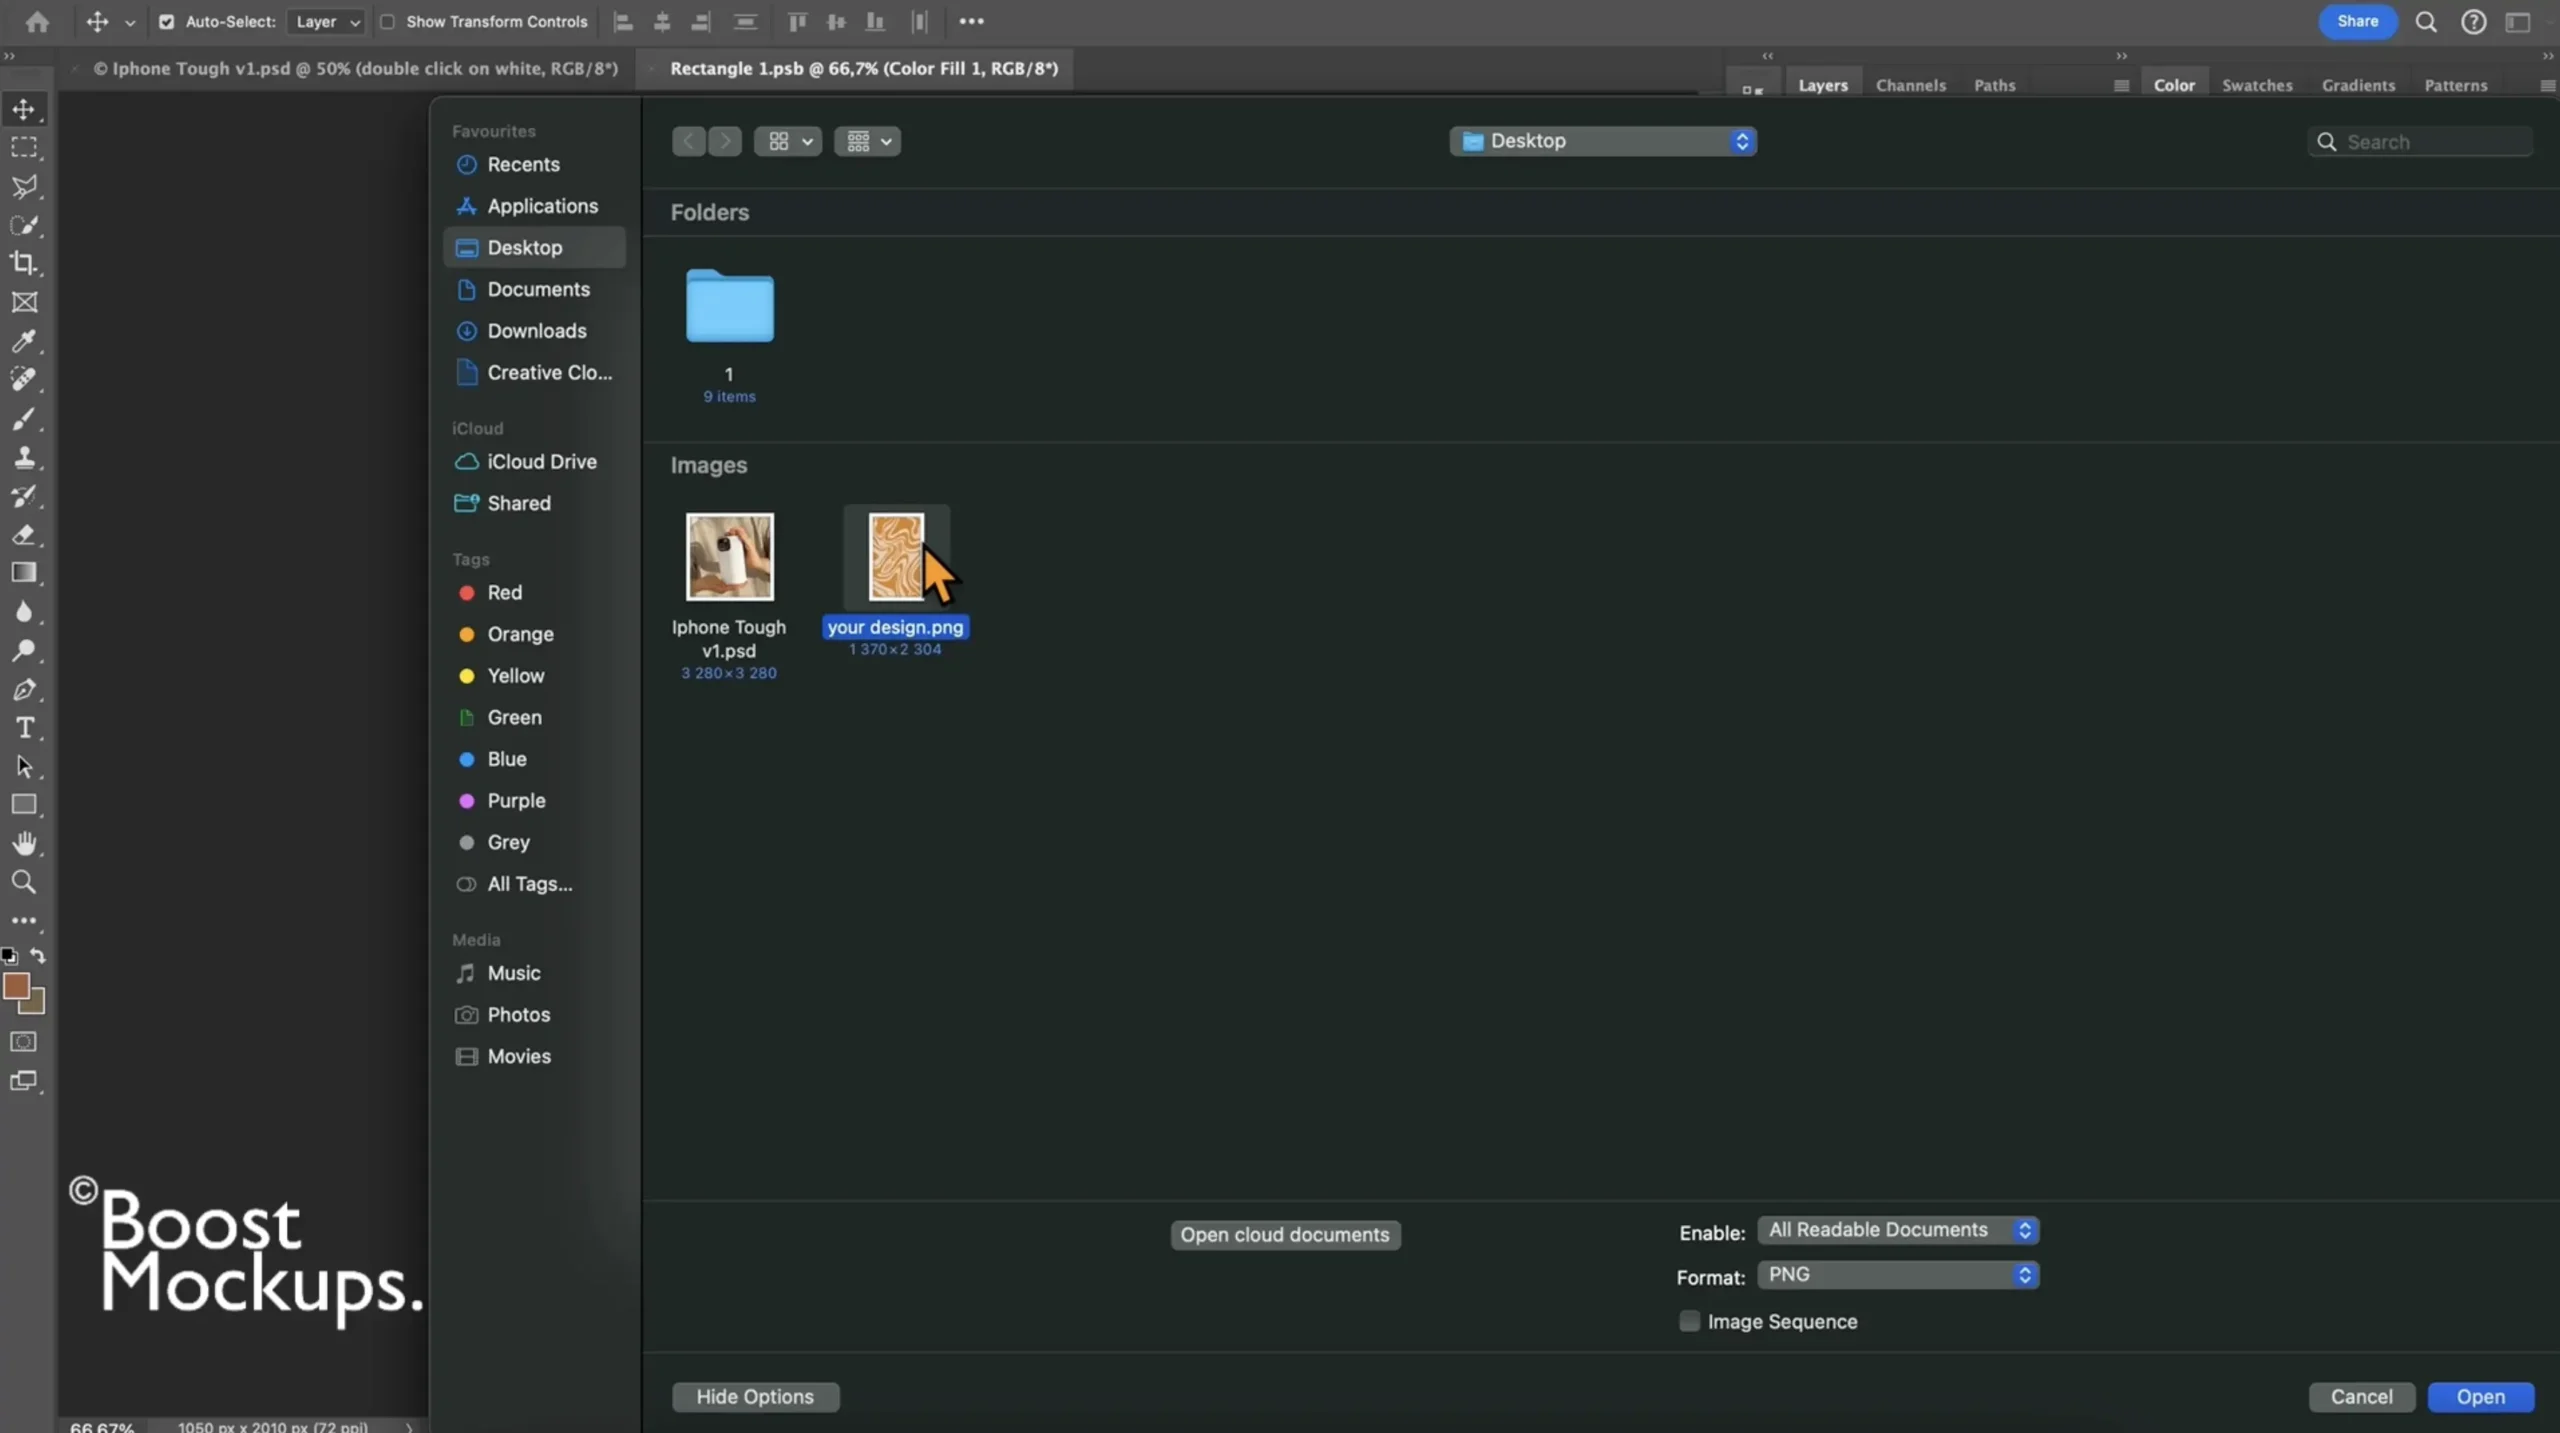
Step 3: Insert Your Design
Ctrl+O | Cmd+O (Mac) upload your PNG or JPEG design
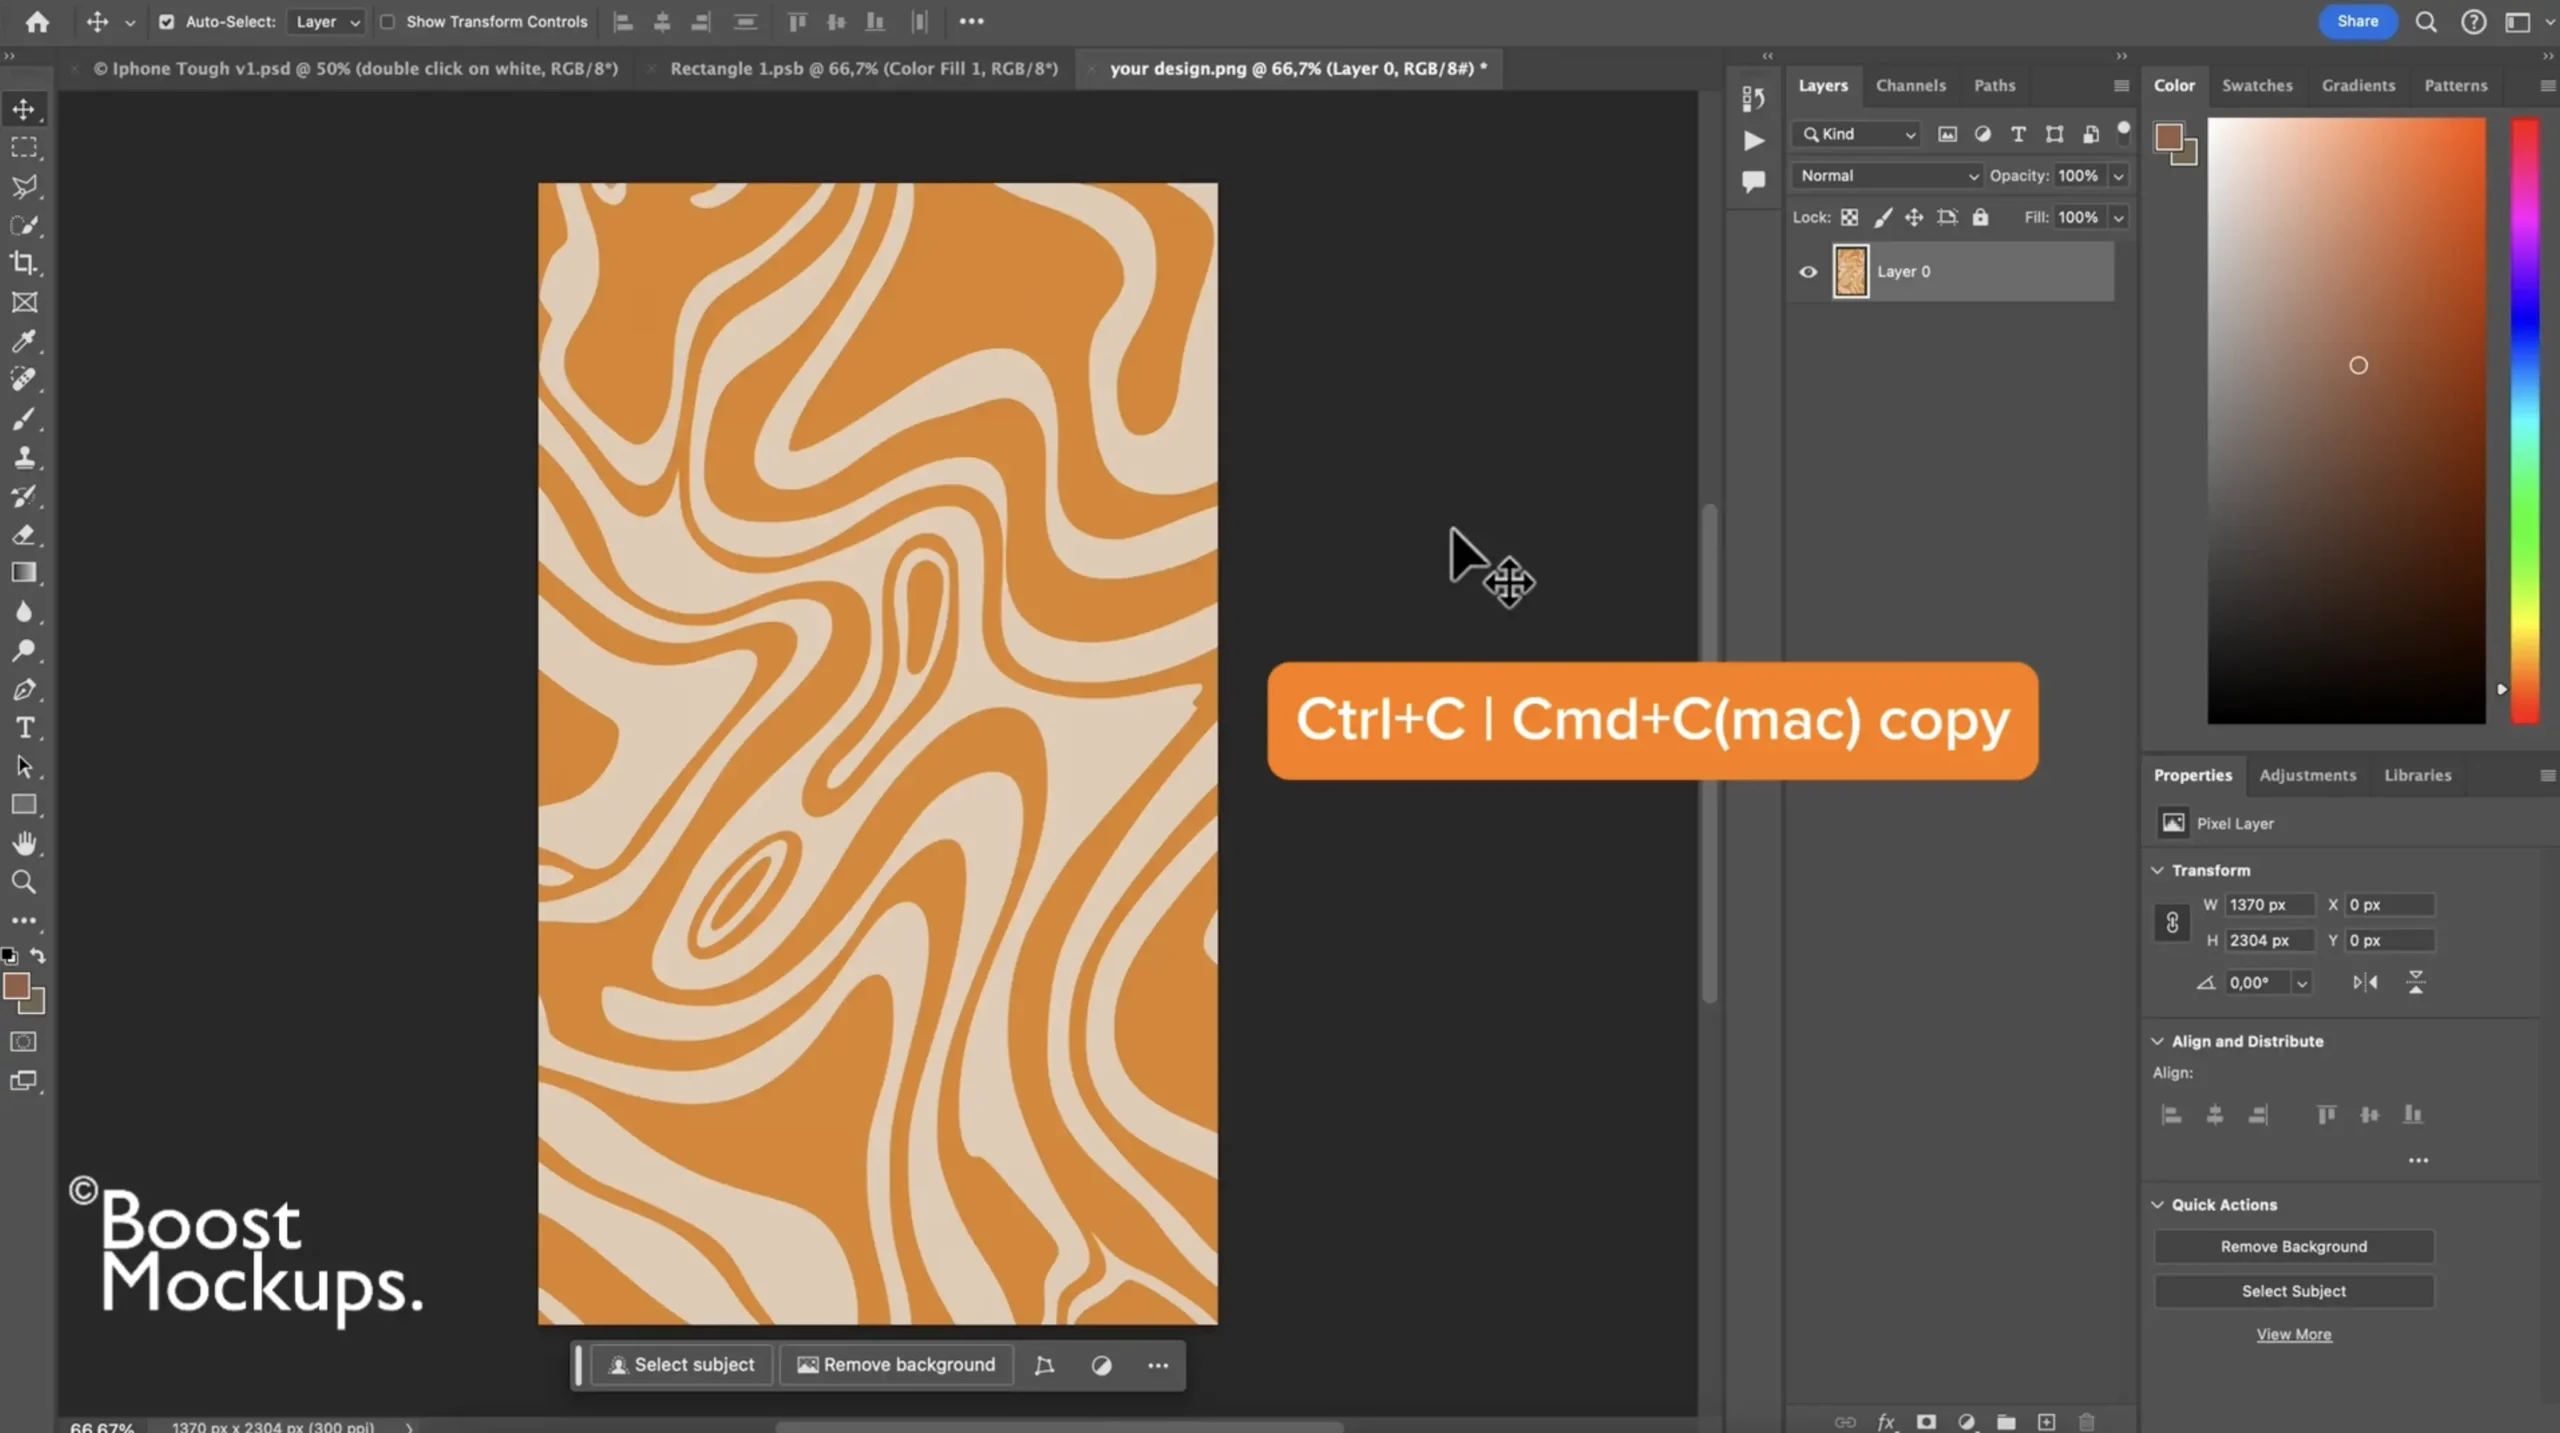
Ctrl+C | Cmd+C (Mac) copy the opened design
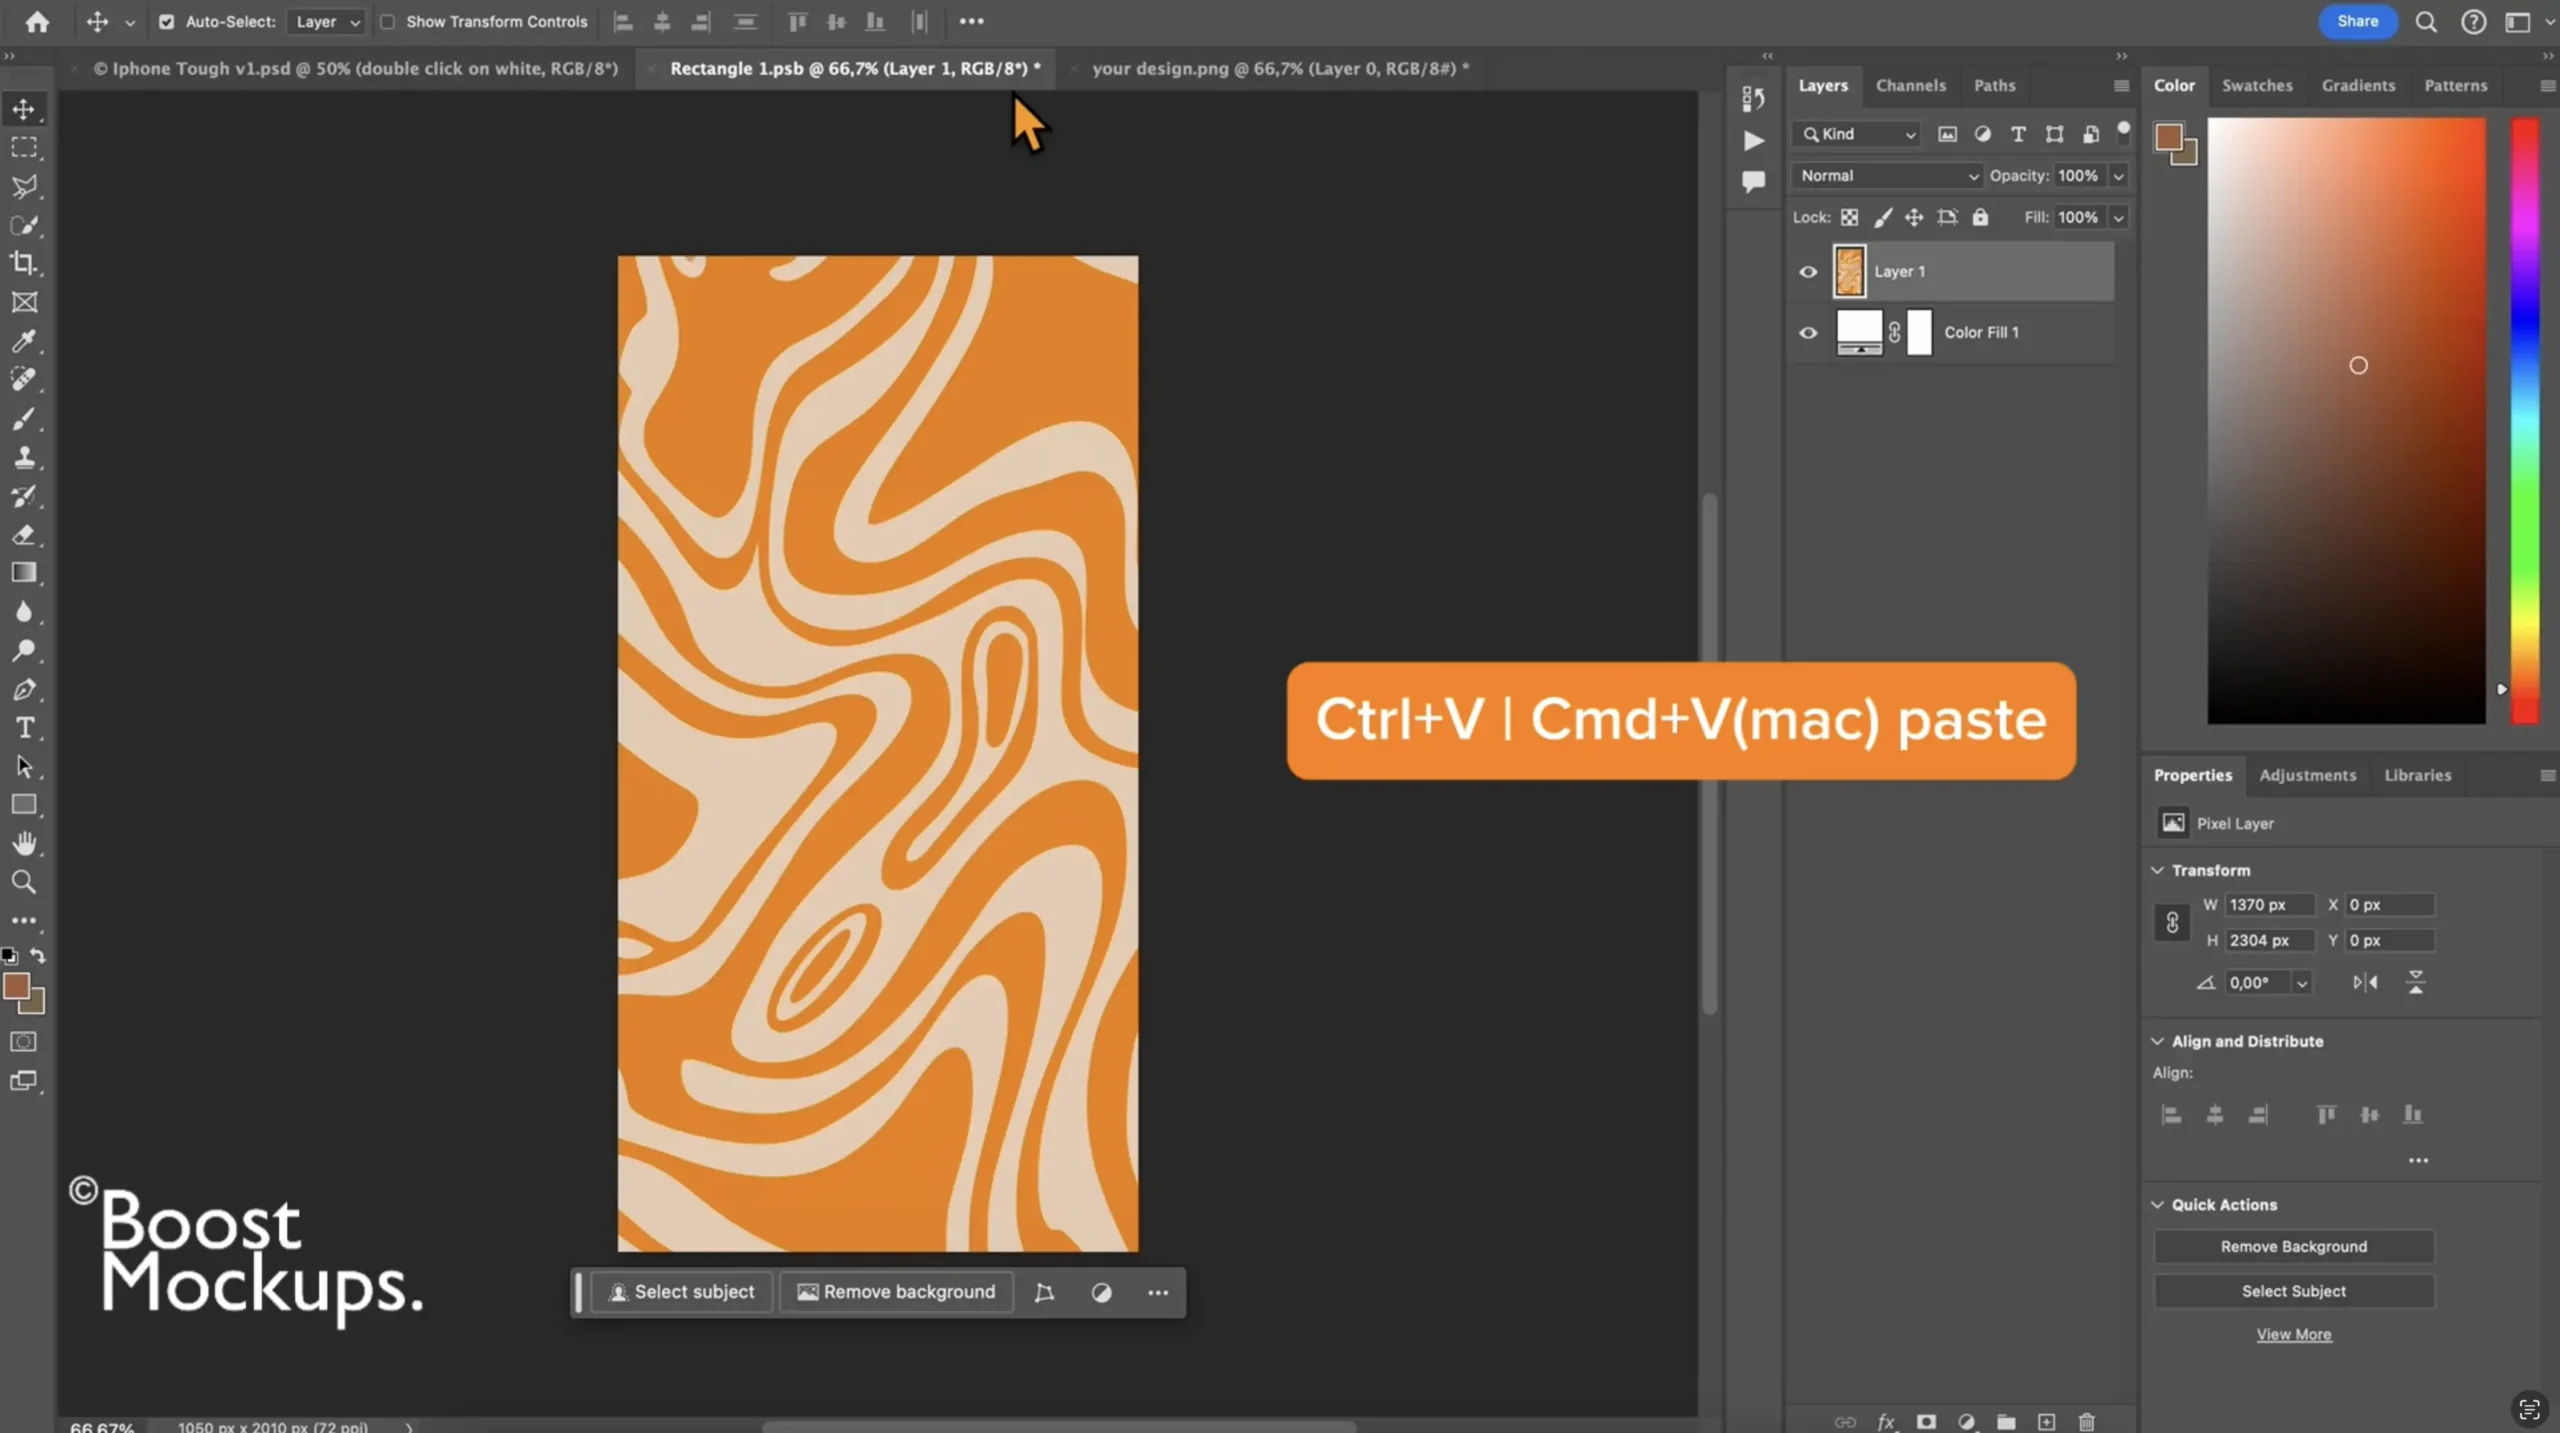
Ctrl=V | Cmd+V (Mac) paste your design in Rectangle layer, resize and center it as needed
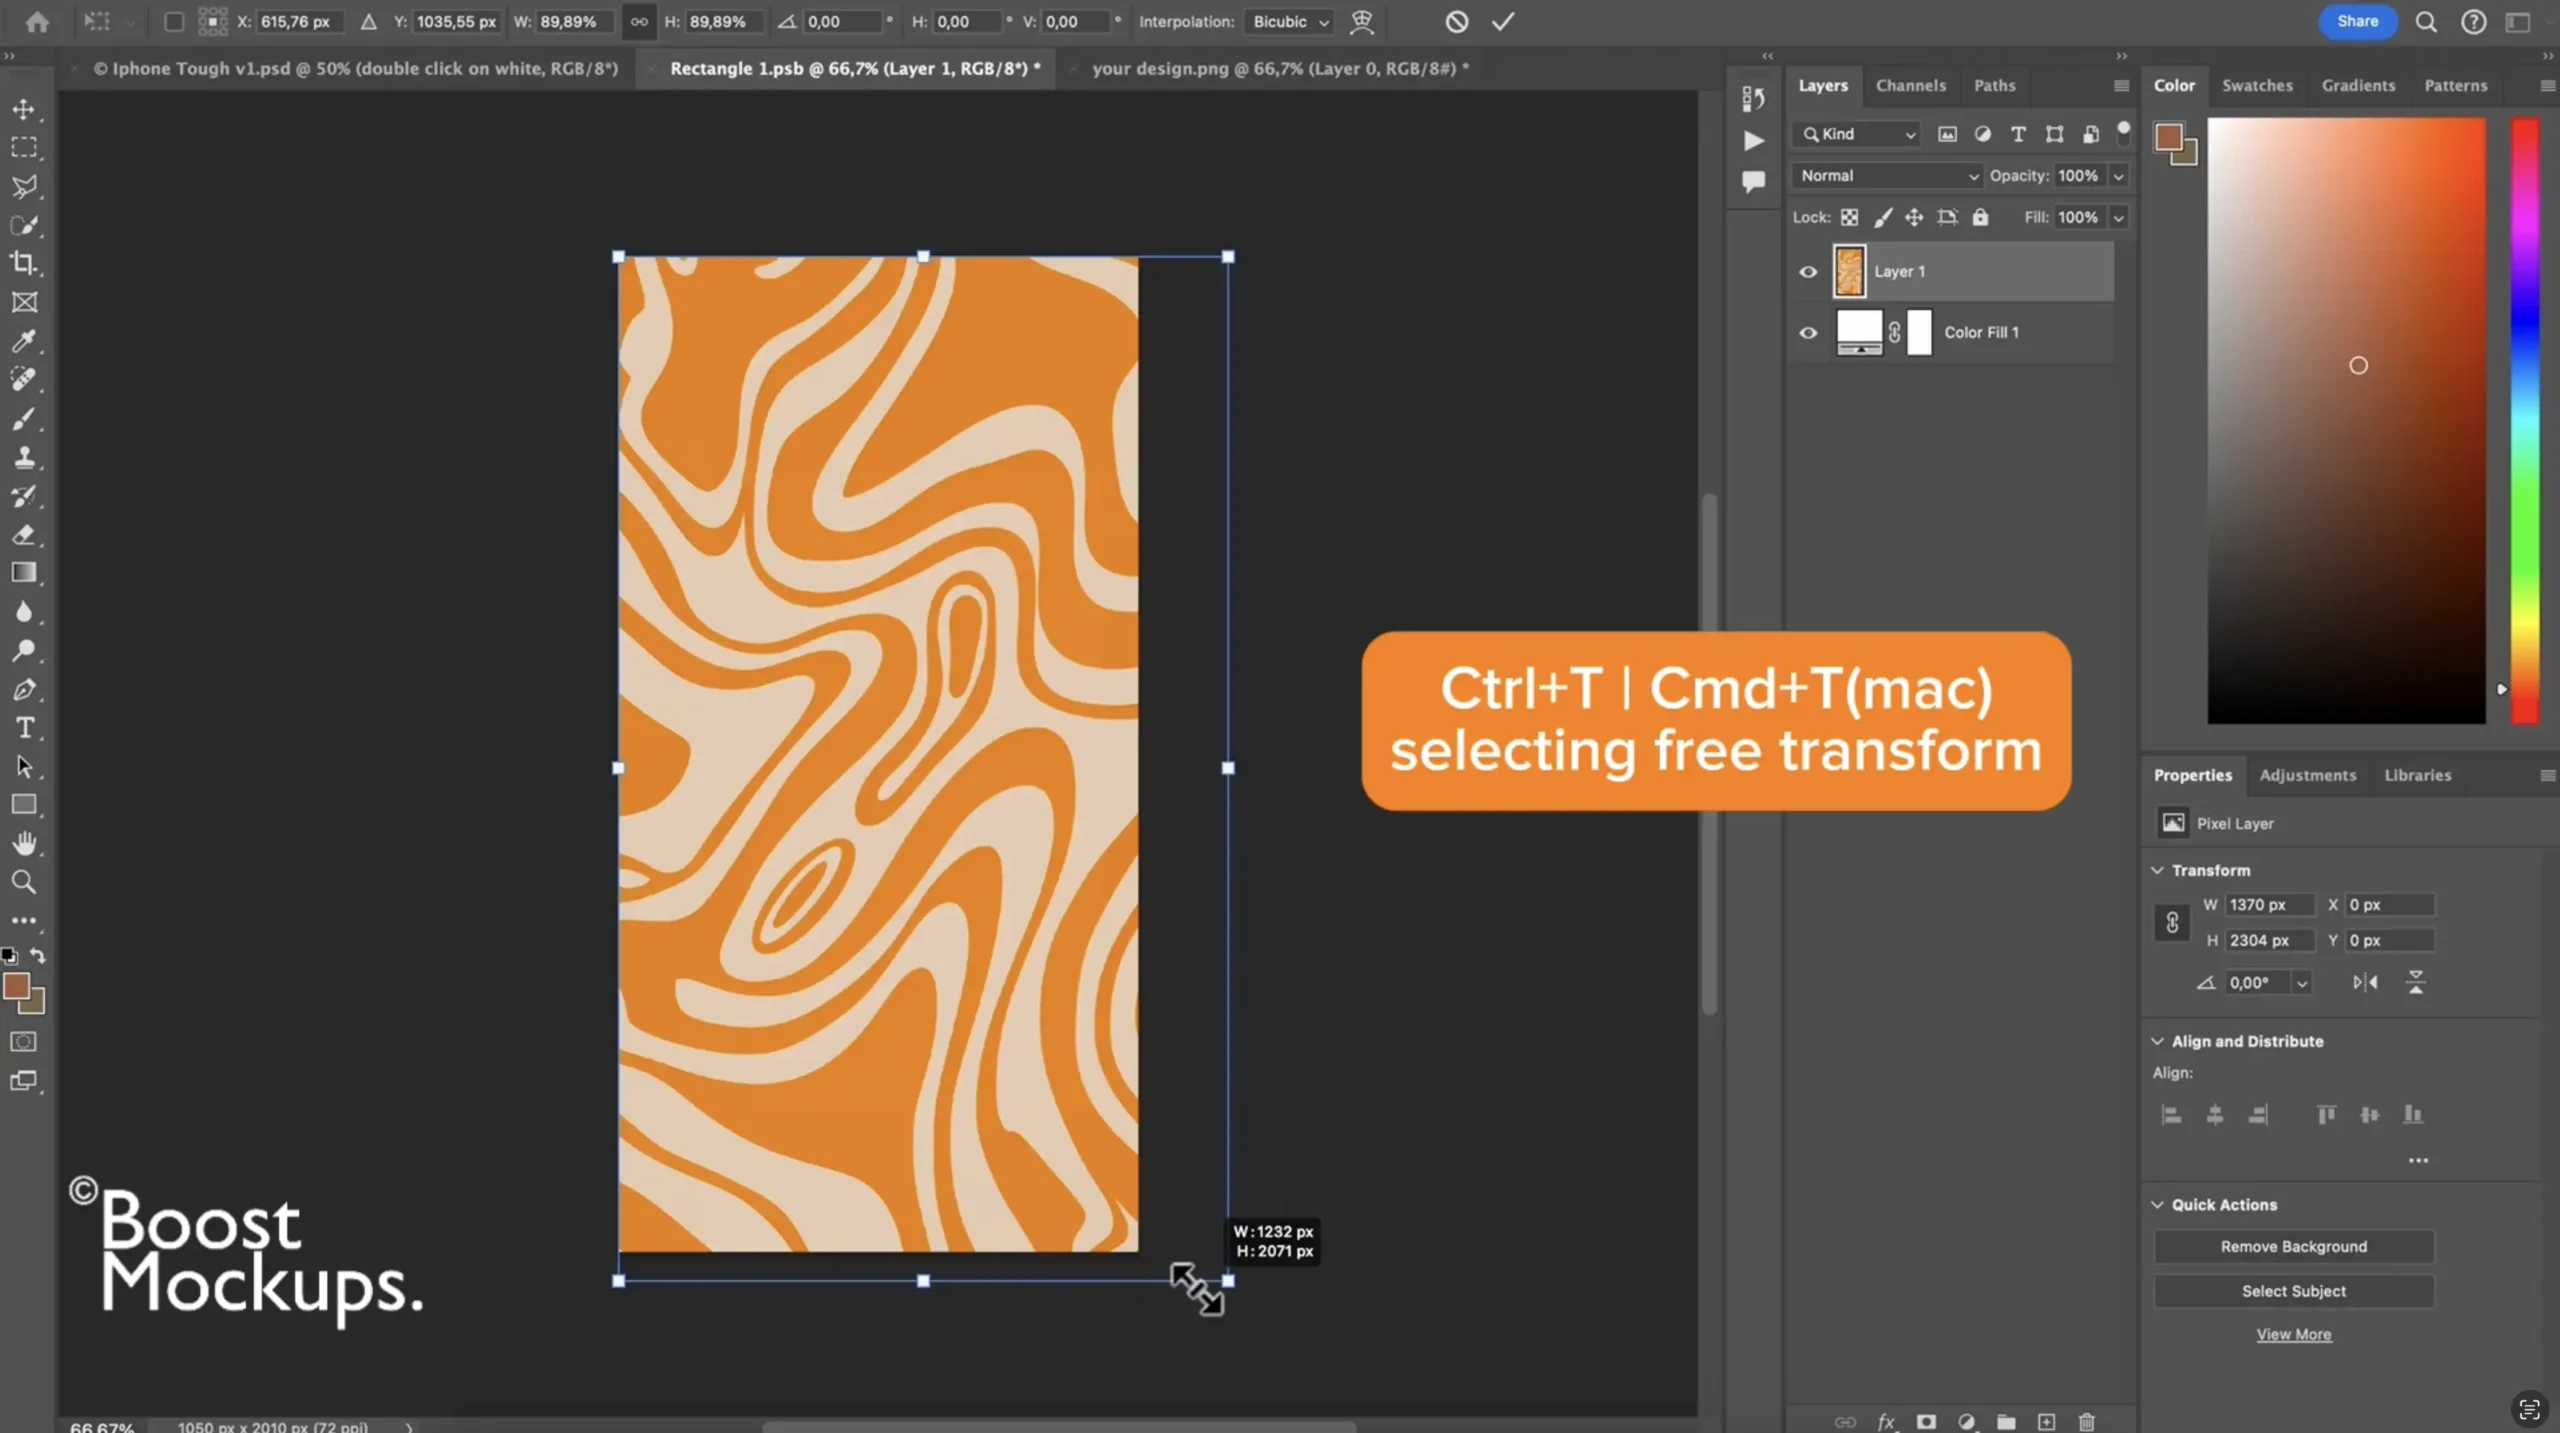
Ctrl+T | Cmd+T (Mac) selecting free transform, resize and center it as needed
Press Enter when it’s perfectly placed
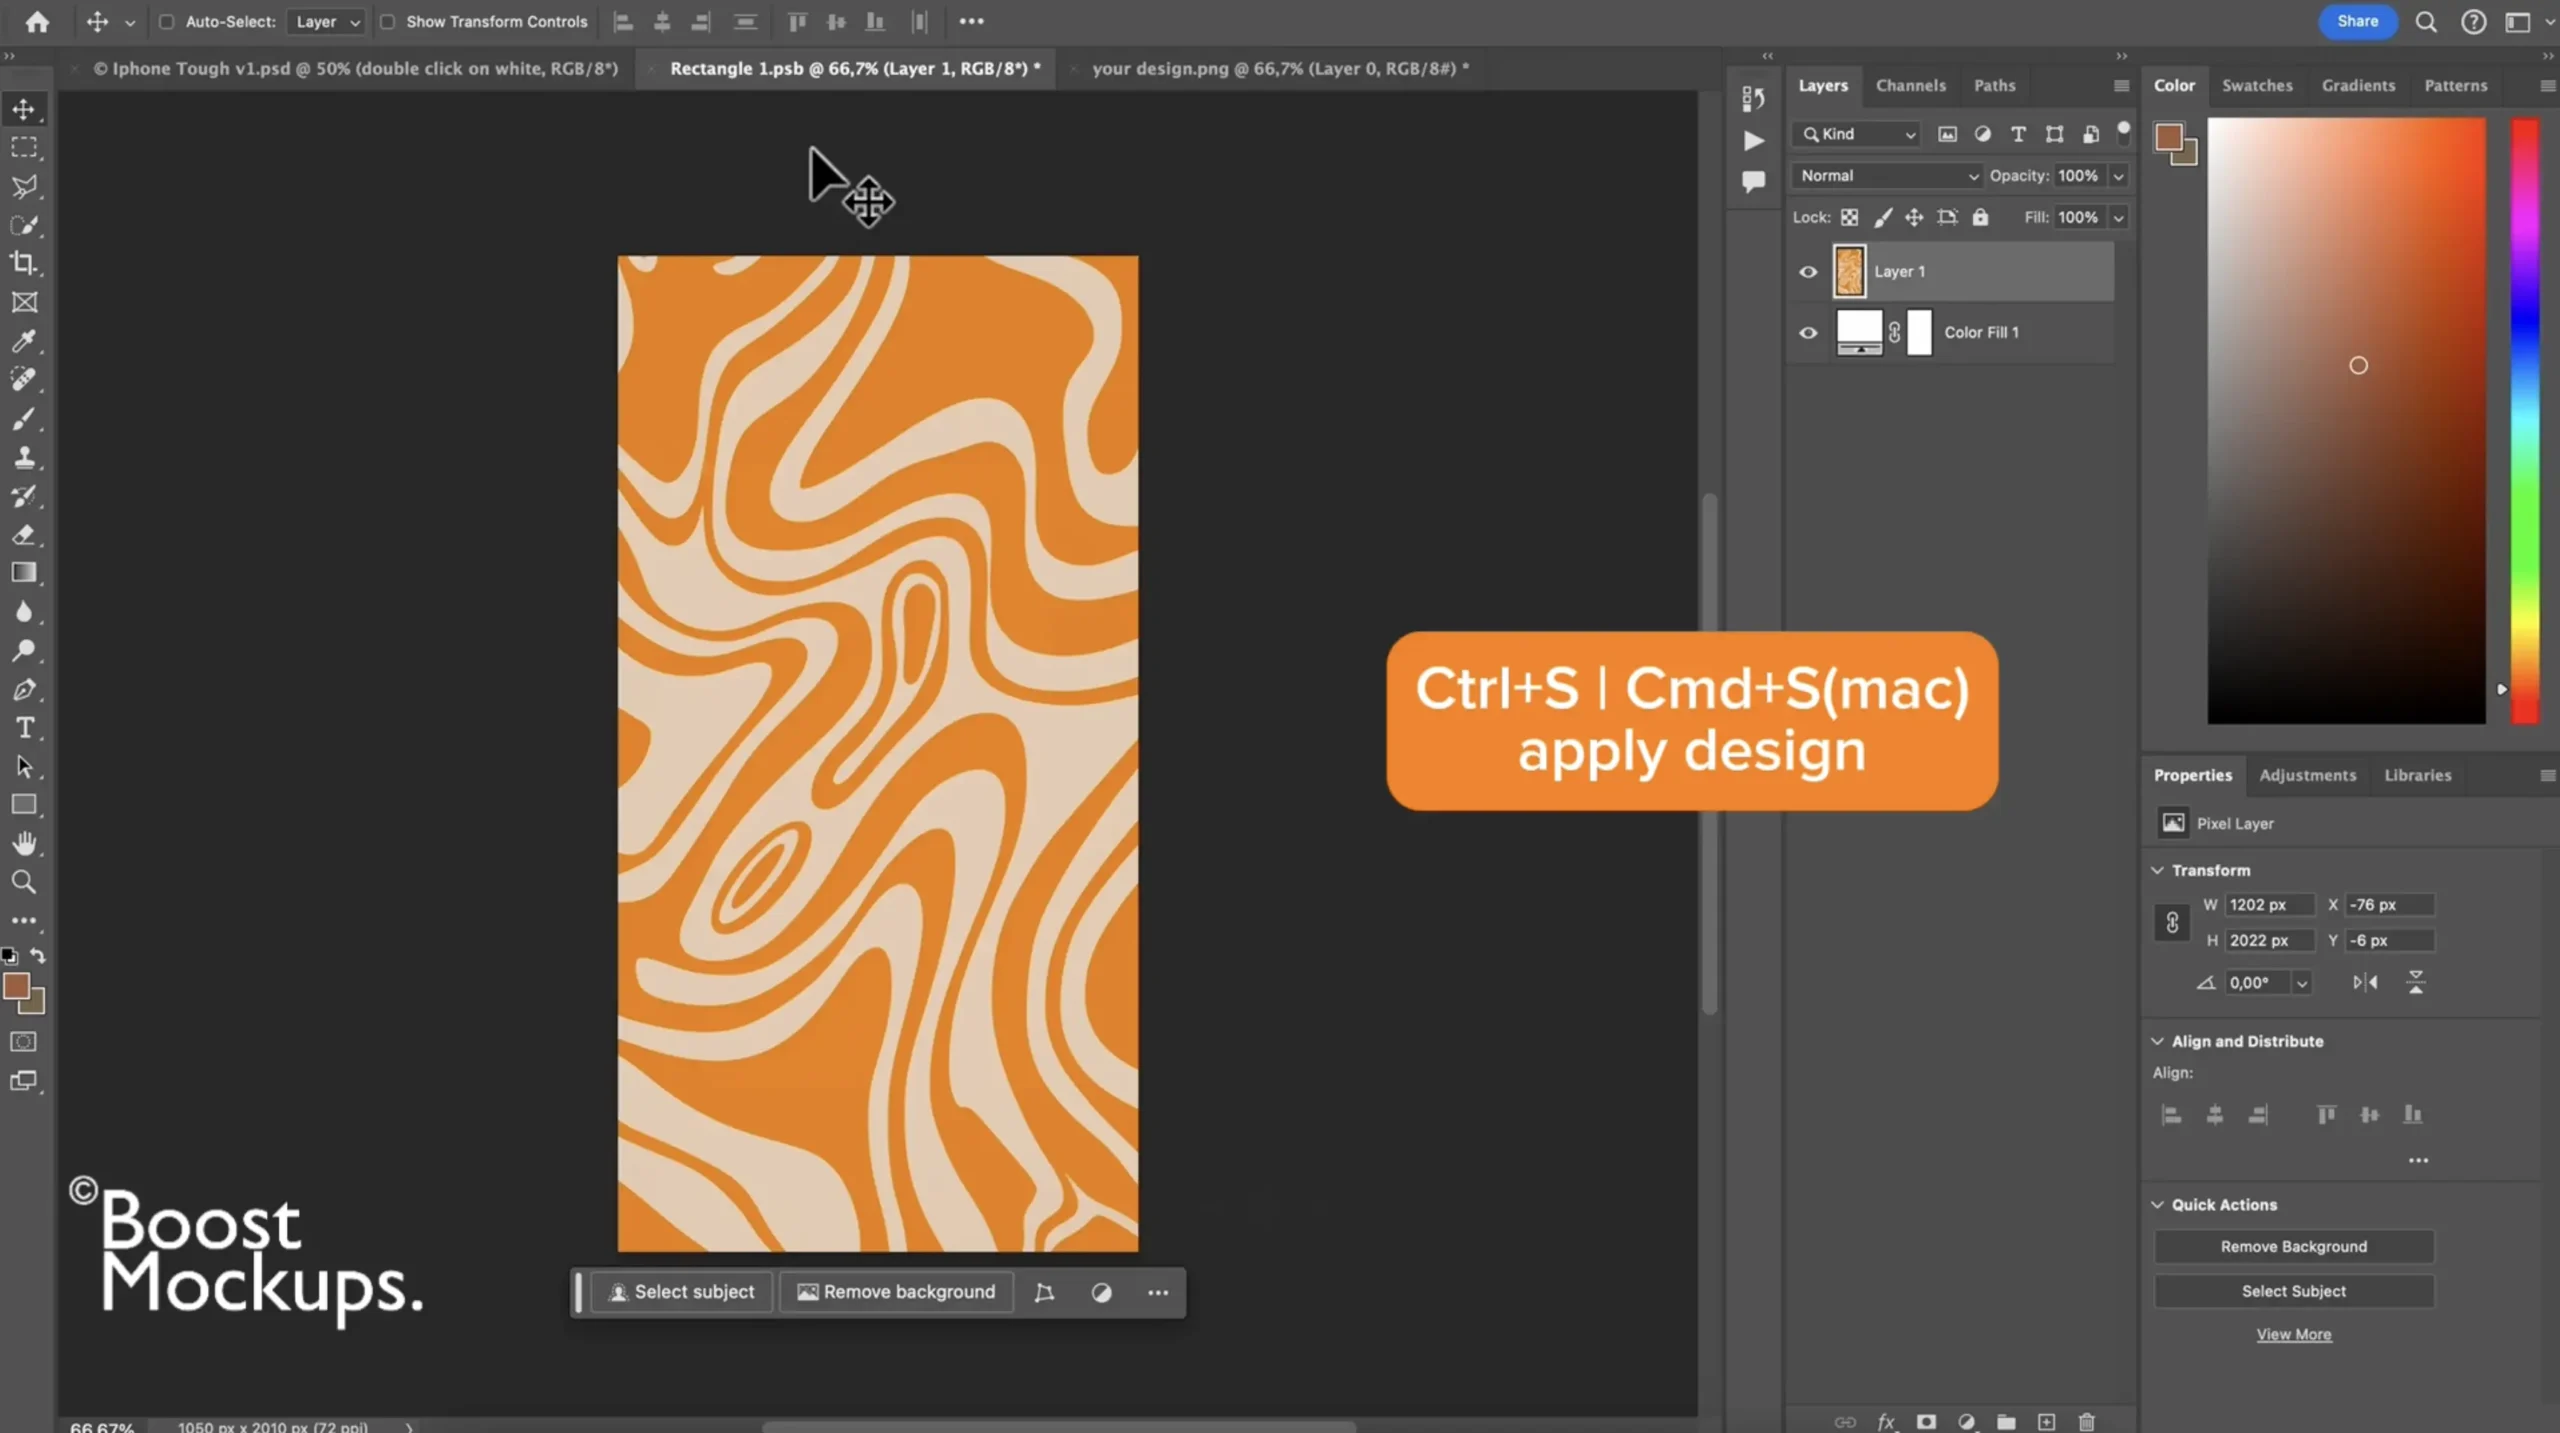
Step 4: Save the Smart Object
Once your design is in place:
Click File > Save, or use shortcut Ctrl+S | Cmd+S (Mac)
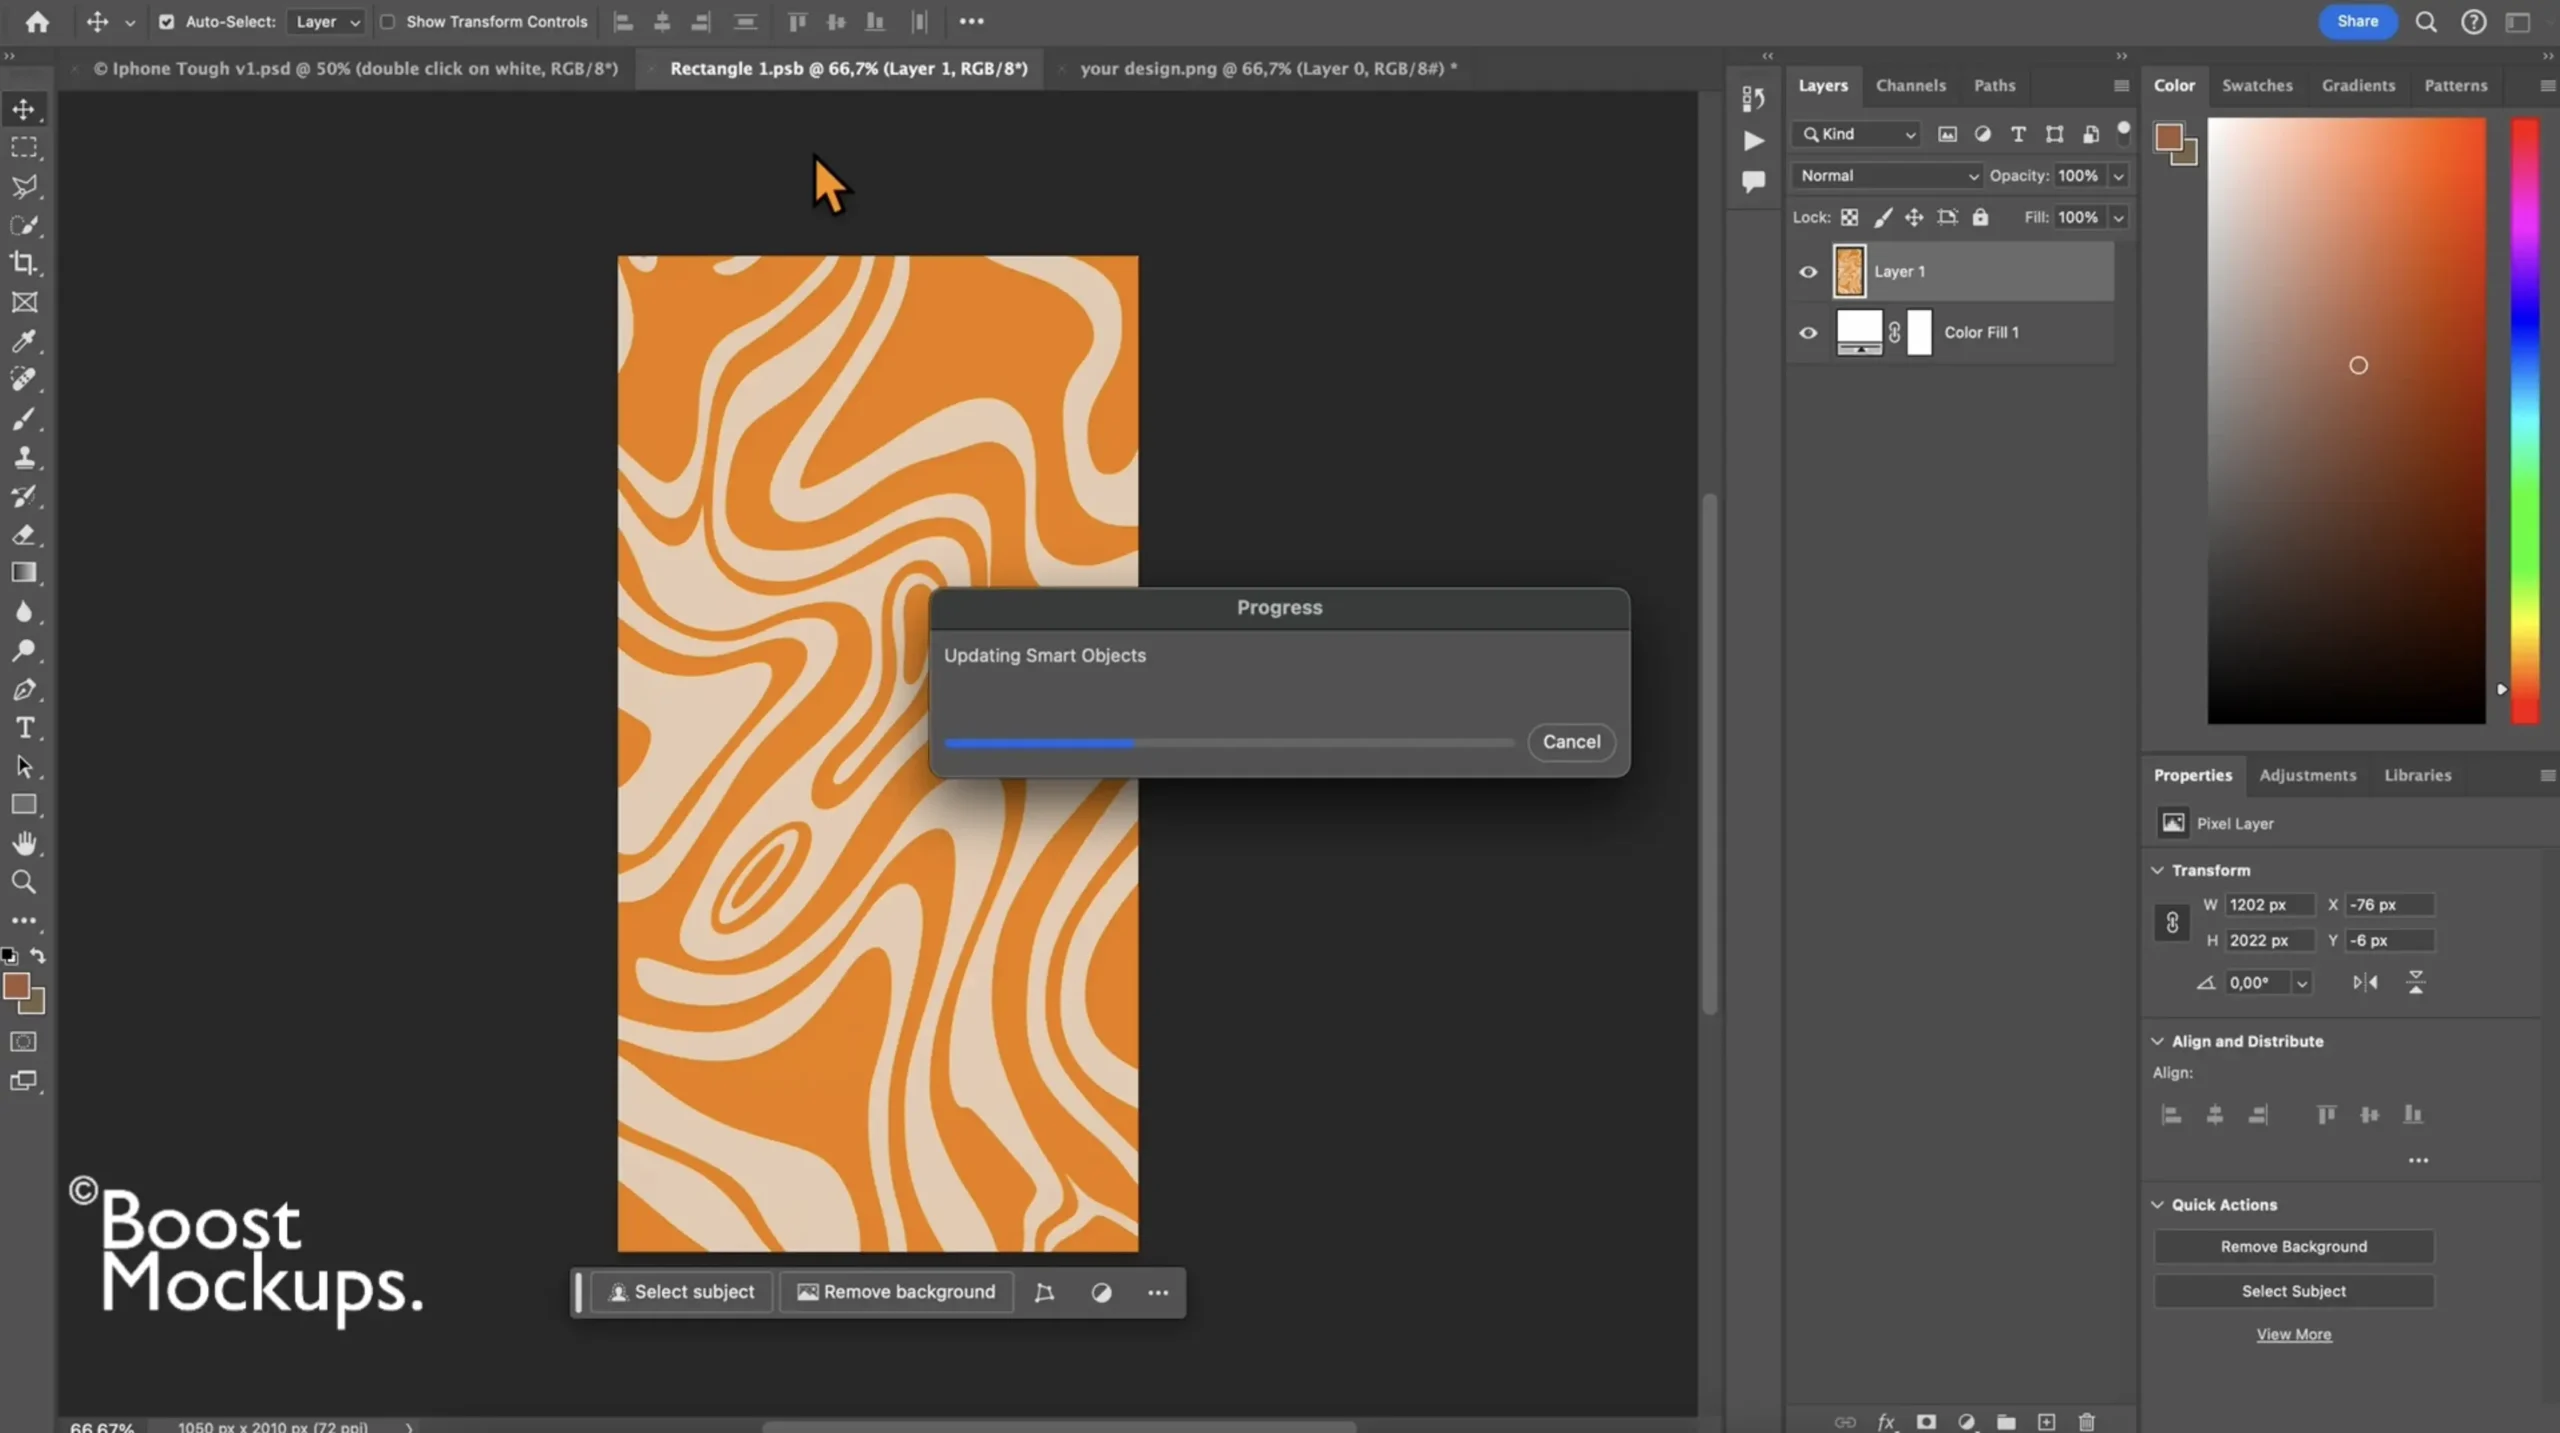
Then close the Smart Object tab (you don’t need it open anymore)
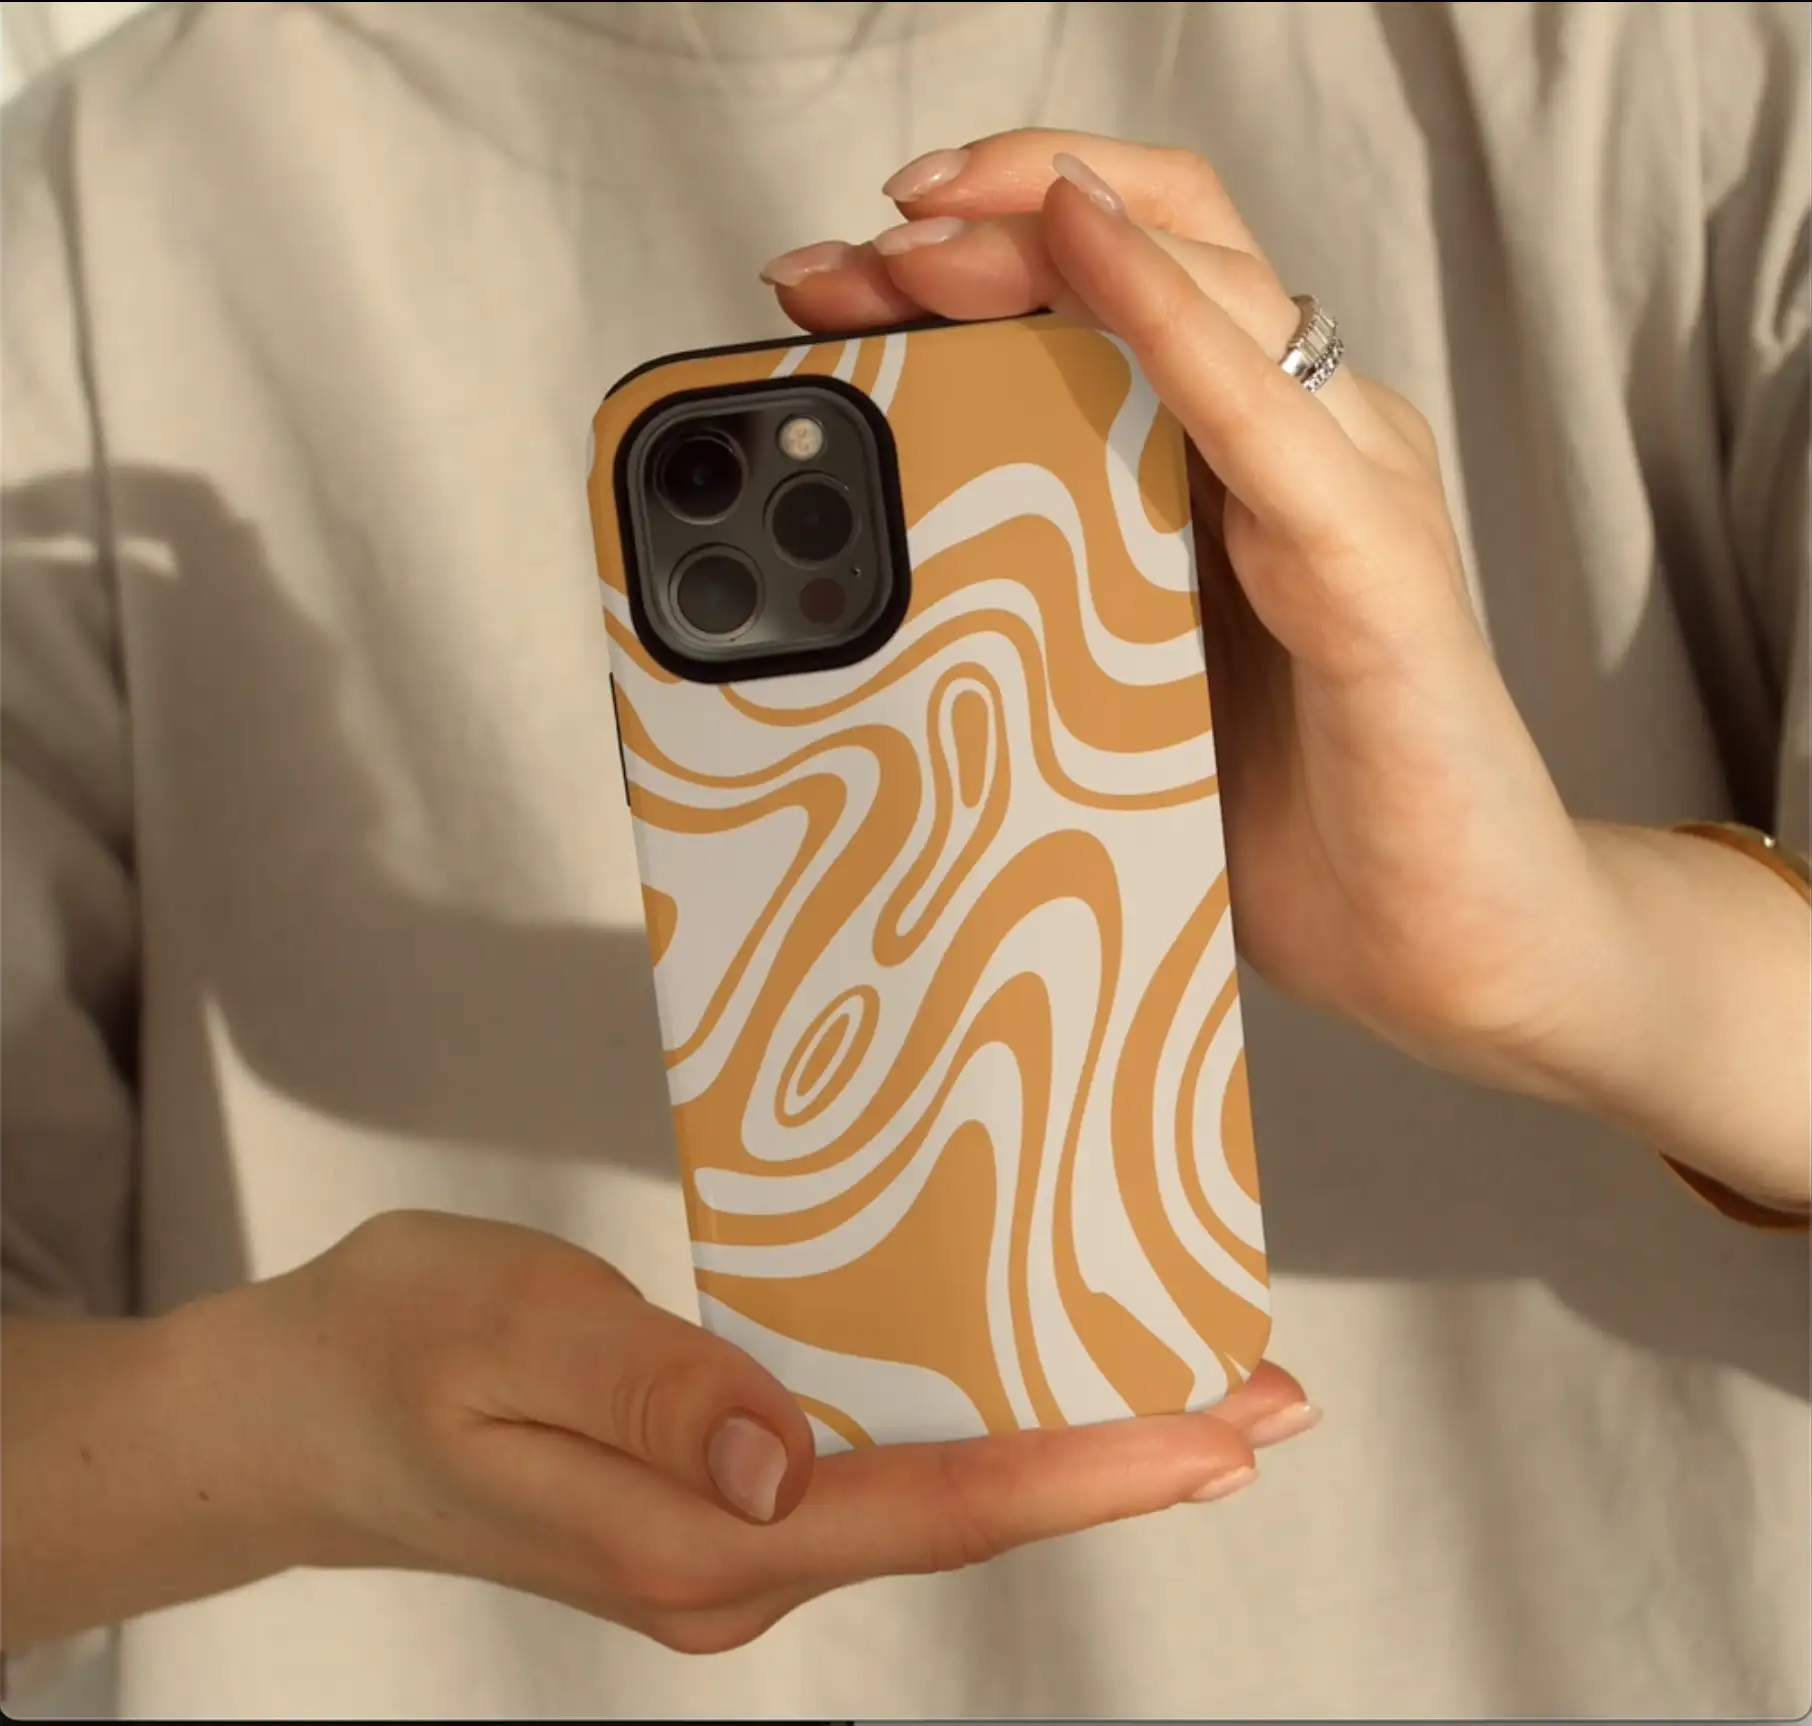
💥 Ta-da! Your design now appears on the phone case in the original mockup layout — clean, realistic, and ready to go.
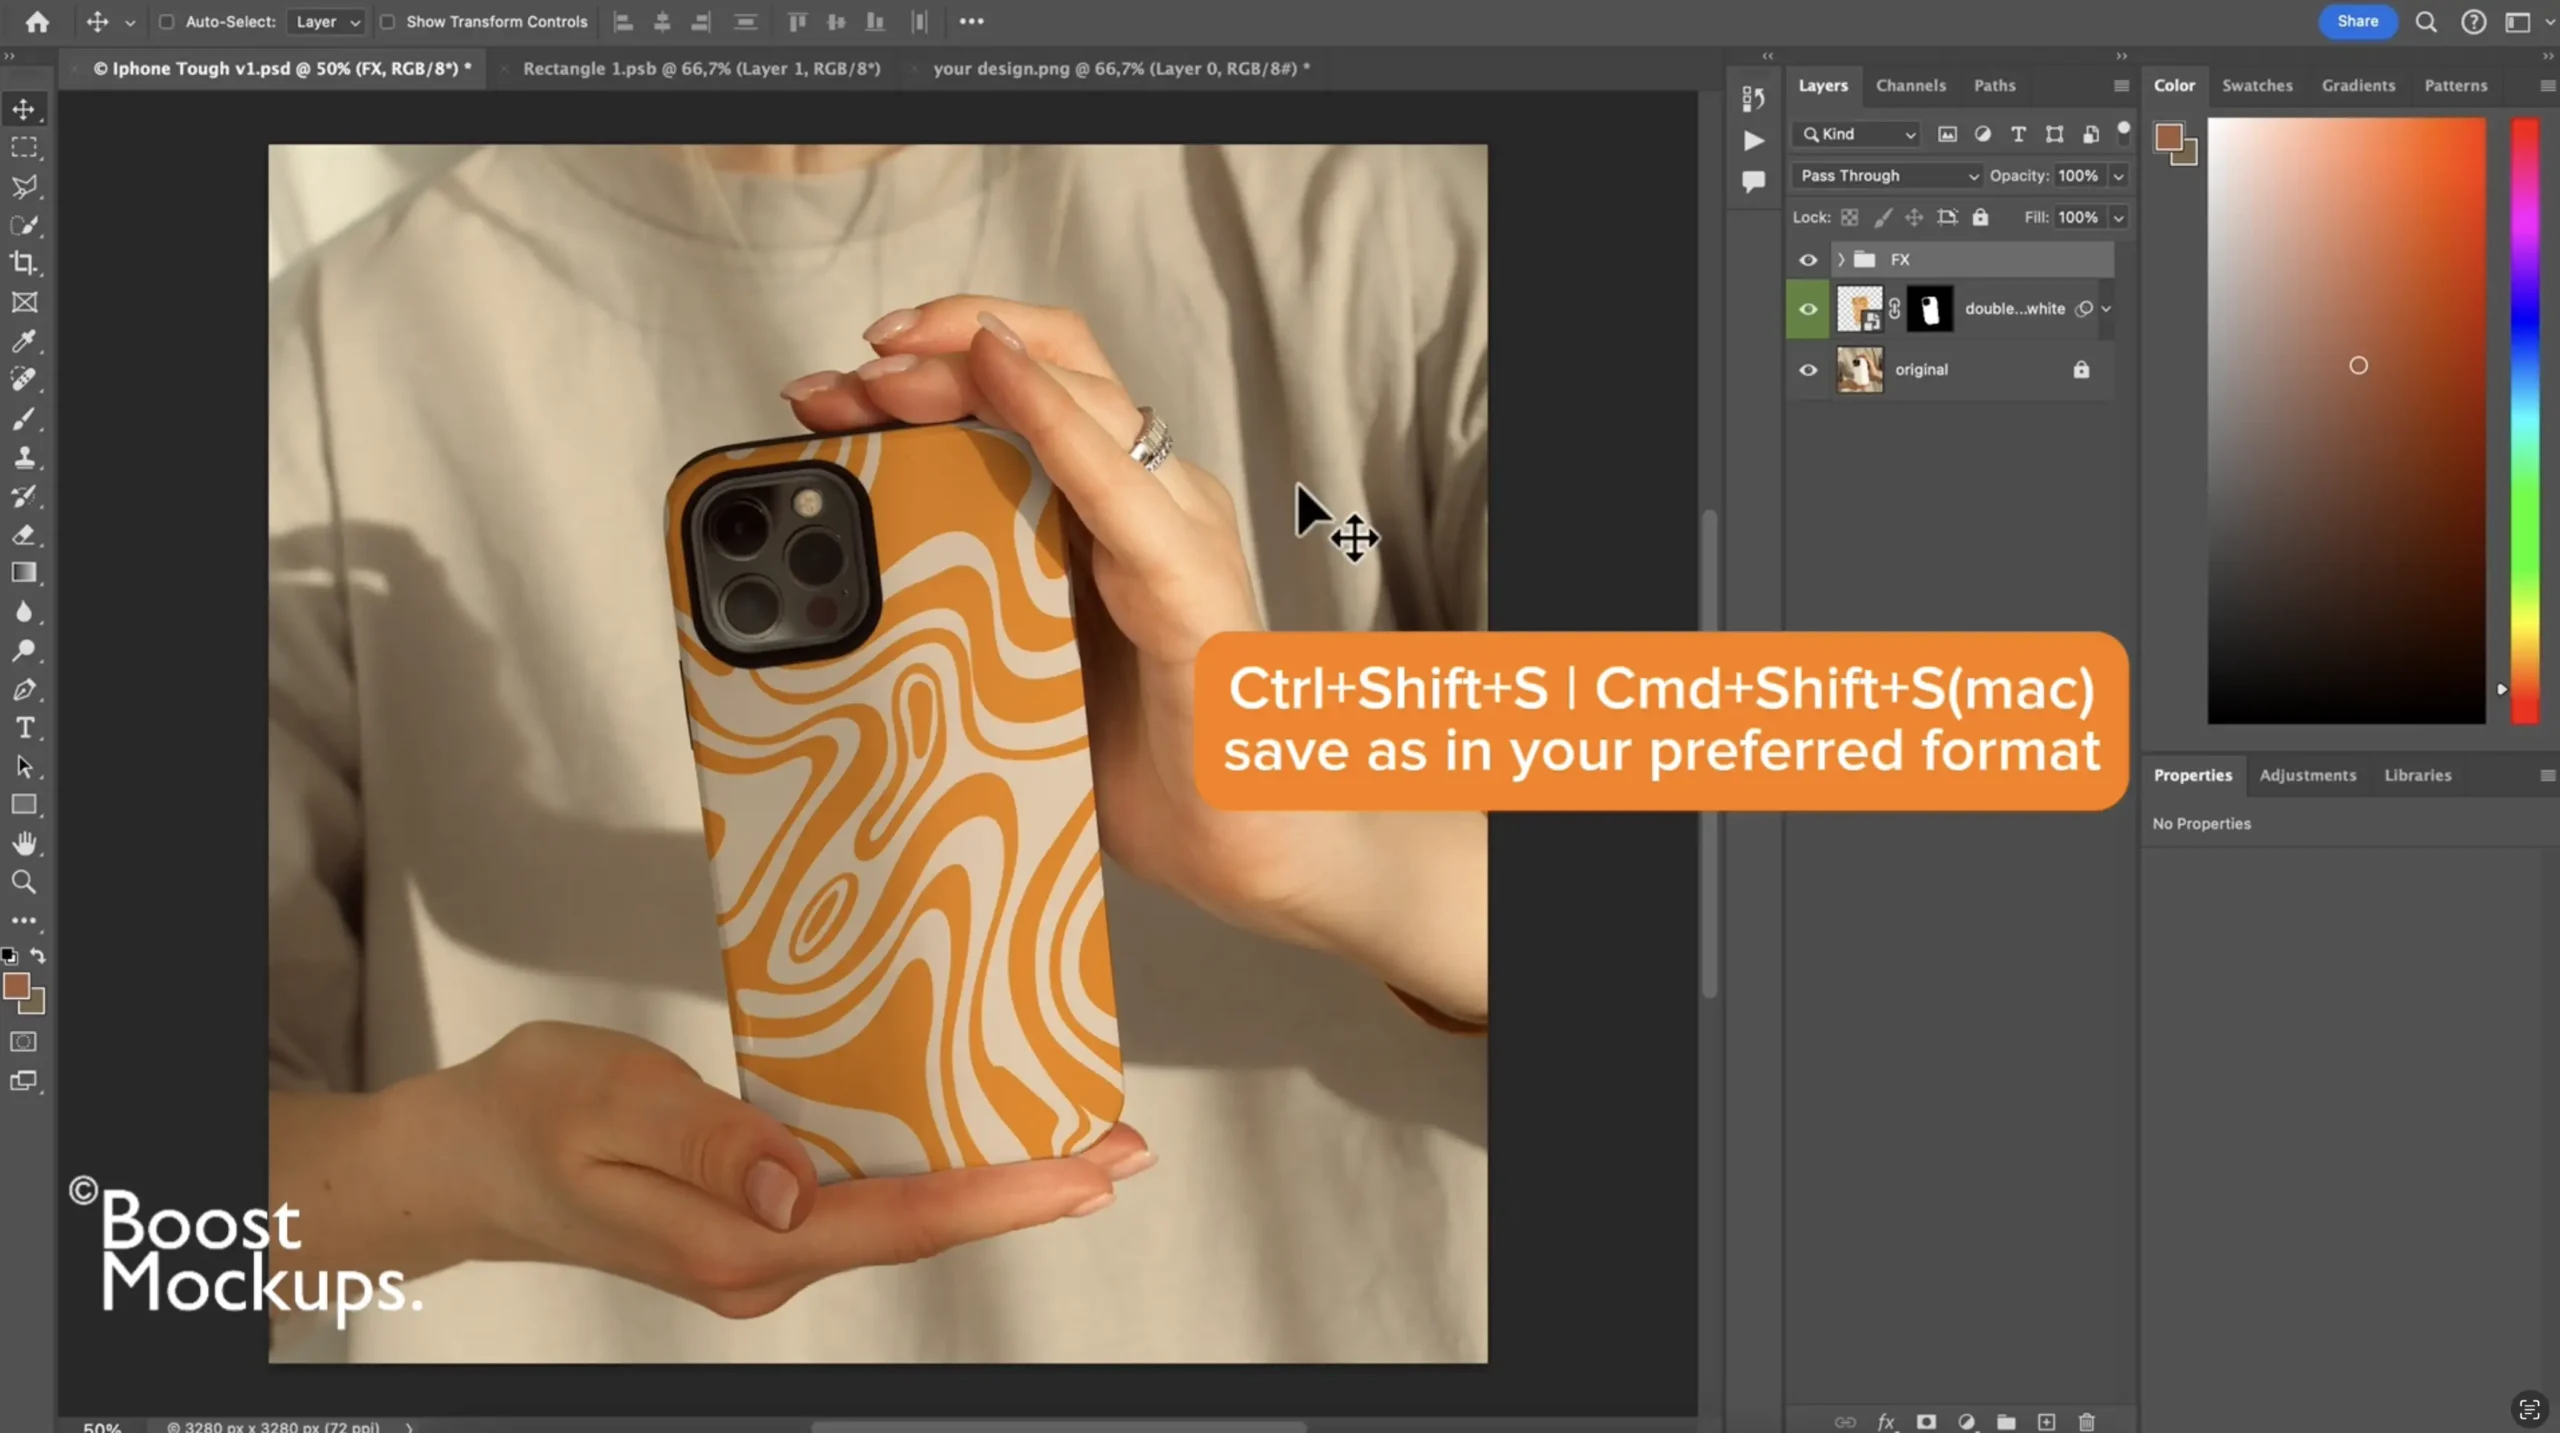
Step 5: Export Your Final Mockup
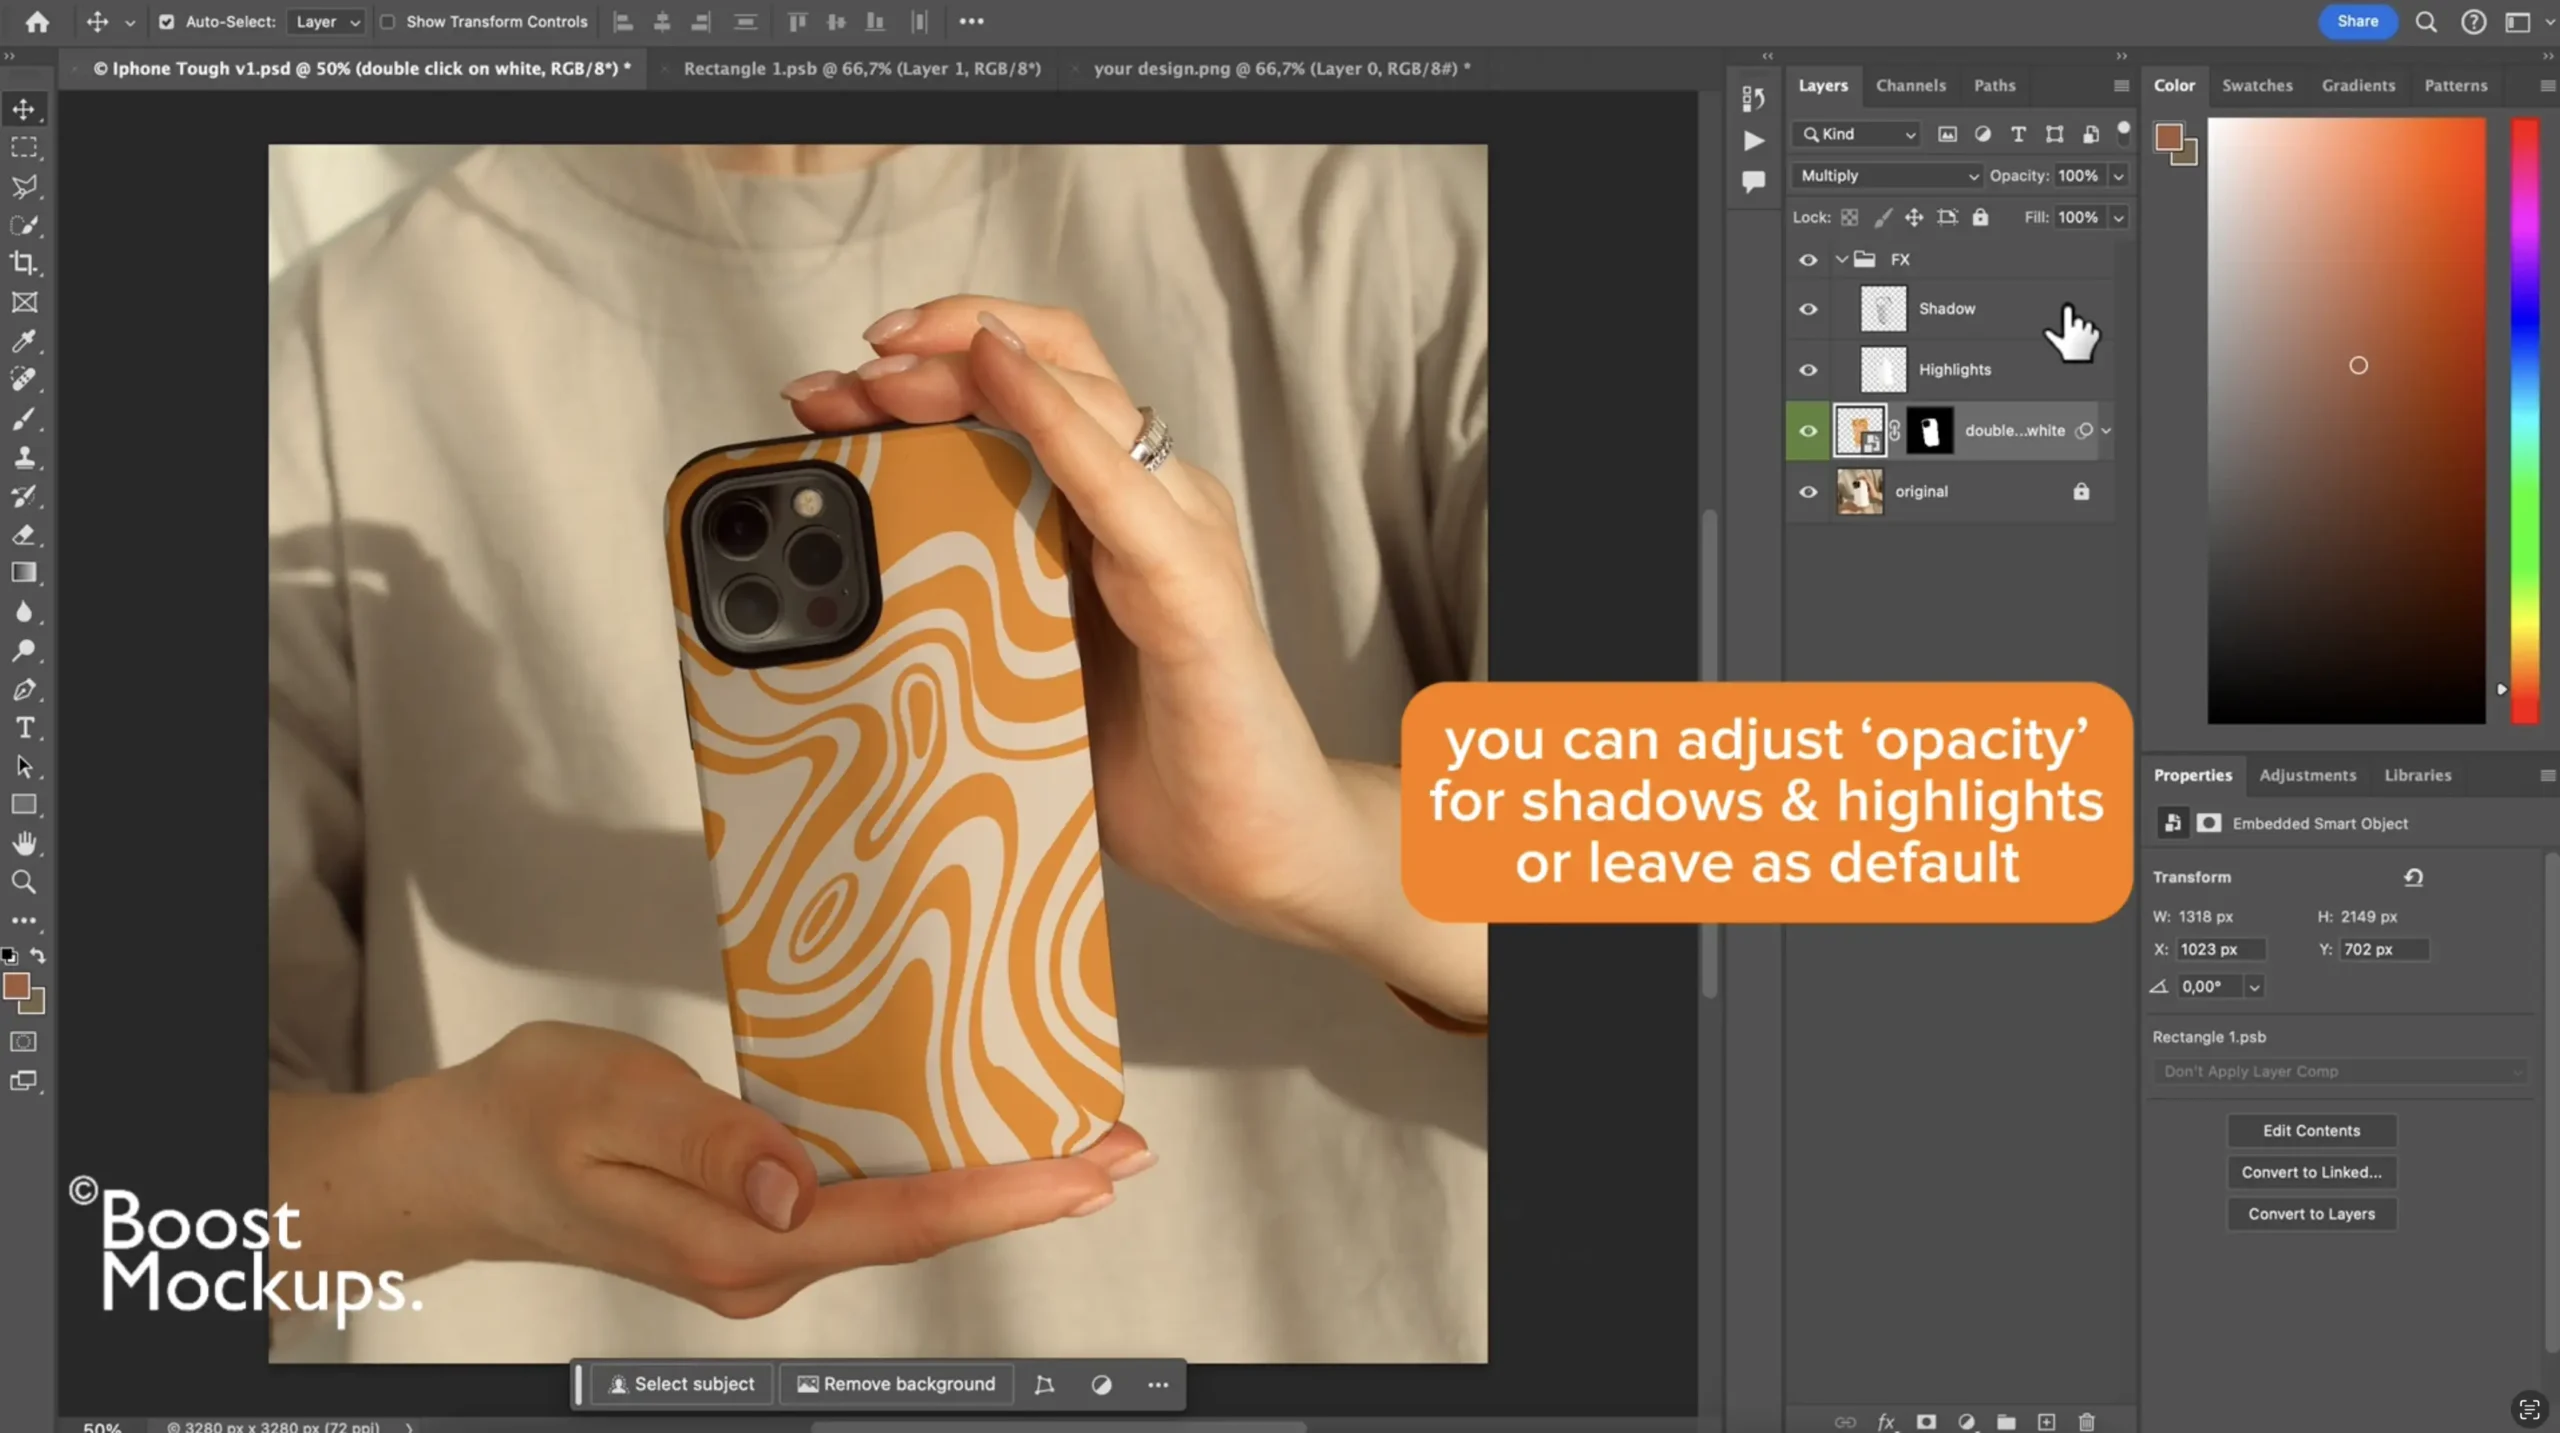
Back in the main mockup file, admire your work 😎
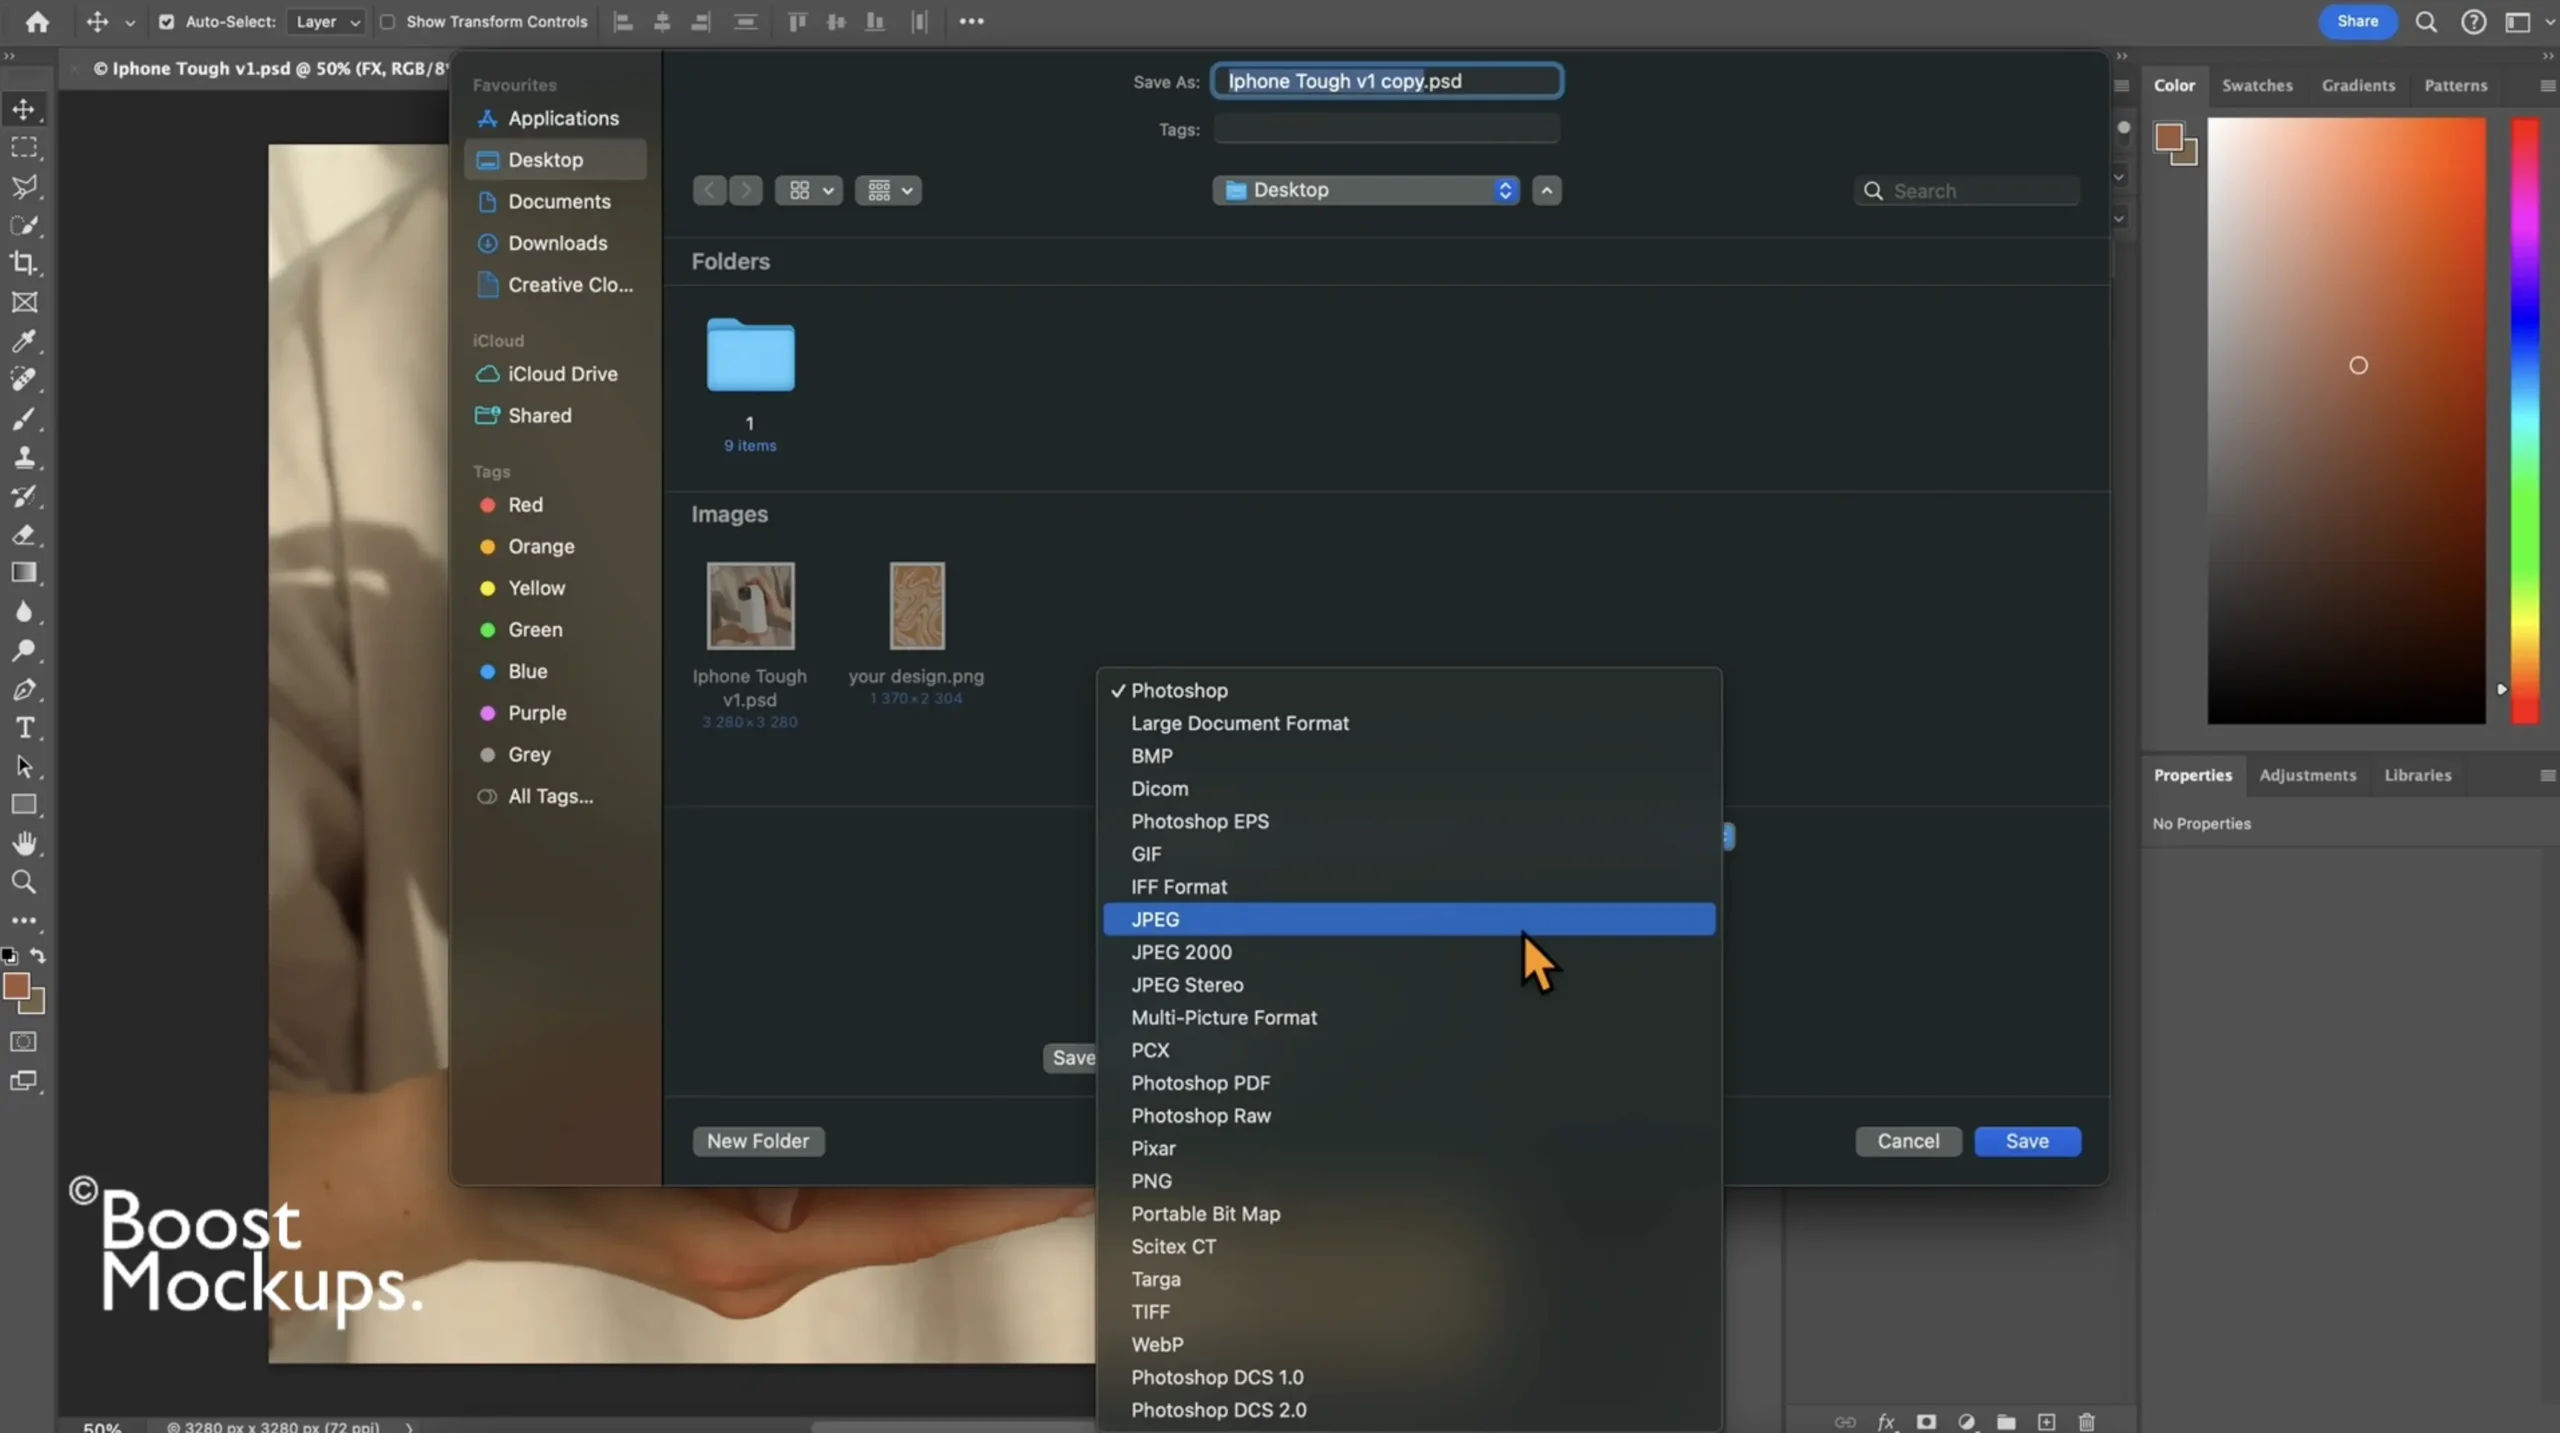
Click File > Export > Save for Web (Legacy) or File > Export As, or use shortcut Ctrl+Shift+S | Cmd+Shift+S (Mac)
-
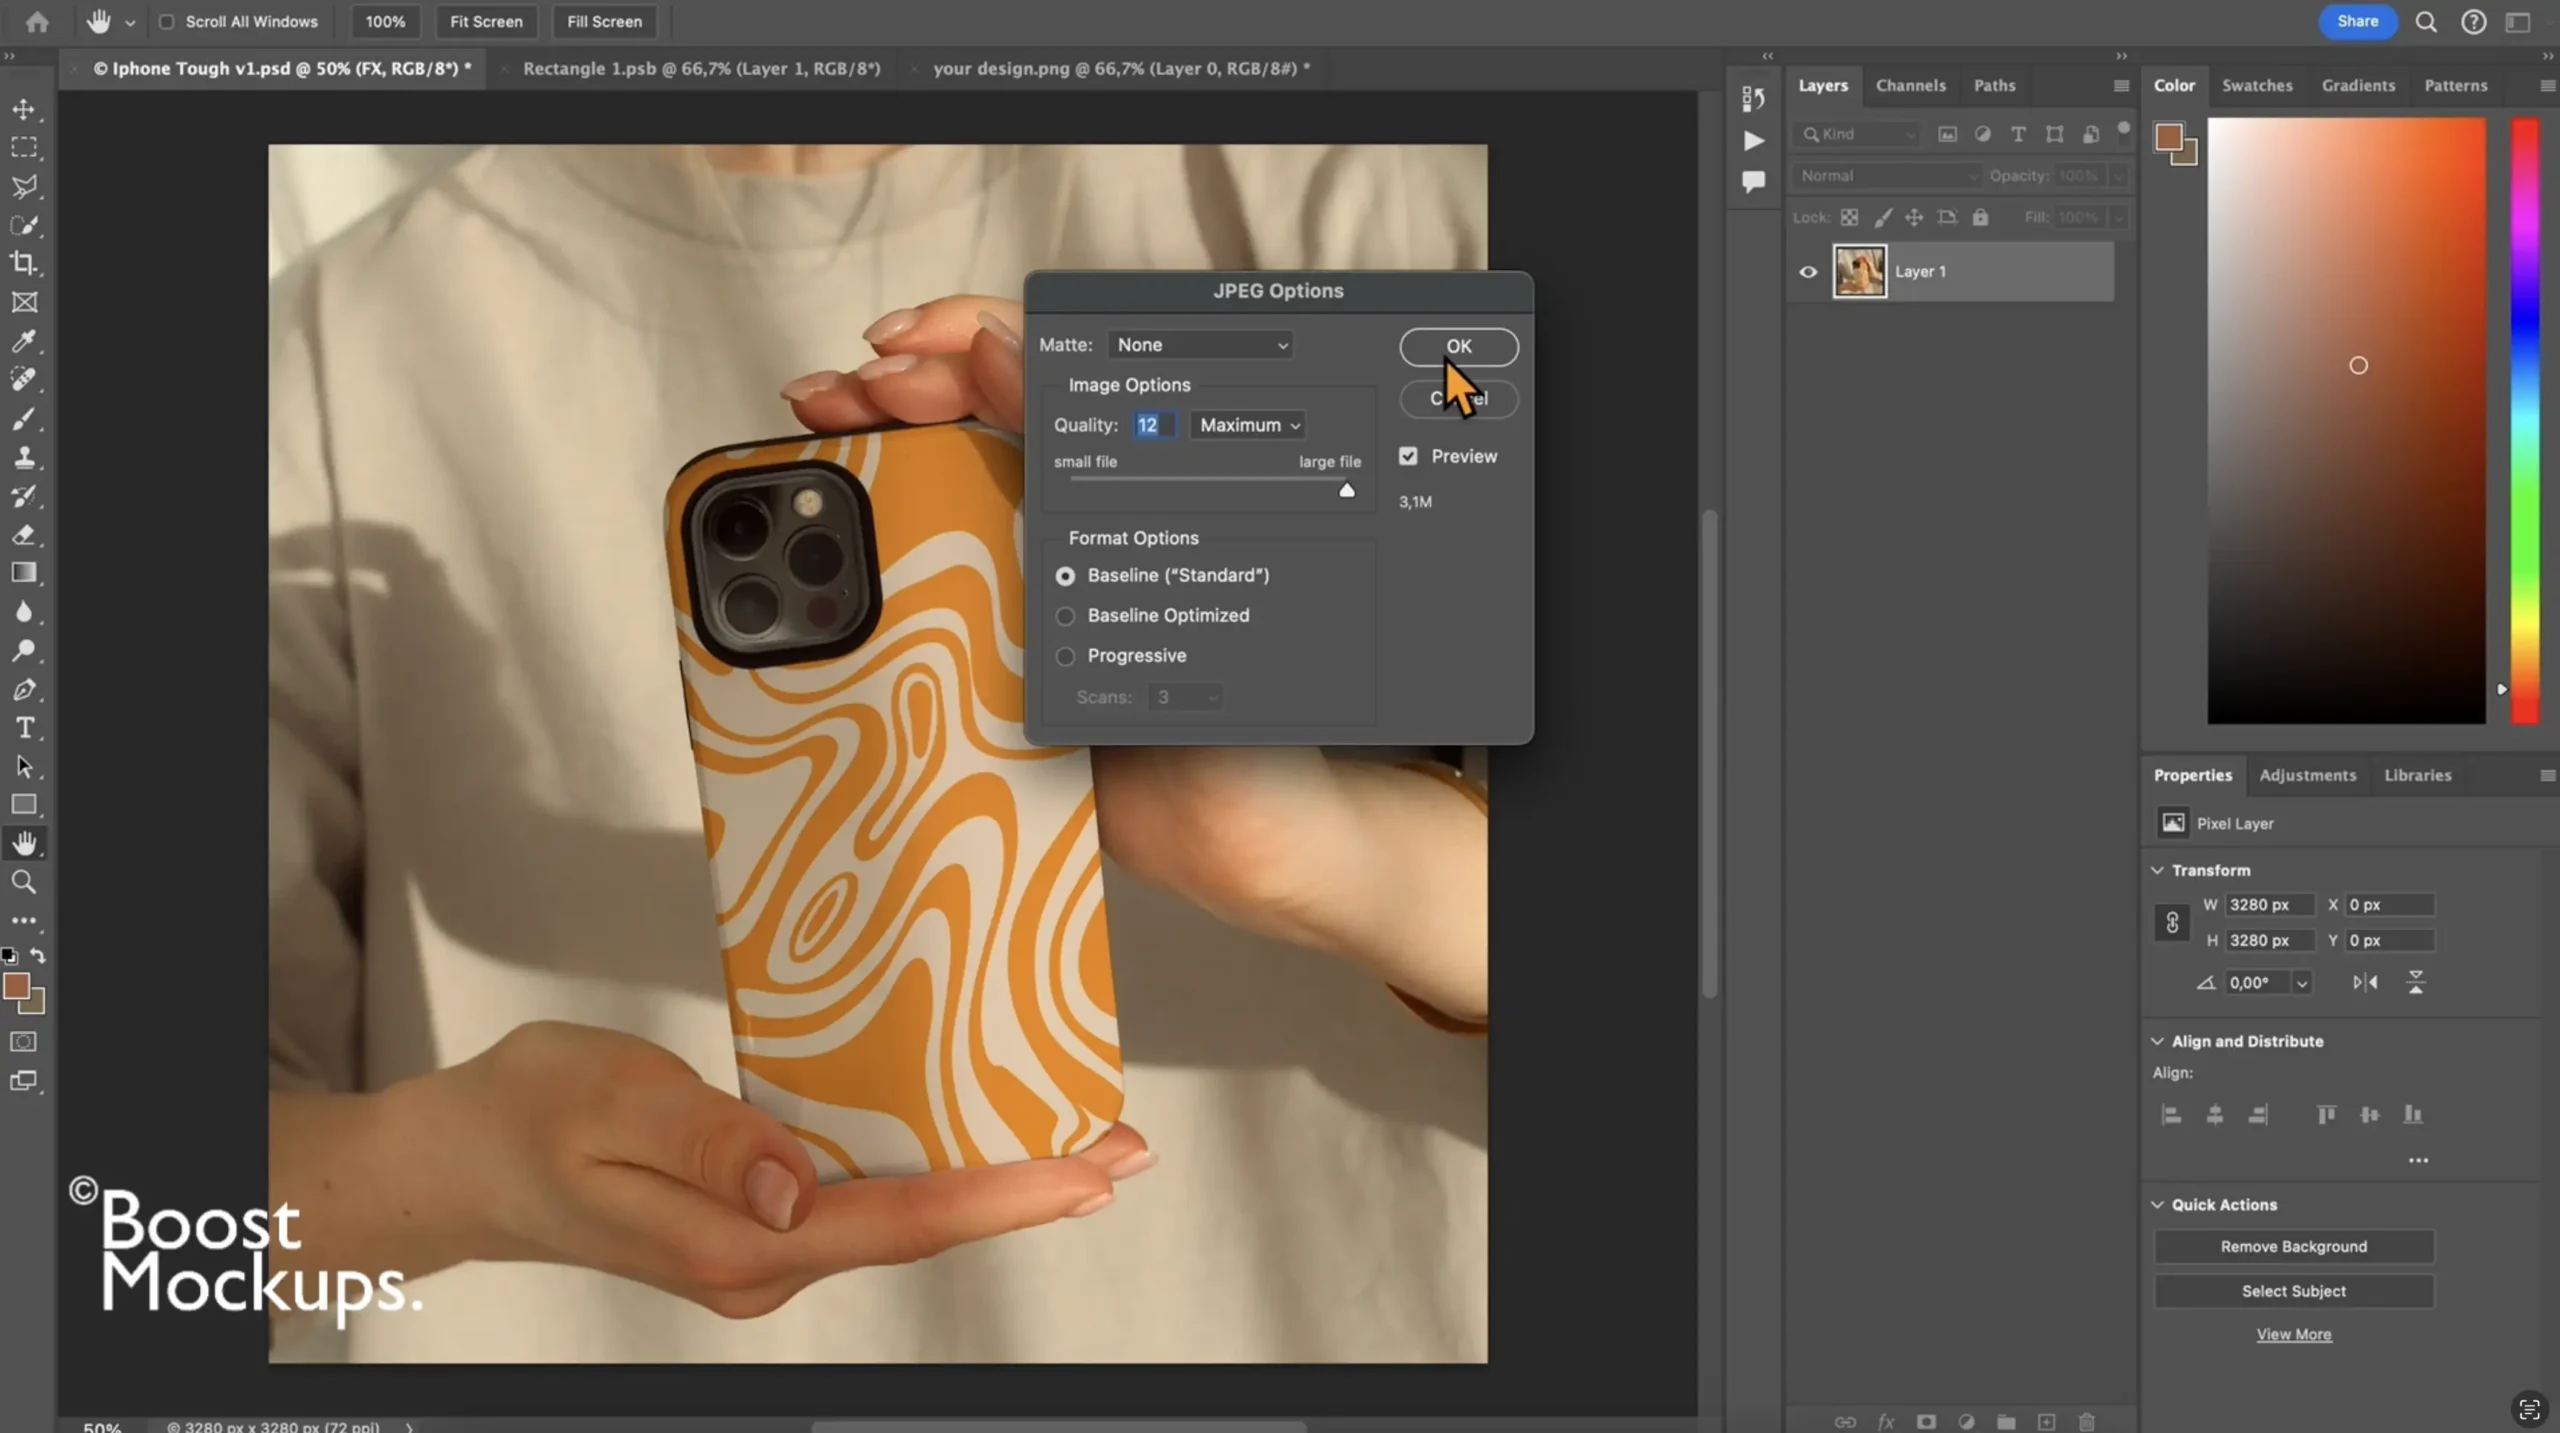
Choose PNG or JPEG for high-quality output
Save it to your computer and upload to your shop or social media
Cha-ching! Your case just got Boosted.⚡️
Try It with Free Mockups from BoostMockups
Ready to try it for yourself with real, high-quality mockups?
👉 Grab 3 free phone case mockups here — fully compatible with Photoshop and designed with smart object layers for super-easy editing.
Whether you’re a total beginner or just want to speed up your workflow, this Photoshop phone case mockup tutorial makes it simple to create scroll-stopping product images that actually sell.
Not a fan of reading? No worries — there’s a video tutorial to walk you through it step-by-step.
Why stress? Watch the step-by-step video and see your design transform in real-time. It’s like reality TV for your mockup… but way more useful. Click for the magic
🛍️ Ready to make your listings stand out?